
Selecting the best cycle light setup for night riding on Singapore’s Park Connector Network (PCN) requires balancing personal visibility with the safety of other path users. Unlike riding on unlit rural roads or technical mountain bike trails, navigating the PCN demands a setup that illuminates immediate path hazards without blinding oncoming pedestrians, runners, and fellow cyclists. A highly effective and courteous configuration consists of a front light with a shaped, anti-glare beam producing 200 to 400 lumens, paired with a wide-angle red rear light. This combination ensures you can spot sudden obstacles in darker park sections while remaining clearly visible from all angles in well-lit urban corridors.
Why the PCN Requires a Balanced Light Setup
The Park Connector Network is a prized asset for outdoor enthusiasts in Singapore, offering hundreds of kilometers of paved paths. However, these paths are fundamentally shared spaces. On any given evening, you share the route with families pushing strollers, runners wearing headphones, personal mobility device users, and cyclists of varying speeds. Because the PCN has a speed limit of 25 kilometers per hour for bicycles on shared paths, high-speed road racing tactics and ultra-bright high beams are out of place. An excessively bright, unshielded light can temporarily blind oncoming users, creating a high risk of head-on collisions or causing pedestrians to step directly into your path.
Ambient lighting along the PCN is highly variable. While urban segments running through housing estates or commercial zones are brightly illuminated by municipal streetlamps, other areas are deliberately kept darker. Coastal stretches, rustic park interiors, underpasses, and sections of the Rail Corridor can plunge into near-total darkness once the sun sets. Your lighting setup must be versatile enough to handle these abrupt transitions. It needs to provide sufficient illumination to spot wet leaves, puddles, and debris on the path surface while avoiding excessive glare in brighter zones.
Products mentioned in this guide
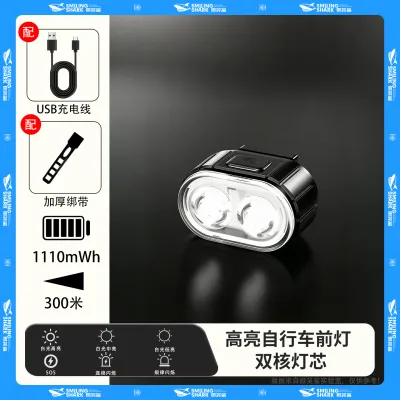
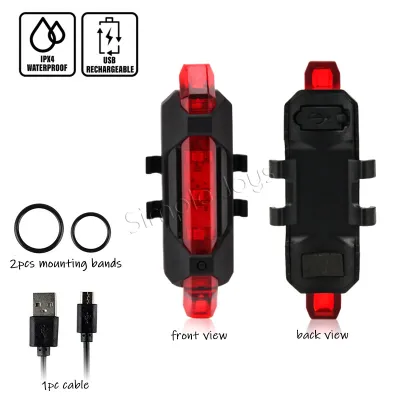
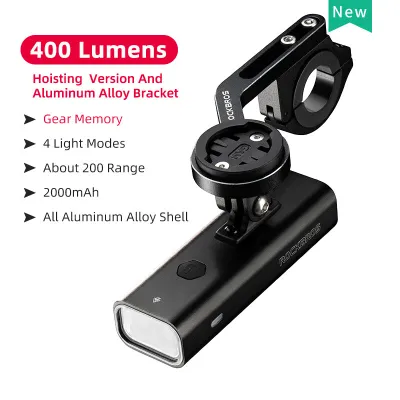
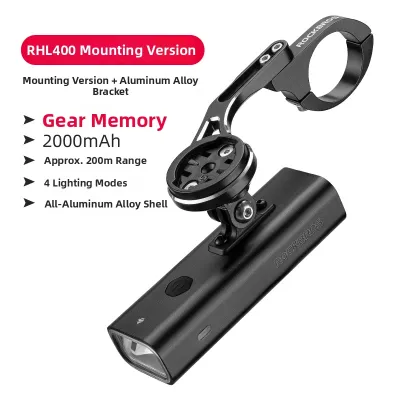
![[SG SELLER] ROCKBROS Bicycle Tail Light MTB Road Bike Light Night Safe Warning LED Light Cycling Running Helmet Tail Light](https://img.lazcdn.com/g/p/d003ac17d6d35ed71f589b6be06fa52b.jpg_400x400q80.jpg_.webp)
Prices are valid at publication and may change. Please refer to the product page for the latest price.
Singapore’s tropical climate adds another layer of complexity. The region experiences high humidity year-round, alongside sudden, intense monsoon downpours that can saturate equipment in minutes. A cycle light that cannot withstand moisture will quickly fail due to internal corrosion or short-circuiting. Consequently, your lighting choices must prioritize robust environmental sealing alongside optical performance, ensuring your gear remains functional during unexpected evening storms.
Key Features to Look for in a PCN Cycle Light
When evaluating a cycle light for PCN use, look beyond raw lumen counts. High-lumen ratings are often used as marketing highlights, but without proper beam control, they are inefficient and potentially hazardous on shared paths. Understanding the specific technical features of bicycle optics will help you select a light that delivers usable illumination where you need it most.

- Beam Pattern: Front lights generally feature either a spot beam, a flood beam, or a hybrid pattern. A pure spot beam projects a narrow, intense cone of light far into the distance, which is useful for high-speed road riding but poor for spotting pedestrians stepping onto the path from the sides. A pure flood beam scatters light widely, which illuminates the immediate surroundings but wastes battery power and shines directly into the eyes of oncoming traffic. For the PCN, a balanced or hybrid beam pattern is ideal. It provides a wide spread to illuminate the path edges while maintaining a soft, concentrated center to help you spot hazards ahead.
- Anti-Glare and Cut-Off Lines: To prevent blinding other path users, look for lights designed with a horizontal cut-off line, often compliant with German StVZO safety standards. These lights utilize shaped reflectors or lenses that direct all light downward onto the ground, preventing any stray beams from rising above waist height. If you are using a standard symmetrical flashlight-style cycle light, you can mimic this effect by installing a small physical hood or shield over the top of the lens, or by angling the light significantly downward.
- Brightness Modes: A versatile cycle light must offer multiple brightness settings. Look for a model that provides at least three constant modes (low, medium, and high) and a pulsing or flashing mode. On well-lit PCN stretches, a low setting of 100 to 150 lumens is sufficient to make you visible to others while conserving battery. In dark, unlit sections, a medium setting of 200 to 400 lumens provides adequate illumination of the path surface. High settings exceeding 600 lumens should be reserved for emergency situations or completely isolated trails.
- Weather Resistance: Given Singapore's frequent heavy rain, check the manufacturer's Ingress Protection (IP) rating before purchasing. An IPX4 rating offers basic protection against splashing water from any direction, which is acceptable for light drizzle. However, for peace of mind during sudden tropical downpours, look for lights rated at IPX6 (protection against powerful water jets) or IPX7 (protection against temporary immersion in water). Ensure that the rubber charging port covers fit snugly and seal completely.
- Side Visibility: Many collisions occur at intersections, driveways, or where the PCN crosses minor roads. To ensure you are seen by vehicles and other cyclists approaching from the side, choose lights that feature side cut-outs in the housing or dedicated side-emitting light-emitting diodes (LEDs). This design allows light to spill laterally, significantly improving your 180-degree visibility profile.
Building Your Ideal Front and Rear Light Setup
An effective lighting configuration is not a single product but a system designed to cover all angles of approach. By combining a thoughtful front light, a highly visible rear light, and selective auxiliary lights, you create a comprehensive safety envelope for night riding.
Front Lights: Illumination Without Blinding Others
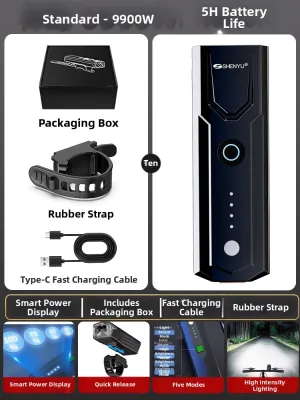
Your primary headlight should be mounted securely to your handlebars, positioned where you can easily reach the control buttons without removing your hands from the grips. Look for mounts that utilize sturdy rubber straps or screw-tightened composite brackets. A loose mount will allow the light to vibrate and sag when you ride over bumpy terrain, wooden boardwalks, or tactile paving, which can suddenly redirect your beam upward into the eyes of oncoming riders.
Always angle your front light slightly downward toward the ground. The brightest spot of the beam should hit the pavement approximately 5 to 10 meters in front of your bicycle. This distance gives you ample time to react to potholes, debris, or wet patches at PCN speeds while ensuring the top edge of the light beam remains well below the eye level of oncoming pedestrians and cyclists.
Rear Lights: Ensuring You Are Seen
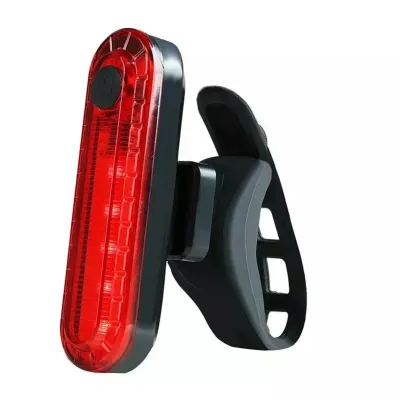
A red rear light is a legal requirement under Singapore’s Land Transport Authority (LTA) regulations for any bicycle ridden during the hours of darkness. The primary purpose of the rear light is to make your presence known to overtaking cyclists and other path users from a safe distance. Look for a rear light that utilizes Chip-on-Board (COB) LEDs, which produce a wide, diffused glow rather than a single, piercing point of light that can cause discomfort to riders directly behind you.
When choosing between steady and flashing modes, consider your environment. A steady red light makes it much easier for approaching riders to accurately judge your distance and speed of travel in pitch-black areas. A flashing or pulsing mode is highly effective at drawing attention in visually cluttered urban environments where streetlights and shop signs compete for attention. For the best of both worlds, consider using a light that offers a low-intensity steady burn combined with a gentle, periodic pulse.
Auxiliary Lights for Unlit Stretches
While handlebar and seatpost lights form the core of your setup, auxiliary lights can enhance safety on specific routes. Helmet-mounted lights are highly useful for navigating winding, unlit sections of the PCN, such as the Rail Corridor or rustic park loops. Because a helmet light points wherever you turn your head, it allows you to look around sharp corners or read trail signs before your bicycle’s handlebars actually turn. However, you must exercise extreme caution with helmet lights; looking directly at an oncoming cyclist or pedestrian will instantly blind them. Keep helmet-mounted lights on a low brightness setting and tilt your head slightly downward when passing others.
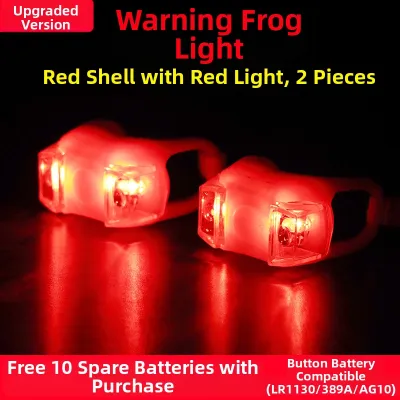
To improve your side-profile visibility, consider adding wheel, spoke, or frame lights. These compact, lightweight LEDs attach directly to your spokes or frame tubes, creating a distinct moving pattern of light that is easily recognizable by motorists at road crossings and driveways. Before adding any auxiliary lights, verify that your setup complies with local LTA regulations, which mandate a white light in front and a red light or reflector at the rear. Avoid using blue, green, or purple lights, as these can be confusing or violate local transport guidelines.
Practical Tips for Using and Maintaining Your Lights
Operating your cycle lights effectively requires active management during your ride, alongside regular maintenance to ensure long-term reliability in Singapore’s challenging climate.
- Dynamic Mode Switching: Do not adopt a set-and-forget mentality. As you transition between different zones of the PCN, adjust your light settings accordingly. When riding through brightly lit commercial or residential areas, dim your front light to its lowest constant setting or switch to a gentle pulse. This conserves battery power and prevents unnecessary light pollution. When you enter a dark park interior, an unlit underpass, or a canopy-covered stretch, switch your light to a medium or high setting to ensure you can clearly see the path surface.
- Battery Management: Modern cycle lights rely on rechargeable Lithium-ion batteries, which perform best when managed carefully. High-brightness modes drain batteries rapidly, often reducing runtime to under two hours. To avoid being stranded in the dark, estimate your runtime based on your planned route and use lower power modes whenever possible. For long-distance night rides, such as a full loop of the Round Island Route, carry a compact, weather-sealed power bank to top up your lights during rest stops, or choose lights with easily swappable rechargeable batteries.
- Post-Ride Maintenance: Singapore's high humidity and coastal salt air, particularly along routes like East Coast Park, can accelerate the degradation of electronic components. After every ride, especially if you encountered rain or wet paths, wipe down your light housings with a clean, damp cloth to remove grit and salt residue. Inspect the rubber charging port covers to ensure they are fully sealed and free of debris. Regularly check the silicone mounting straps and brackets for signs of cracking or stretching, replacing them before they fail.
- Pre-Ride Checks: Before heading out for a night ride, perform a quick visual inspection of your equipment. Turn on both front and rear lights to verify that they have sufficient charge for your intended journey. Check that the mounting brackets are securely fastened to your handlebars and seatpost, and ensure that the front light is angled correctly to avoid blinding others. Taking two minutes to perform these checks prevents equipment failure and ensures a safe, uninterrupted ride.
Frequently Asked Questions (FAQ)
Do I need a helmet light for the PCN?
For the vast majority of the Singapore Park Connector Network, a helmet light is not strictly necessary. The standard combination of a handlebar-mounted front light and a seatpost-mounted rear light provides more than enough visibility for well-lit urban routes. A helmet light becomes beneficial only if you frequently ride highly winding, unlit sections of the network or rustic detours where you need to illuminate off-axis areas. If you choose to use one, ensure it is kept on a low power setting and be mindful of where you look to avoid blinding oncoming path users.
How should I adjust my light angle on shared paths?
To set the correct angle for your front light, perform a simple wall test. Position your bicycle on a level surface approximately 3 to 5 meters away from a flat wall. Turn on your front light and observe where the brightest part of the beam, known as the hot spot, hits the wall. The hot spot should be positioned well below your handlebar height, ideally around knee to waist level. Alternatively, have a friend stand 10 meters in front of your bicycle and look toward you. If they experience uncomfortable glare, tilt the light further downward until the beam illuminates the ground without striking their eyes.
Community discussion
Share your experience or ask a question. Comments are reviewed before publication.