
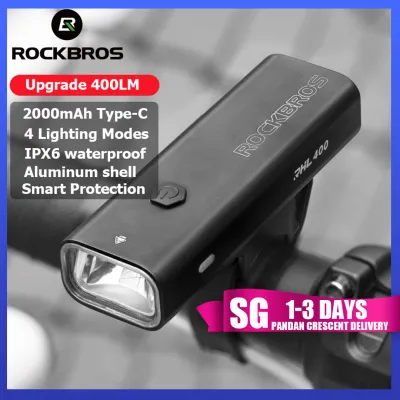
For safe evening rides on the Park Connector Network (PCN), a front bike light with a brightness of 200 to 400 lumens featuring a shaped beam or cut-off line is ideal, paired with a highly visible red rear light. Because these shared paths transition quickly from brightly lit urban corridors to pitch-dark, canopy-covered stretches, your lighting setup must balance personal path illumination with the safety of oncoming pedestrians and cyclists. Selecting a light with robust water resistance and a secure mounting system ensures you can navigate sudden tropical downpours and varied terrain without compromise.
Understanding the specific environmental factors of these paths allows you to choose equipment that keeps you visible and safe. A well-planned setup prevents accidents, respects other path users, and ensures compliance with local active mobility guidelines.
Assessing PCN Lighting and Shared Path Conditions
The Park Connector Network spans hundreds of kilometers, connecting residential estates, coastal parks, and nature reserves. Because these paths serve different purposes, lighting conditions vary dramatically from one kilometer to the next. Stretches running alongside major arterial roads often benefit from ambient street lighting, making a high-power headlight less critical. However, as you transition into quiet canal-side paths or loops winding through dense green corridors, overhead lighting can become sparse or entirely absent after sunset.
Products mentioned in this guide
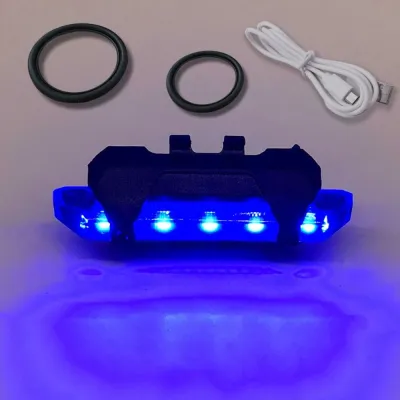
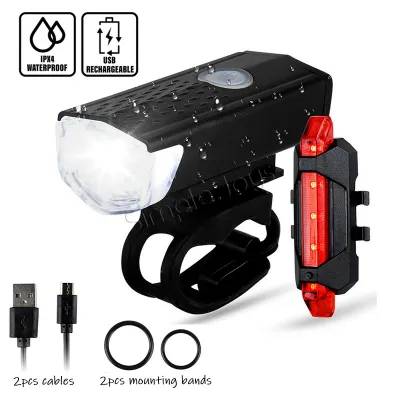
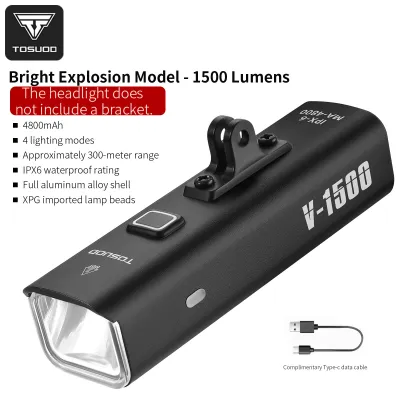
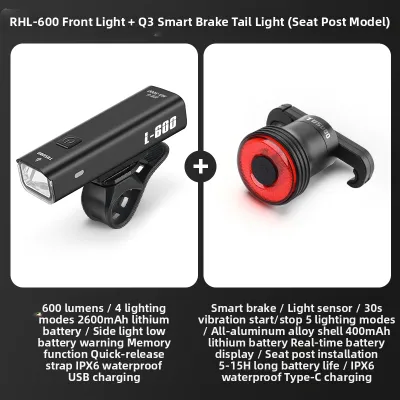
Prices are valid at publication and may change. Please refer to the product page for the latest price.
These shared paths are highly active during the cooler evening hours. You will share the space with a diverse mix of users, including joggers, families with strollers, dog walkers, and other cyclists. This high density means your bike light is not just a tool for you to see the ground ahead; it is a critical communication device that alerts others to your approach. A light that is too dim makes you invisible until the last second, while a light that is too bright or poorly aimed can temporarily blind oncoming path users.
Local tropical weather also plays a major role in visibility. Sudden evening downpours can occur with little warning, rapidly reducing visibility and causing light from streetlamps to scatter off wet asphalt. High humidity can also lead to misting on your light lens, which diffuses the beam and reduces its effective range. Your lighting setup must be resilient enough to cut through these wet conditions while remaining completely sealed against moisture.
Choosing the Right Brightness and Beam Pattern
Matching your lumen output to your specific riding route is the first step in selecting a front bike light. For well-lit urban connectors, a front light running at 100 to 200 lumens is generally sufficient to make you visible to others. However, if your route includes unlit, canopy-covered sections, you will need a light capable of producing 400 to 600 lumens. This higher output allows you to spot obstacles, debris, or sudden bends in the path far enough in advance to react safely.

Beam shape is just as important as brightness. Many high-powered lights designed for off-road mountain biking cast a wide, symmetrical circular beam that scatters light in all directions. On a shared path, this upward-scattered light shines directly into the eyes of oncoming pedestrians and cyclists, causing dangerous glare. Instead, look for a bike light with a shaped beam or a distinct horizontal cut-off line, often designed to meet European road standards. This engineering directs the light downward onto the pavement where it is needed, protecting the vision of others.
For flat, paved shared paths, a wide flood beam is highly preferred over a narrow spot beam. A flood beam illuminates the edges of the path, helping you maintain peripheral awareness so you can spot pedestrians stepping off the grass or sudden changes in pavement texture. A narrow spot beam creates a harsh, concentrated tunnel of light that limits your field of view and increases the risk of missing hazards just outside the main beam.
Essential Features for the Local Climate and Ride Duration
Given the frequency of sudden tropical rainstorms, checking the Ingress Protection (IP) rating of your bike light is essential. A rating of IPX4 is the minimum standard for splash resistance, which protects against light drizzle. For reliable year-round riding, opting for a light with an IPX6 or IPX7 rating ensures the device can withstand heavy downpours without water penetrating the casing and shorting out the electronics.
Battery life and charging convenience are critical for maintaining safety throughout your ride. For typical evening rides lasting one to three hours, select a light that offers at least four to six hours of runtime on your preferred brightness setting. Modern USB-C charging is highly convenient, allowing you to top up the battery easily at home or via a portable power bank. A clear, multi-stage battery indicator on the light housing is invaluable, ensuring you are never caught off guard by a sudden loss of illumination.
Your light should offer multiple operating modes to adapt to changing conditions. Use a steady, constant beam on dark stretches of the path to maintain depth perception and accurately judge distances. When riding through brightly lit, busy areas, switching to a low-intensity pulse or flash mode increases your visibility to others while conserving battery life. Avoid using high-intensity, rapid strobe modes on shared paths, as they can be highly disorienting to oncoming users.
Building a Complete Front and Rear Light Setup
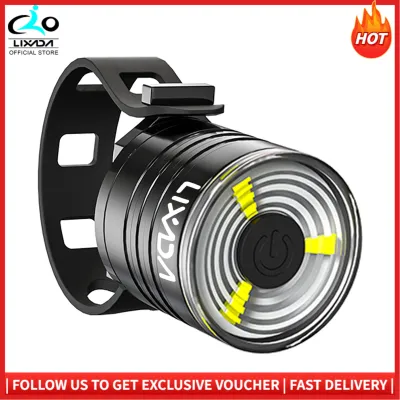
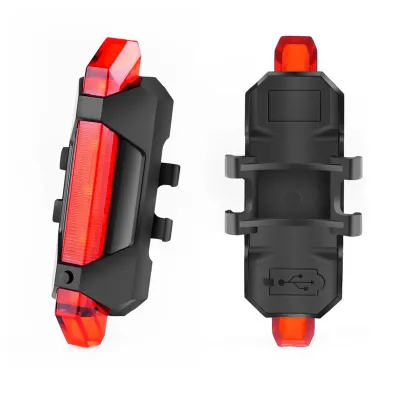
A complete safety setup requires distinct front and rear lights working in tandem. The front light serves a dual purpose: illuminating your path and signaling your approach to those ahead. The rear light, which must be red, is solely about being seen from behind. It alerts faster cyclists, runners, or vehicles crossing path intersections of your position, preventing rear-end collisions.
Choose a rear light that offers wide-angle visibility, ideally 180 degrees or more, so you are visible to traffic approaching from side angles. Mount the rear light securely on your seatpost, rear rack, or saddle bag, ensuring it points straight back rather than angled downward toward the rear wheel. A downward-angled rear light drastically reduces its effective visibility range, making it difficult for others to spot you from a distance.
While active lights are the primary safety requirement, passive visibility gear provides an excellent backup. Consider wearing reflective ankle bands, which draw attention to the pedaling motion, or a helmet with integrated reflective elements. A lightweight vest or clothing with reflective strips can also significantly increase your profile on dark connectors, ensuring you remain visible even if your active lights experience a technical failure.
Proper Mounting, Maintenance, and Path Etiquette
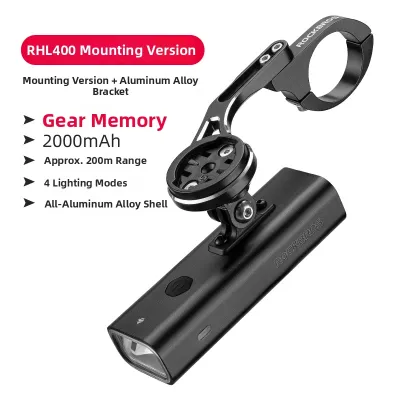
Secure mounting is vital to prevent your lights from shifting or falling off during a ride. Vibrations from riding over tactile paving, wooden boardwalks, or minor path cracks can easily loosen poor mounts. Use sturdy silicone straps or screw-on brackets that match your handlebar and seatpost diameters. Ensure the mount is tight enough that the light does not sag when you hit a bump, yet adjustable enough that you can fine-tune the angle on the go.
Routine maintenance keeps your lights functioning at their best. After riding in wet weather, wipe down the light housing with a dry cloth and check that the rubber charging port covers are fully sealed and free of grit. Periodically clean the lenses with a damp microfiber cloth to remove road grime, dust, and dried water spots, which can scatter the beam and significantly reduce light output.
Practicing good path etiquette ensures a pleasant experience for all path users. Always angle your front light slightly downward, aiming the brightest spot of the beam about five to ten meters ahead of your front wheel. This provides ample reaction time while keeping the beam well below the eye level of oncoming pedestrians. If your light has adjustable brightness, lower the setting when entering highly congested, well-lit areas to maintain a respectful and safe environment.
Frequently Asked Questions (FAQ)
Can I use a high-lumen mountain bike light on the PCN?
Yes, but only if you can adjust the brightness downward and angle the beam correctly. High-lumen mountain bike lights, often exceeding 1000 lumens, are designed for dark forest trails and typically feature wide, unshielded beams. On a shared path, using such high output without a cut-off lens will blind oncoming pedestrians and cyclists. If you use one, keep it on its lowest setting and point it downward.
Are dynamo hub lights a practical choice for casual evening rides?
Dynamo hub lights are highly reliable because they generate power as you pedal, eliminating battery anxiety. However, for casual evening riders on the PCN, they are often impractical due to the high upfront cost of rebuilding a wheel around a dynamo hub and installing the wiring. Modern USB-rechargeable LED lights offer excellent brightness, long runtimes, and easy mounting at a fraction of the cost.
Community discussion
Share your experience or ask a question. Comments are reviewed before publication.