
For navigating the unlit stretches of Singapore’s Park Connector Network (PCN) safely at night, you need a dual-light setup consisting of a front white light with a downward-angled, wide flood beam and a rear red light with high visibility. This configuration must balance your need to see the path ahead with the safety of oncoming cyclists and pedestrians. Because the PCN is a shared space, your lighting choices directly impact everyone around you.
While high-powered lights are widely available, riding on shared paths requires a thoughtful approach to brightness and beam shape. A setup that is too weak leaves you vulnerable to sudden obstacles, while an overly bright, poorly adjusted light can blind oncoming path users. Finding the right balance is essential for a safe, comfortable night ride.
Baseline Light Setup for Unlit Park Connector Paths
A complete bicycle light setup is not just about personal visibility; it is a communication system on shared trails. When riding at night, you must address two distinct needs: illuminating the immediate terrain to spot obstacles and signaling your presence to other path users from a distance. Relying on ambient park lighting is risky, as canopy cover can create sudden, pitch-black stretches.
Products mentioned in this guide
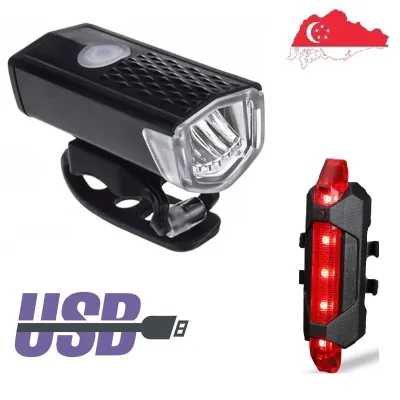
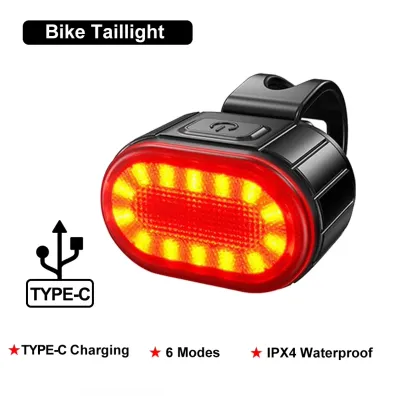
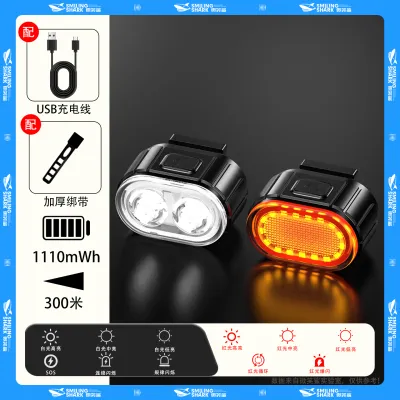
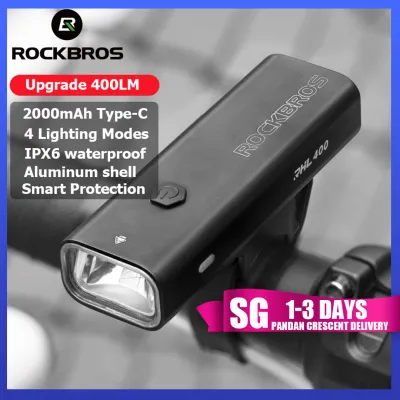
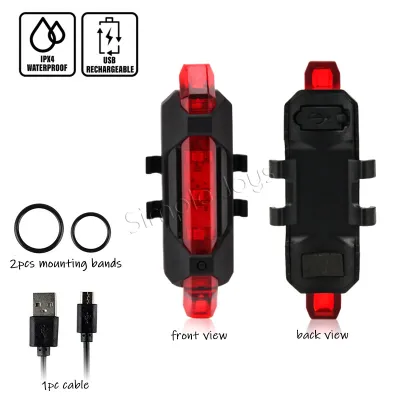
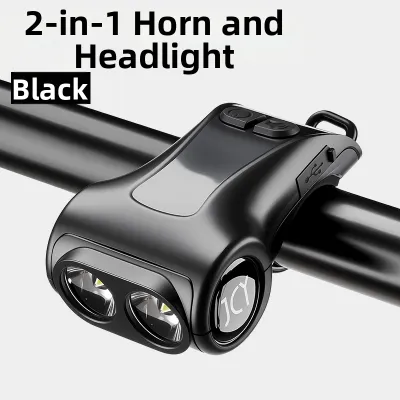
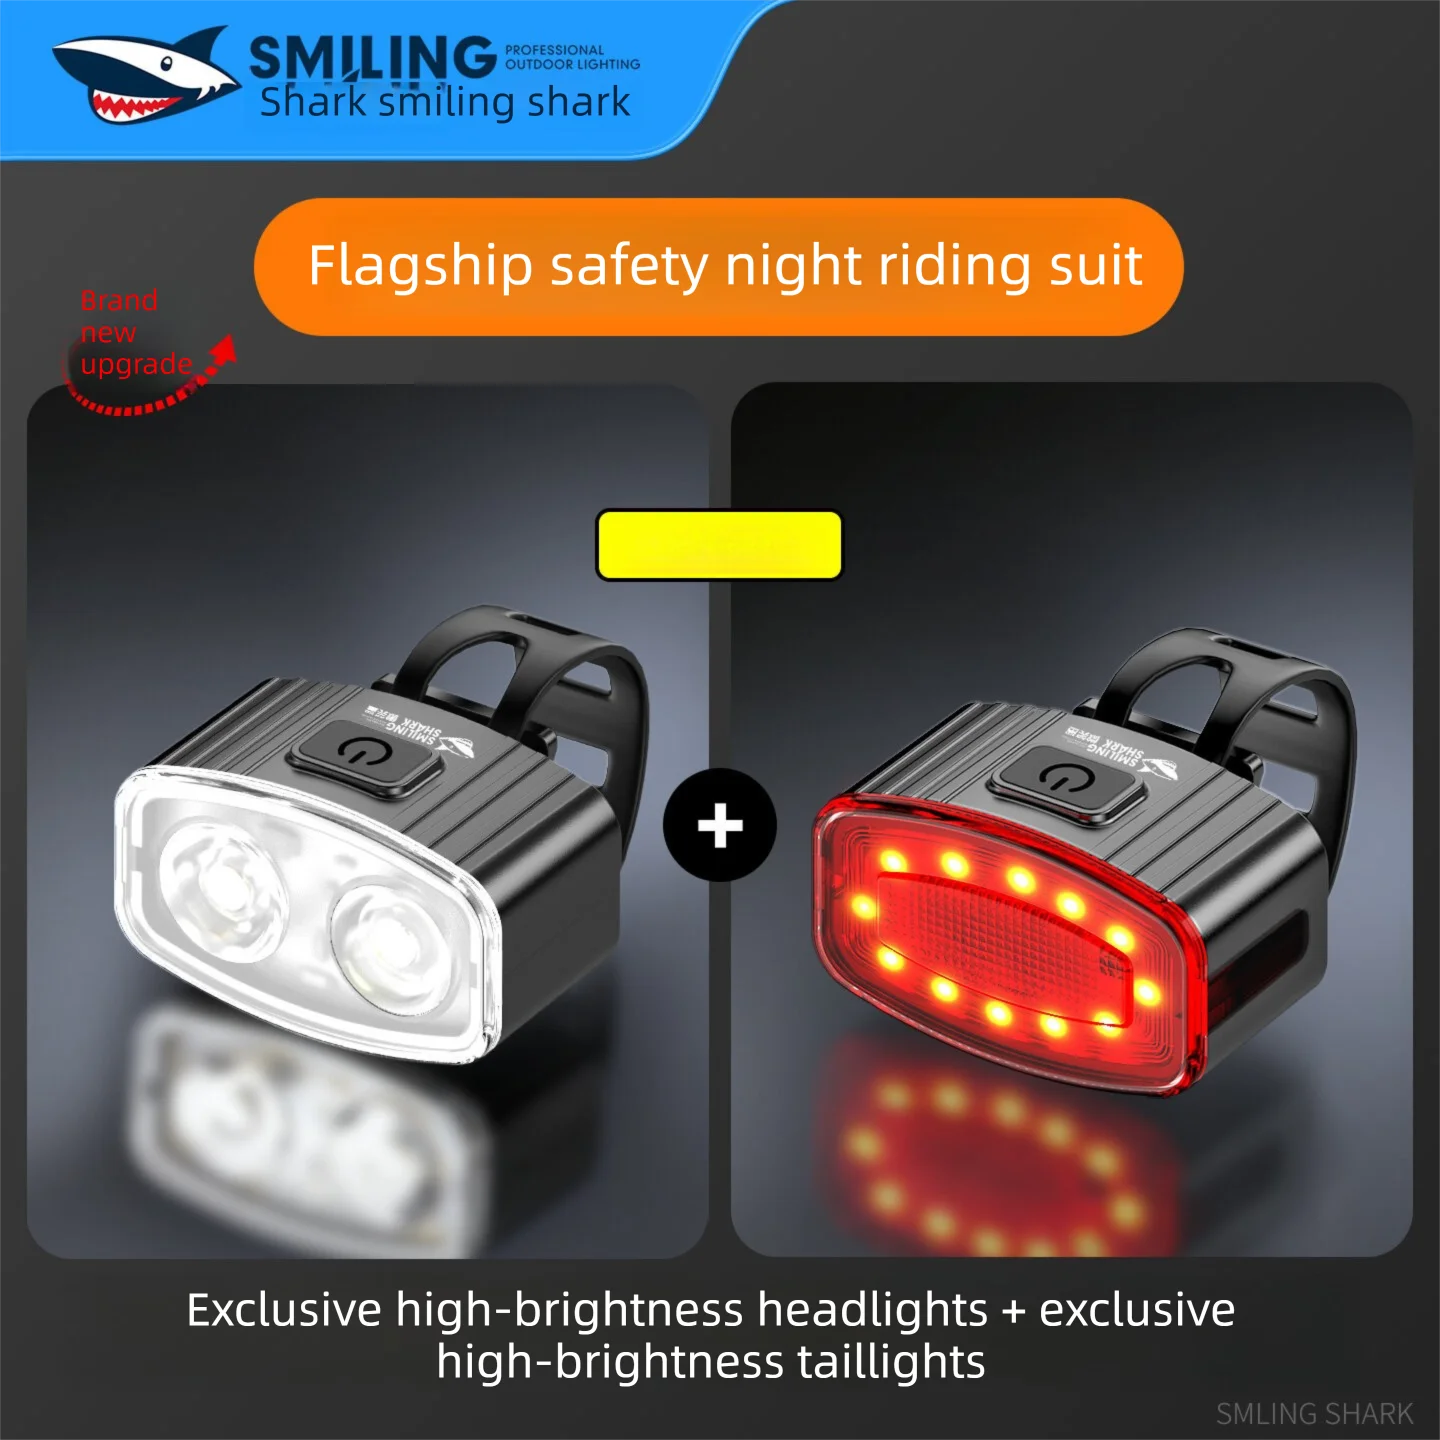
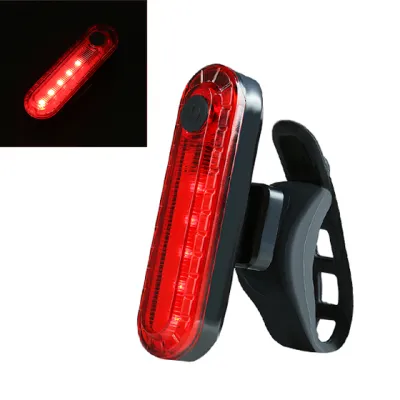
Prices are valid at publication and may change. Please refer to the product page for the latest price.
The foundation of this system is a dual-light configuration. A front-facing white light acts as your primary headlight, revealing uneven pavement, fallen branches, or sudden turns. Simultaneously, a rear-facing red light alerts overtaking cyclists and runners to your position. This combination is the absolute minimum required for any night journey on the PCN.
On shared trails, finding the balance between illumination and light pollution is critical. Overly bright, poorly aimed lights can temporarily blind oncoming path users, creating a hazard rather than preventing one. Your setup should focus light precisely where it is needed—on the ground ahead—rather than scattering it into the eyes of others.
A robust baseline setup includes a dedicated handlebar-mounted front light, a seatpost-mounted rear light, and passive reflectors. This multi-point configuration ensures you remain visible from multiple angles, especially at junctions where paths intersect. If your lights fail completely on an unlit stretch, the safest action is to stop riding immediately, move off the path, and walk your bicycle to a well-lit area.
Selecting a Front Light That Illuminates Without Blinding Others
When choosing a front bicycle light, raw brightness measured in lumens is only part of the equation. The beam pattern plays a far more significant role in how effectively and safely you can navigate unlit paths.

Beam Pattern vs. Raw Brightness Many high-powered lights project a narrow, focused spot beam designed for high-speed off-road trail riding. On the PCN, however, a wide, even flood beam is far more useful. Look for lights designed with a shaped beam or a physical cut-off line, similar to car headlights. This design directs light downward onto the path and prevents the upper portion of the beam from shining directly into the eyes of oncoming pedestrians and cyclists.
Mounting and Angle Adjustment Proper installation is just as important as beam design. Mount your front light securely to your handlebars and angle the housing downward. A practical way to verify your light angle is to stand your bicycle three meters away from a wall at home and turn the light on. The brightest hotspot of the beam should strike the wall well below handlebar height. On the path, this translates to the beam hitting the ground approximately five to ten meters ahead of your front wheel, keeping glare out of the eyes of oncoming users.
Adjustable Brightness Modes PCN routes transition frequently between well-lit urban parkways and pitch-black, tree-covered corridors. Your front light must feature easily accessible brightness modes so you can adapt instantly. Use lower brightness settings in well-lit areas to conserve battery and show courtesy to others, then switch to a higher setting only when entering completely unlit stretches. Avoid using high-intensity flashing modes on the front light in dark areas, as this can severely distort depth perception for both you and oncoming riders.
Configuring Rear Lights for Safe Following Distances
Your rear light is your primary defense against rear-end collisions on dark paths, allowing faster cyclists to gauge your speed and distance from behind.
Steady vs. Flashing Modes While flashing modes are highly effective at catching attention in bright city traffic, they can be disorienting on pitch-black shared paths. A rapid, high-intensity flash makes it difficult for following riders to judge your exact distance and speed. For unlit PCN sections, a steady beam or a slow, gentle pulsing mode is preferred, as it provides a constant point of reference without causing visual fatigue to those behind you.
Mounting Positions The standard mounting position is high on the seatpost, but you must ensure it remains unobstructed. If you carry a saddle bag, use a rear rack, or wear a long jersey, the light can easily be blocked from view. To verify your setup, have a friend stand ten meters behind you while you are seated on the bicycle in your typical riding position to check for any obstructions. Secondary mounting options include saddle rails or clipping the light directly to a helmet or backpack loop.
Side Visibility Many bicycle accidents on shared paths occur at intersections and crossings where riders approach from the side. Standard front and rear lights offer limited lateral visibility. To mitigate this, look for rear lights with wrap-around lenses that project light to the sides, or supplement your setup with active wheel lights and reflective tire sidewalls.
Planning Battery Capacity for Long Night Rides
A sudden light failure on an unlit stretch of the PCN can leave you stranded in the dark, making battery management a critical safety consideration.
Estimating Burn Time Do not rely solely on the maximum runtime printed on the product packaging, which usually refers to the lowest, least-usable brightness setting. Review the manufacturer’s runtime specifications for the specific brightness level you plan to use. If a light is rated for two hours on high mode, plan your ride to finish well within that window, or run the light on medium whenever ambient light allows.
Power Management Strategies For longer night rides, carry a compact, external power bank if your lights support charging while in use. Alternatively, keeping a spare, fully charged battery pack or a compact backup light in your saddle bag ensures you are never left without illumination. A simple, low-cost backup light can be a lifesaver if your primary light unexpectedly shuts down.
Environmental Factors Singapore’s warm, humid tropical climate can affect battery performance over time. High ambient temperatures accelerate the natural degradation of lithium-ion batteries, gradually reducing their overall capacity. Regularly test your lights’ runtime at home to verify that they can still hold a sufficient charge for your planned routes.
Meeting Singapore's Legal and Etiquette Requirements
Riding on the PCN requires strict adherence to local regulations and shared path etiquette to ensure a safe environment for all users.
Mandatory Color Rules Under local active mobility regulations, your bicycle must be equipped with a front light that emits a visible white light and a rear light that emits a visible red light when riding during hours of darkness. Using non-standard colors like blue, green, or purple is not permitted and can confuse other path users.
Reflector Requirements Active lights must be supplemented by passive reflectors. Ensure your bicycle is fitted with a red rear reflector and amber or white reflectors on the pedals or wheels. These reflectors provide a crucial safety backup if your electronic lights fail.
Path Etiquette When stopping at rest areas, PCN pit stops, or traffic crossings, turn down your front light brightness or temporarily shield the lens with your hand. Avoid leaving high-intensity flashing lights active when standing still, as this can be highly disruptive to pedestrians and other cyclists resting nearby.
Frequently Asked Questions (FAQ)
Should I use a helmet-mounted light in addition to my handlebar light?
A helmet-mounted light is an excellent secondary light source because it projects light wherever you look, helping you see around tight corners or read trail signs. However, it should never replace a handlebar-mounted light, as the higher mounting angle lacks the shadows needed to reveal ground-level potholes. When using a helmet light, be highly conscious of your head movements; turning your head directly toward oncoming cyclists or pedestrians will blind them instantly.
How do I protect my bicycle lights from sudden tropical rain?
To withstand Singapore’s sudden and heavy tropical downpours, verify that your bicycle lights carry an Ingress Protection (IP) rating of at least IPX4, which protects against splashing water, though IPX6 or higher is recommended for heavy rain. Regularly inspect the rubber charging port covers to ensure they are fully sealed and free of dirt. After riding in the rain, wipe down the light housing and allow it to dry completely before opening any ports or plugging it in to charge.
Community discussion
Share your experience or ask a question. Comments are reviewed before publication.