
To ride safely on Singapore’s Park Connector Network (PCN), you need a dual-light setup consisting of an adjustable front light capable of shifting between 100 lumens for well-lit urban connectors and 400 to 800 lumens for unlit nature trails, paired with a rear red light of 20 to 50 lumens. This system must be highly water-resistant (rated IPX5 or higher) to withstand sudden tropical downpours and secured with vibration-resistant mounts to handle diverse terrain. Passive side reflectors and proper light angling are also essential to ensure visibility without blinding other path users.
Understanding Park Connector Lighting and Shared-Path Needs
Singapore’s Park Connector Network spans over hundreds of kilometers, linking residential estates, coastal parks, and nature reserves. Because these paths serve different geographical areas, the ambient lighting conditions change dramatically from one segment to the next. You might begin your ride under the bright, consistent glow of streetlamps near HDB estates and MRT stations in Punggol or Tampines, only to transition suddenly into heavily shaded, pitch-black corridors like the Rail Corridor, the Ulu Pandan PCN, or remote coastal stretches along Changi. A single, fixed-intensity light cannot safely accommodate these contrasting environments.
On these shared, unsegregated paths, your bike light serves a dual purpose: it must illuminate the path ahead to help you spot hazards, and it must make you visible to other path users. The PCN is used by a diverse mix of joggers, walkers, families with strollers, and other cyclists. When navigating dark stretches, you need enough forward illumination to spot immediate physical hazards such as fallen branches, wet leaves, uneven paving slabs, speed bumps, and steel-grated bridges. In well-lit urban areas, your primary need shifts from illumination to conspicuity, alerting others of your approach from a distance.
Products mentioned in this guide
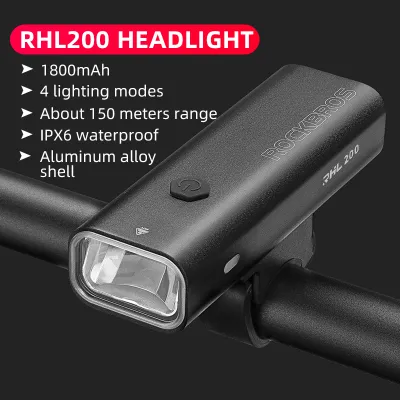
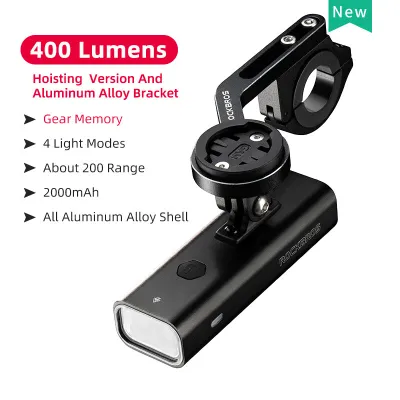
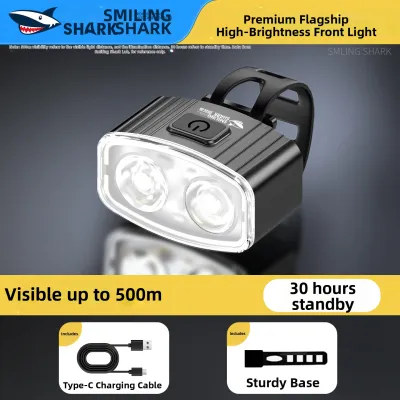
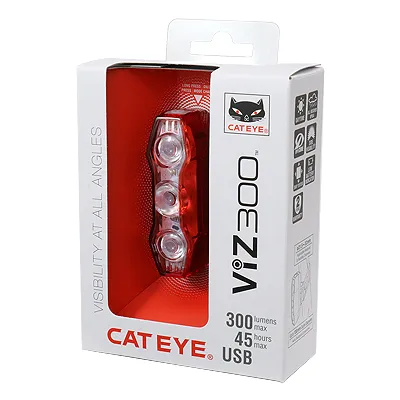
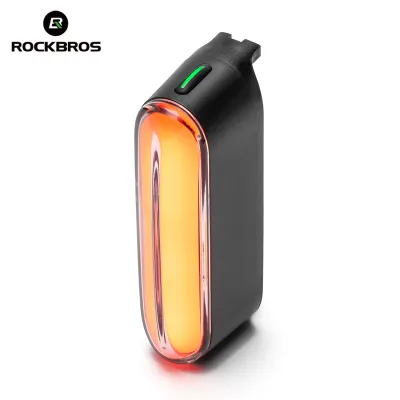
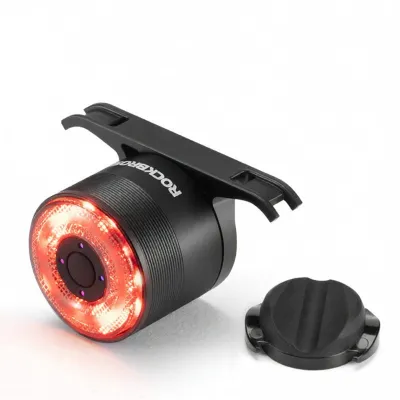
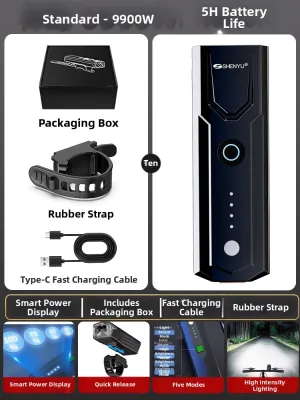
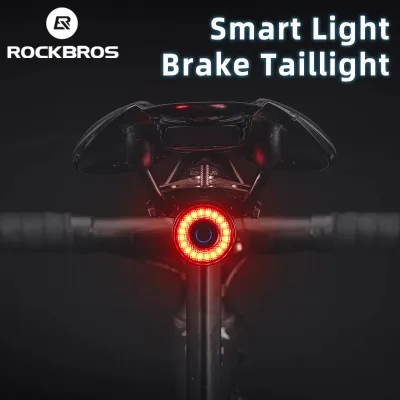
Prices are valid at publication and may change. Please refer to the product page for the latest price.
Using excessively bright or poorly aimed lights on shared paths introduces severe safety risks. High-power off-road lights, often designed for isolated mountain biking trails, can emit over 1,000 lumens in a narrow, unshielded beam. When pointed directly ahead on a narrow PCN path, these lights temporarily blind oncoming pedestrians and cyclists, erasing their night vision and creating hazardous glare. Without dedicated, physically separated lanes, maintaining visual comfort for everyone on the path is a fundamental safety requirement.
Front Light Selection: Lumens, Beam Patterns, and Glare Control
Selecting a front bike light requires balancing light output with courtesy for other path users. Lumens measure the total amount of visible light emitted by a source, and having adjustable brightness levels is critical for PCN riding. For well-lit urban sections, a low setting of 100 to 200 lumens is perfectly adequate to make your bicycle visible to oncoming traffic. When transitioning into unlit nature corridors or heavily forested paths, you will need to increase the output to 400 or 800 lumens to clearly see the ground ahead. Avoid using ultra-high settings above 1,000 lumens on shared paths, as they are rarely necessary at typical PCN speeds and increase the risk of blinding others.

The beam pattern of your front light determines how that light is distributed across the path. For shared-path cycling, a wide, even flood beam is highly superior to a narrow, focused spot beam. A flood beam illuminates the entire width of the PCN, helping you spot pedestrians stepping out from side paths, joggers on the shoulders, and low-hanging foliage. In contrast, a narrow spot beam concentrates light into a single intense point far ahead, which does not provide adequate peripheral vision at lower speeds and creates a harsh, high-glare hotspot on the pavement.
To prevent blinding oncoming path users, consider front lights designed with glare-management optics, such as those meeting German StVZO standards. These lights feature a shaped reflector or lens that creates a distinct horizontal cut-off line. This optical design directs all emitted light downward onto the path surface and completely blocks light from shining upward into the eyes of oncoming pedestrians and cyclists. If your light does not have a built-in cut-off beam, you must manually angle the light housing downward so the brightest part of the beam strikes the ground just a few meters ahead of your front tire.
Your front light should offer both steady and flashing modes, but these must be used selectively based on your surroundings. Steady modes are essential for navigating dark, unlit sections because they provide continuous illumination of the ground and allow oncoming users to accurately judge your distance and speed. Flashing or pulsing modes are highly effective in broad daylight or in brightly lit urban zones where you need to stand out against a complex background of streetlights and shop signs. However, never use a rapid, high-intensity flashing mode in pitch-black areas, as this can cause spatial disorientation for oncoming riders and fail to illuminate obstacles consistently.
Rear Lights and Supplementary Visibility for Shared Paths
While front lights help you navigate and signal your approach, a reliable rear light is your primary defense against rear-end collisions, particularly when the PCN intersects with public roads. Your rear light should emit a red glow with a brightness of at least 20 to 50 lumens, which is sufficient to stand out against the complex background noise of city streetlights, neon signs, and oncoming car headlights at road crossings. Look for models that offer distinct, non-rapid flash patterns or organic pulsing modes, which capture attention more effectively than a static light without causing visual discomfort to cyclists riding closely behind you.
The physical mounting position of your rear light significantly affects its effectiveness and visibility angle. The most common mounting location is the seatpost, which positions the light at a highly visible height for motorists and other cyclists. However, if you ride with a saddlebag, a rear rack, or loose clothing, these items can easily block a seatpost-mounted light from view. In such cases, mounting the light directly to the rear rack, clipping it to a backpack, or attaching it to the back of your helmet are excellent alternatives. Ensure that whichever mounting position you choose, the light remains perpendicular to the ground so the beam projects straight backward rather than pointing down at the rear tire.
Active lights should always be supported by passive visibility measures to protect you from side-impact risks at intersections. Many PCN routes require cyclists to cross road junctions, driveways, and slip roads where turning motorists may not see a front or rear light. To address this blind spot, incorporate passive reflective elements into your setup:
- Reflective Ankle Bands: The constant up-and-down motion of your ankles while pedaling immediately alerts drivers to your presence, as human brains are highly attuned to recognizing biological motion.
- Reflective Tire Sidewalls: Many commuter and touring tires feature a reflective strip along the sidewall, which provides excellent side-profile visibility under headlight beams.
- Spoke Reflectors: Lightweight reflective clips attached directly to your wheel spokes create a highly visible rotating pattern when illuminated by crossing vehicles.
Battery Runtime, Secure Mounting, and Tropical Weather Resistance
When planning long-distance evening rides along extensive routes like the 36-kilometer Coast-to-Coast (C2C) trail or the Round Island Route (RIR), battery management becomes a critical safety factor. Before setting off, calculate your required runtime based on the manufacturer’s specifications for your chosen lumen settings. Running a front light continuously at 800 lumens will drain the battery much faster—often in under two hours—compared to running it on a 200-lumen setting. To avoid being stranded in the dark, choose a light with a reliable battery indicator, manage your brightness settings dynamically, and consider carrying a compact USB-C power bank to top up your devices during rest stops.
The physical surfaces of the PCN are highly varied, featuring concrete paths, asphalt, wooden boardwalks, speed bumps, and tactile paving at pedestrian crossings. This varied terrain subjects your bicycle to constant vibration, which can easily cause cheap, poorly designed light mounts to slip or fail entirely. Ensure your lights are secured with robust, vibration-resistant mounting brackets. Heavy-duty plastic brackets with screw-tightened collars or high-tension silicone straps with deep grooving are preferred over loose-fitting clips, as they prevent the light from slowly shifting upward into the eyes of others or downward into your front wheel.
Singapore’s tropical climate demands exceptional weather resistance for all electronic cycling accessories. Sudden, torrential downpours can occur with very little warning, subjecting your equipment to heavy water ingress. When shopping for bike lights, verify the manufacturer’s IPX water-resistance rating rather than relying on generic “waterproof” claims. Your lights should carry a rating of at least IPX5, which certifies protection against water jets from any angle, or IPX6, which protects against powerful water jets. Always check that the rubber USB charging port cover is pressed firmly and completely into the housing before every ride to prevent water from short-circuiting the internal electronics.
On-the-Go Adjustments and Light Etiquette for PCN Riders
Operating your lights effectively requires active, on-the-go management as you transition through different environments. Do not simply turn your lights on at a single setting and forget about them. As you move from a brightly lit park connector near a shopping mall into a dark, tree-canopied nature reserve, safely slow down and adjust your front light to a higher steady setting. Conversely, when returning to well-lit residential zones, lower the brightness to conserve battery life and reduce glare for the pedestrians walking nearby.
Proper light etiquette is essential for maintaining a safe and polite sharing environment on the PCN. If your front light does not feature a shaped StVZO cut-off beam, you must manually adjust its physical angle to protect the vision of others. Loosen the mount slightly and tilt the light downward so that the center of the beam pattern strikes the ground approximately 3 to 5 meters in front of your front tire. This distance provides adequate reaction time to spot path hazards at moderate speeds while ensuring that the stray light rising from the top of the beam remains well below the eye level of oncoming walkers and cyclists.
Before embarking on any evening ride, perform a quick, systematic pre-ride checklist to ensure your equipment is fully functional. First, turn on both lights to verify that the batteries are fully charged and the light outputs are consistent. Second, cycle through the modes to confirm that the switches are responsive. Third, physically shake the mounting brackets to check that they are tight and have not degraded from humidity or UV exposure. Finally, wipe down the front and rear lenses with a clean microfiber cloth to remove any accumulated road grime, dust, or dried water spots that could diminish your light output.
Frequently Asked Questions (FAQ)
Do I need a front light if the PCN section is fully lit by streetlamps?
Yes, you still need a front light even on perfectly illuminated sections of the PCN. While you do not need high lumens to see the path surface under bright streetlamps, keeping your front light on a low steady or pulsing mode is crucial for being seen by others. It alerts pedestrians stepping onto the path from blind corners, side entrances, or HDB void decks, and helps oncoming cyclists identify your approach early, preventing head-on near-misses on narrow shared paths.
Are helmet-mounted lights better than handlebar lights for PCN riding?
Handlebar-mounted lights are generally much better as your primary light source on the PCN because they provide a stable, downward-angled beam that directly illuminates path hazards without blinding others. Helmet-mounted lights can be useful as secondary, low-intensity lights for looking around tight corners or checking blind spots, but they require strict discipline. Because a helmet light points wherever you turn your head, you must actively avoid looking directly at oncoming cyclists and pedestrians to prevent shining the beam straight into their eyes.
Community discussion
Share your experience or ask a question. Comments are reviewed before publication.