
Selecting the right dry bag is one of the most practical decisions a beginner snorkeler in Singapore can make. When heading out to local marine spots like Pulau Hantu, Sisters’ Islands, or St. John’s Island, your gear is constantly exposed to saltwater, sand, and unpredictable tropical weather. A reliable dry bag ensures that your dry clothes, mobile phone, wallet, and towel remain completely dry while you explore the reefs. For most beginners, a 10-liter to 20-liter bag made from heavy-duty polyvinyl chloride (PVC) or thermoplastic polyurethane (TPU) with high-frequency welded seams offers the ideal balance of storage space, durability, and water protection.
Understanding how to evaluate these bags based on material thickness, seam construction, and closure mechanisms will save you from the frustration of water-damaged electronics or soggy towels. Rather than relying on brand names alone, focusing on verifiable specifications allows you to find a high-performing bag that fits your budget. This guide breaks down the essential features, capacity requirements, and maintenance steps to help you choose and care for your first snorkeling dry bag.
Why Snorkeling Beginners Need a Dedicated Dry Bag
A standard backpack or casual sports bag is rarely equipped to handle the harsh conditions of a marine environment. When you board a boat at West Coast Pier or Marina South Pier to travel to Singapore’s southern islands, you are immediately exposed to sea spray and splashing water. Once you arrive, there are often no dry lockers or sheltered storage areas on the beaches or jetties. Your bag will likely sit on wet sand, damp concrete, or the open deck of a boat, where water can easily seep through standard zippers and stitched fabric.
Products mentioned in this guide
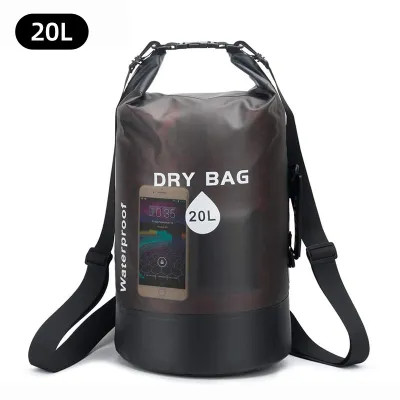
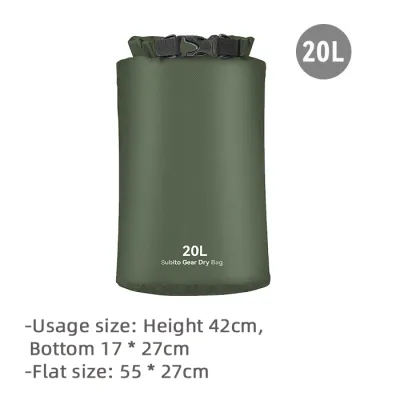
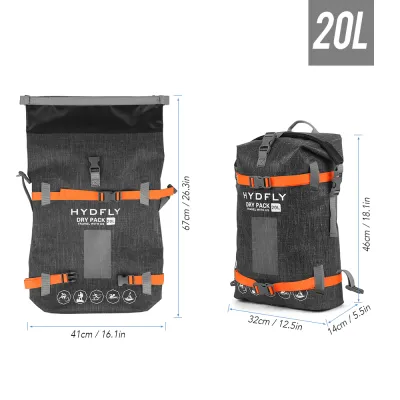
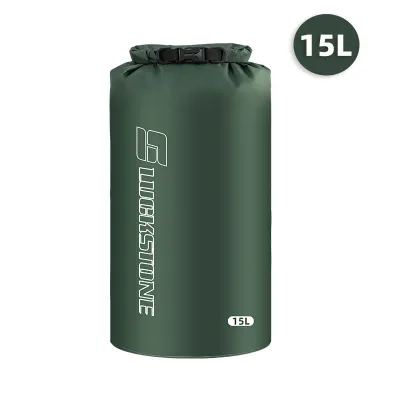
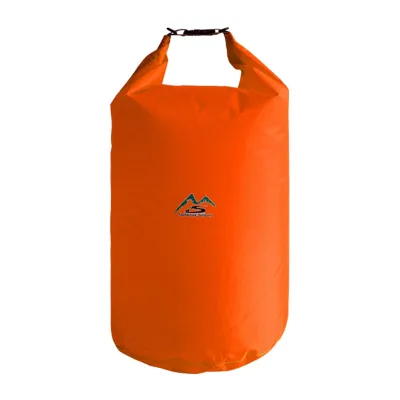
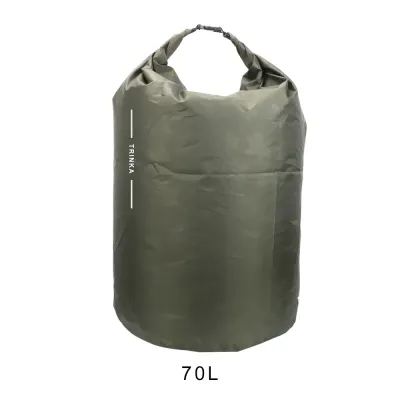
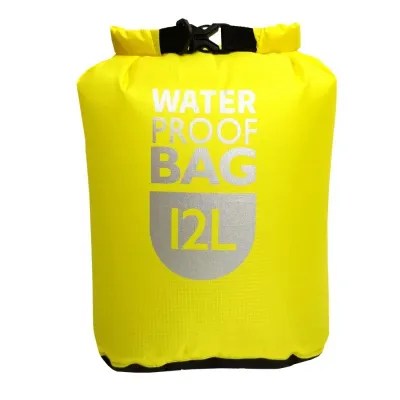
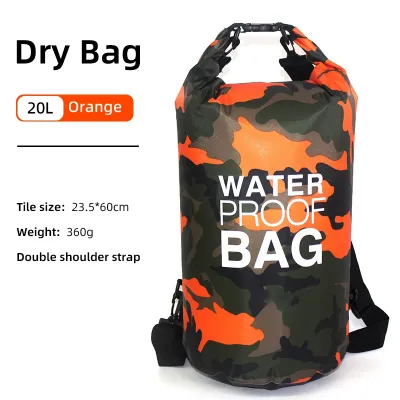
Prices are valid at publication and may change. Please refer to the product page for the latest price.
It is crucial to understand the difference between water-resistant splash bags and fully waterproof dry bags. Water-resistant bags, often made of lightweight coated nylon with standard zippers, are designed to repel light rain or minor splashes. They will quickly fail if they are placed on a wet boat deck or dropped into a shallow tide pool. A dedicated dry bag utilizes a roll-top closure and waterproof materials to create an airtight seal, preventing water from entering even when the bag is temporarily knocked into the water or exposed to a sudden tropical downpour.
Beyond protecting your gear from liquid water, a dry bag also shields your sensitive electronics from Singapore’s high ambient humidity and fine coastal sand. Saltwater residue is highly corrosive to charging ports, camera lenses, and metal zippers. By sealing your valuables inside a dedicated dry bag before you step onto the boat, you create a controlled, clean environment that extends the lifespan of your personal items. It also provides peace of mind, allowing you to focus on your snorkeling technique rather than worrying about the rising tide reaching your belongings on the shore.
Key Features to Evaluate in a Beginner-Friendly Dry Bag
When shopping for a dry bag at local sports outlets or online marketplaces, the closure mechanism should be your first point of inspection. The vast majority of reliable dry bags use a roll-top system, which relies on rolling a stiffened collar down several times to create a physical barrier against water. You should examine the buckle and clip quality closely; look for thick, impact-resistant plastic buckles that snap together securely. A weak or brittle buckle can easily crack if stepped on or dropped on rocky shores, rendering the entire bag impossible to seal.

The material of the bag determines both its weight and its resistance to punctures. Most entry-level dry bags are constructed from PVC, which is highly durable, easy to clean, and cost-effective. However, PVC can be relatively stiff and heavy, especially in larger capacities. If you prefer a lighter, more pliable option, look for TPU bags. When comparing materials, check the manufacturer’s denier rating, often written as 500D or 600D. A higher denier rating indicates thicker, stronger fibers that can withstand being dragged across rough granite rocks or coarse sand without tearing.
Seam construction is another critical factor that separates a reliable dry bag from a cheap imitation. Avoid bags with stitched seams, even if the manufacturer claims they have been treated with a waterproof coating. Over time, the tension of packing and rolling the bag will stretch the stitching, creating microscopic holes where water can seep through. Instead, look for high-frequency welded seams or ultrasonic welded seams. This manufacturing process uses heat and pressure to fuse the fabric panels together at a molecular level, creating a seamless, uniform bond that is completely waterproof and highly resistant to peeling.
Finally, consider how you will carry the bag during your trip. Beginners often underestimate the distance they need to walk from the ferry jetty to the actual snorkeling spot, such as the lagoon at Sisters’ Island. A simple single-strap design is sufficient for light loads and short walks, but it can strain your shoulder if the bag is fully packed. For better comfort and hands-free mobility, look for a dry bag with dual adjustable shoulder straps that allow you to wear it like a backpack. Some models also feature padded straps and chest buckles, which help distribute the weight evenly when walking over uneven, slippery terrain.
Matching Dry Bag Capacity to Your Snorkeling Loadout
Selecting the right volume for your dry bag prevents you from carrying unnecessary bulk while ensuring you have enough space for all your essentials. Dry bag capacities are measured in liters, and choosing the correct size depends entirely on your planned loadout for the day. If you pack too small a bag, you will not be able to roll the top down the required number of times to secure the waterproof seal. Conversely, an oversized bag can be cumbersome to carry and will trap excess air, making it bulky and awkward to manage on a crowded boat.
A 5-liter to 10-liter dry bag is generally considered the ideal size for minimalist snorkelers who only need to protect their personal valuables. This capacity easily accommodates a smartphone, a wallet, car keys, a small power bank, and a compact microfiber travel towel. Because of their small footprint, 5L and 10L bags are highly portable and can easily be tucked under a boat seat or carried inside a larger, non-waterproof backpack during your commute to the pier.
For a full-day snorkeling excursion where you need to bring a complete change of clothes, a 15-liter to 20-liter dry bag is the most versatile choice. This mid-sized capacity allows you to pack your personal essentials along with a dry t-shirt, shorts, a standard beach towel, sunscreen, snacks, and a reusable water bottle. A 20L bag is particularly popular among beginners in Singapore because it offers enough space to keep your wet snorkeling gear separate from your dry clothes after you finish your swim; you can simply place your wet mask, snorkel, and swimwear inside the bag for the journey home.
If you are traveling with a partner or need to carry bulky equipment, look for bags with a capacity of 30 liters or more. These larger bags are suitable for carrying rented snorkeling fins, which are often too long to fit into standard daypacks. A 30L bag can easily hold two sets of masks, snorkels, towels, and changes of clothing, making it an efficient option for couples or families who want to consolidate their gear into a single carryall. However, keep in mind that a fully loaded 30L bag can become quite heavy, so prioritizing a model with comfortable backpack straps is essential.
Before finalizing your purchase, always verify the internal dimensions of the bag against your longest pieces of gear. Keep in mind that the advertised capacity of a dry bag refers to its volume after the top has been rolled down the recommended three to four times. A bag that measures 50 centimeters tall when flat will lose approximately 15 centimeters of usable height once it is properly sealed. If you plan to carry long items like full-foot snorkeling fins, measure them beforehand to ensure they will fit comfortably below the roll-line of your chosen bag.
How to Properly Seal and Care for Your Dry Bag
Even the most durable dry bag will fail to protect your gear if it is not sealed correctly. To create a reliable, airtight barrier, start by packing your items neatly, placing heavier objects at the bottom to maintain stability. Once packed, pinch the two stiffened bands at the top opening together, ensuring they are perfectly flat and free of wrinkles. Force out any excess air if you want to minimize bulk, or leave a small amount of air inside if you want the bag to float if it falls into the water.
Next, roll the top bands downward tightly at least three to four times. Do not simply fold the top; a tight roll is what creates the tension necessary to block water from entering. Once you have completed the rolls, bend the buckle ends toward each other and clip them together. This action bends the rolled material into an arch, locking the seal in place and creating a convenient carrying handle. Always double-check that the buckle is fully engaged and that no loose fabric or strap ends are trapped inside the roll.
Proper post-trip maintenance is vital to prevent mold growth and extend the lifespan of your dry bag, especially in Singapore’s hot and humid climate. After every snorkeling trip, rinse the exterior and interior of the bag thoroughly with clean, fresh water to remove salt crystals, sand, and organic debris. Saltwater can dry out and degrade plastic coatings over time, while sand particles can act as an abrasive, slowly wearing away the welded seams. Avoid using harsh chemical detergents or abrasive sponges; a gentle wipe with a soft cloth and mild soapy water is sufficient for stubborn stains.
Once rinsed, hang the bag to dry completely in a well-ventilated, shaded area. It is highly recommended to turn the bag inside out first to ensure the interior corners are dry, then flip it back to dry the exterior. Never store a damp dry bag in a closed closet, as the trapped moisture will quickly lead to mold, mildew, and unpleasant odors that are difficult to remove. Additionally, avoid exposing the bag to direct, intense midday sunlight for extended periods, as extreme UV exposure can weaken the adhesive bonds on the seams and cause the material to become brittle.
Regularly inspect your dry bag for signs of wear and tear before heading out on a trip. Look closely at the welded seams for any lifting or peeling, and check the plastic buckles for hairline cracks or stiffness. If you notice any structural damage, or if the bag fails to retain air during a manual pressure check, it is time to stop using it for water protection. You should consult the manufacturer’s guidelines or contact a professional repair service, as attempting to patch critical seam failures at home can lead to unexpected leaks during your next snorkeling adventure.
Frequently Asked Questions (FAQ)
Can I take my dry bag into the water while snorkeling?
Standard roll-top dry bags are designed to protect your gear from splashes, rain, and temporary surface immersion, but they are not intended for prolonged submersion underwater. While a properly sealed dry bag will float on the surface due to the air trapped inside, dragging it along while you snorkel can put continuous pressure on the roll-top seal, eventually forcing water inside. If you need to keep your items with you in the water, look for specialized tow floats or bags specifically rated for continuous submersion. For small valuables like phones or car keys, it is safer to use a dedicated waterproof phone pouch with a secure lanyard that you can wear around your neck or secure to your body.
How do I test a new dry bag before my first snorkeling trip?
You should always perform a simple home test on any new dry bag before trusting it with your expensive electronics. To do this, place a few dry paper towels or sheets of tissue paper inside the bag, then roll and buckle it securely as you would for a trip. Submerge the sealed bag in a bathtub, sink, or bucket of clean water for several minutes, gently applying light pressure to see if any air bubbles escape from the seams or the roll-top. Afterward, dry the exterior of the bag completely with a towel before opening it to inspect the paper towels inside. If the paper remains perfectly dry, your bag’s seal is intact and ready for use, though you should still adhere to the manufacturer’s official usage limits.
Community discussion
Share your experience or ask a question. Comments are reviewed before publication.