
Finding the right bicycle handphone mount is not about searching for a single universal winner. Instead, it requires matching your specific handlebar geometry, phone dimensions, and typical riding route to a compatible mounting mechanism. Whether you are cruising along flat, paved park connectors or navigating bumpy gravel paths, your mounting system must keep your device secure and readable.
The three primary mounting mechanisms—rigid clamps, flexible silicone straps, and magnetic systems—each serve distinct setups and riding styles. Choosing the wrong type can lead to a loose mount, blocked shifters, or even a dropped phone. By evaluating your cockpit space and device specifications beforehand, you can select a system that remains stable throughout your journey.
Quick Diagnostic Guide: Match Your Setup to the Right Mount
To narrow down your choices quickly, start by assessing your handlebar shape and typical riding environment. Different mounting styles excel under specific conditions, and ruling out incompatible designs early saves time and expense.
Products mentioned in this guide
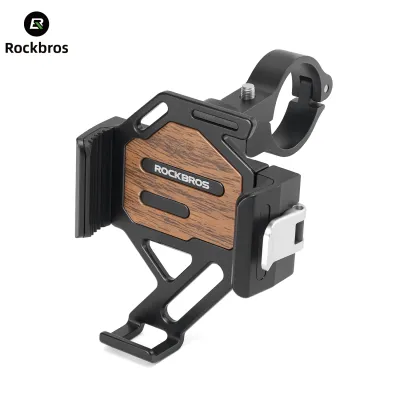
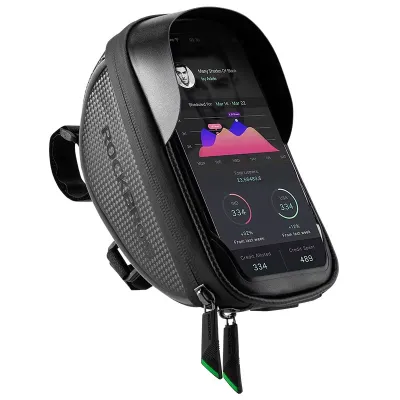
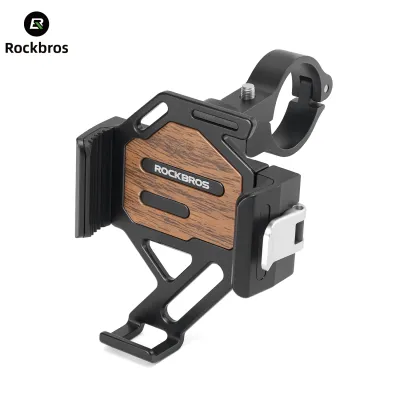
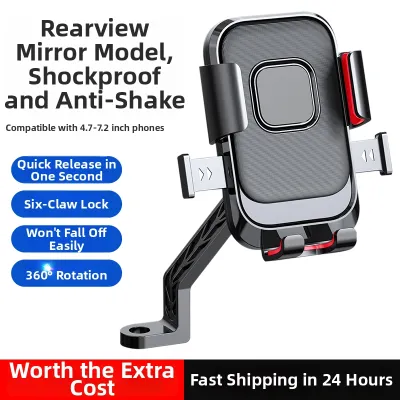
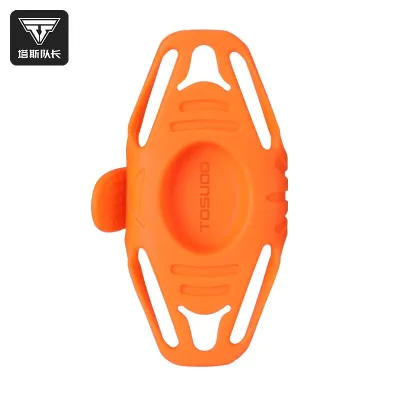
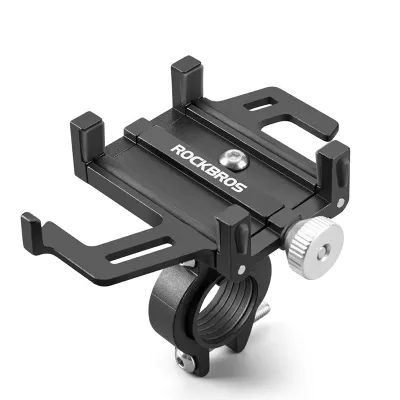
Prices are valid at publication and may change. Please refer to the product page for the latest price.
- Rigid Clamp Mounts: Best for standard round handlebars and rougher paths. These mounts offer high mechanical security and a fixed viewing angle, making them ideal for long-distance road riding or uneven terrain.
- Flexible Silicone Mounts: Best for irregular handlebar shapes, aero bars, or shared bicycles. The elastic straps stretch over non-standard profiles and install in seconds without tools, making them highly versatile for casual recreation.
- Magnetic Mounts: Best for daily commuting and smooth, paved paths. These systems provide rapid, one-handed attachment and removal, which is highly convenient for riders who make frequent stops.
Step 1: Inspect Your Handlebar Shape and Available Space
Before purchasing any bicycle handphone mount, you must measure your handlebar’s mounting zone. Most standard handlebars feature a round profile with common diameters of 22.2mm, 25.4mm, or 31.8mm. If you do not have a vernier caliper, you can wrap a strip of paper around the handlebar, mark the overlap, measure the length in millimeters, and divide by 3.14 to find the diameter.

If your bicycle features flat, teardrop-shaped aero handlebars or an integrated carbon cockpit, standard rigid clamps will not fit. Forcing a rigid metal or plastic clamp onto a non-round carbon bar can scratch the finish or cause structural damage. For these specialized setups, look for out-front mounts that bolt directly into the accessory ports underneath the stem, or opt for flexible silicone straps that conform to irregular shapes.
Physical clearance around your controls is equally critical. Observe the space near your stem and check for interference with brake levers, gear shifters, and routing cables. A bulky mount base can pinch cables or restrict their movement, which directly compromises your braking and shifting responsiveness. Ensure the mount can sit in a position that keeps your phone visible without blocking your hands or your view of the road.
Step 2: Evaluate Your Phone Dimensions and Case Compatibility
Modern smartphones vary widely in weight and physical size, especially when fitted with protective cases. Check your phone’s total weight—including the case—against the mount manufacturer’s specified weight limits. Heavy devices place higher leverage forces on the mounting bracket during sudden bumps, which can cause silicone straps to overstretch or magnetic connections to slip.
Case thickness and material directly affect how securely a mechanical clamp can grip your device. Thick, rugged cases or those with integrated kickstands often exceed the maximum jaw depth of standard clamps. Measure your cased phone’s thickness and verify that the clamp’s retaining lips can fully wrap around the front edge of your screen to prevent the phone from squeezing out.
If you prefer magnetic systems or adhesive-based mounting plates, inspect the back of your phone case. Large camera bumps, textured leather, or matte silicone finishes can prevent adhesive adapters from bonding securely. For a reliable connection, the mounting surface must be completely flat, clean, and made of a non-porous material like hard polycarbonate.
Step 3: Choose the Mechanism Based on Your Riding Conditions
Your typical riding environment and weather conditions should dictate the mounting mechanism you choose. Each of the three main types handles vibration, moisture, and daily wear differently.
Clamp Mounts
These mechanical systems use screws or spring-loaded jaws to lock the phone in place, providing a highly rigid connection. They are excellent for maintaining a stable viewing angle on bumpy roads, but they transmit high-frequency road vibrations directly to your phone. If you ride frequently on rough surfaces, verify if the clamp model includes built-in vibration dampening inserts to help protect your phone’s internal camera components.
Silicone Mounts
Made of elastic silicone bands, these mounts wrap around the corners of your phone and stretch around the handlebar. They excel at absorbing low-level road buzz and fit almost any handlebar shape without scratching the finish. However, silicone is susceptible to environmental degradation; check the straps regularly for micro-tears, especially if you ride in hot, humid climates or leave your bicycle exposed to direct sunlight.
Magnetic Mounts
These systems rely on strong magnetic arrays, often paired with a mechanical twist-lock, to secure the phone instantly. They are ideal for urban commuters who need to detach their phone quickly when parking. To use them, you must verify if your phone has a compatible built-in magnetic array or if you need to install a proprietary case. Note that magnetic holding power can be compromised if dirt or metallic dust accumulates on the mounting interface.
Pre-Ride Safety Checks and Installation Limits
No bicycle handphone mount is entirely set-and-forget. Before every ride, perform a quick physical check to ensure your device remains secure. Wiggle the mount bracket to verify the handlebar clamp is tight, check that silicone straps are fully seated over all four corners of the phone, and listen for the positive click of any mechanical or magnetic locking systems.
Regularly inspect your equipment for signs of material fatigue. Look for hairline cracks in plastic clamps, stretching or discoloration in silicone bands, and peeling edges on adhesive plates. In tropical environments with high humidity and intense sun exposure, materials can degrade faster than expected, making routine inspections essential.
If you notice any play in the mounting bracket that cannot be corrected by tightening, or if a silicone strap shows even a tiny tear, stop using the mount immediately. Consult the manufacturer’s guidelines for replacement parts rather than risking a dropped device on a busy road or park connector. Remember that no mount can replace safe riding habits and focused attention on the path ahead.
Frequently Asked Questions (FAQ)
Can I use a magnetic mount with a thick protective case?
Magnetic pull strength decreases significantly as the distance between the magnets increases. If you use a thick protective case, the magnetic connection may not be strong enough to hold your phone securely over bumps. Check the mount manufacturer’s specifications for the maximum supported case thickness, and consider using a dedicated case with an integrated magnetic ring to ensure a secure connection.
Do silicone straps damage the handlebar tape or finish?
Clean, high-quality silicone is soft and generally will not scratch or damage your handlebar’s finish or bar tape. However, road grit, dust, and moisture can get trapped underneath the silicone strap during a ride. Over time, the vibration of riding can cause this trapped grit to act like sandpaper, abrading the surface. To prevent this, wipe down both your handlebar and the inside of the silicone strap before installation.
How do I prevent my phone from vibrating while using a clamp mount?
To minimize vibration, first ensure the clamp is tightened to the manufacturer’s recommended torque or click-stop setting without overtightening. Check if your specific clamp model is compatible with add-on vibration dampening modules, which are designed to absorb high-frequency road vibrations. If your phone continues to experience severe vibration, consult the phone or mount manufacturer, as prolonged exposure to high-frequency vibrations can potentially affect sensitive optical image stabilization systems in modern phone cameras.
Community discussion
Share your experience or ask a question. Comments are reviewed before publication.