
Daily cycling along the Park Connector Network (PCN) is an excellent way to stay active and commute efficiently. However, returning home with a bicycle presents a common household challenge: finding the most convenient, secure, and space-efficient way to store your ride. The decision typically comes down to a freestanding bike rack stand versus a wall-mounted bike rack.
The ideal storage solution depends primarily on your housing situation, wall materials, and willingness to perform home modifications. A freestanding bike rack stand is the best choice for renters, those who prefer flexible room layouts, or anyone living in homes where drilling into concrete walls is impractical. Conversely, a wall-mounted rack is the superior option for maximizing floor clearance in tight entryways or narrow corridors, provided you have the permission and tools to drill permanent fixtures. Balancing these factors ensures your bike remains secure without disrupting your daily living space.
Space and Layout: Floor Footprint vs. Vertical Clearance
Evaluating how a storage solution interacts with your home’s layout is the first step in making a practical choice. Freestanding stands rest directly on the floor, meaning they occupy a permanent patch of real estate. A typical single-bike floor stand requires a clear rectangular footprint, but the actual space consumed is much larger once you account for the handlebar width and pedal protrusion. In tight living room corners or narrow entryways, these protruding parts can easily snag clothing or obstruct daily foot traffic.
Products mentioned in this guide
![[✅SG Ready Stock] Bicycle Rack Hanger Triple Bike Stand Shelf Floor to Ceiling](https://img.lazcdn.com/g/p/bb306f5985889e969e2393bd2fa0e9d0.jpg_400x400q80.jpg_.webp)
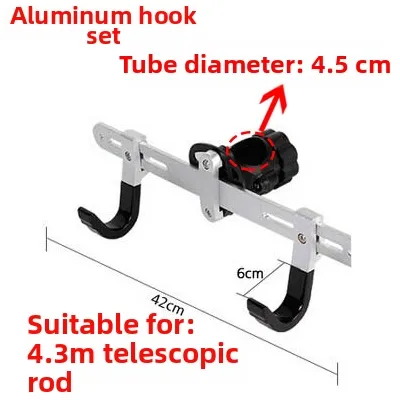
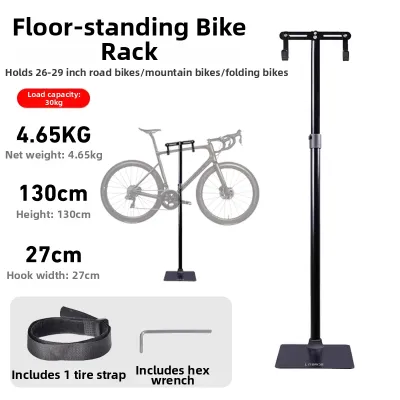
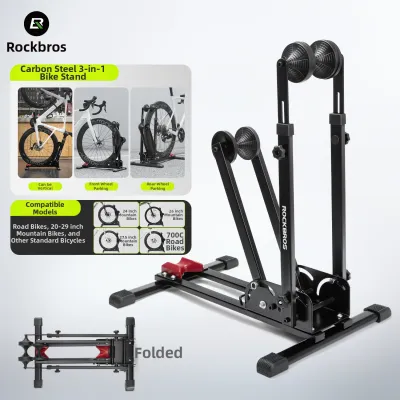
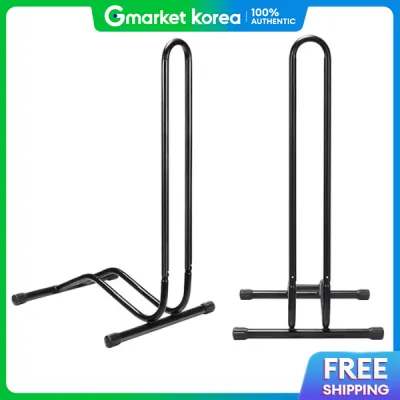

Prices are valid at publication and may change. Please refer to the product page for the latest price.
Wall-mounted racks utilize vertical space, lifting the bicycle completely off the floor. This clearance opens up valuable floor area underneath the bike for shoe racks, storage bins, or general cleaning access. However, vertical storage requires careful measurement of your ceiling height and the physical lifting capacity of the rider. If you mount the bike too high, lifting a heavy commuter or hybrid bike after a tiring PCN ride can become a strenuous chore. Additionally, the handlebars will still stick out from the wall, which can block narrow walkways if the rack is placed in a high-traffic corridor.
Residential layouts present unique spatial challenges. Many modern apartments feature narrow entryways, household shelters with reinforced concrete walls, and strict common corridor guidelines that prohibit leaving personal mobility devices or bicycles outside. Storing your bike indoors is often the only viable option. If your indoor entryway is narrow, a wall-mounted rack that holds the bike parallel to the wall can keep the path clear, whereas a freestanding stand might force the bike to sit perpendicular, blocking the front door.
Installation and Housing Rules: Drilling vs. Flexibility
Installing a wall-mounted rack requires a commitment to physical labor and structural modification. Most residential walls are made of either solid concrete or drywall partitions. Mounting a heavy bicycle on concrete requires a hammer drill, masonry drill bits, and heavy-duty wall plugs to ensure the rack does not pull out of the wall. Drywall or partition walls are significantly weaker; mounting a bike rack on them requires locating the internal wooden or metal studs using a stud finder, as anchoring into bare drywall can lead to structural failure and severe wall damage.

These physical requirements tie directly into housing rules and tenancy agreements. Renters face strict limitations regarding drilling and permanent alterations. Making unauthorized holes in concrete walls can lead to disputes and the loss of a security deposit. For tenants, a freestanding bike rack stand is often the only realistic option. It requires no drilling, preserves the integrity of the walls, and can be assembled quickly using basic hand tools.
Homeowners enjoy more freedom but must still consider future flexibility. A freestanding stand can be relocated from the living room to the balcony, study, or bedroom in a matter of seconds. This flexibility is highly beneficial if you decide to rearrange your furniture, host guests, or upgrade your living space. A wall-mounted rack, once installed, is a permanent fixture; moving it requires patching holes, sanding, and repainting the wall surface.
Bike Stability and Frame Protection After PCN Rides
How a rack supports your bicycle affects both the longevity of the bike components and the cleanliness of your home. Wall-mounted racks often rely on hooks or cradles that contact the bike’s frame, rims, or tires. If these contact points lack sufficient rubber or foam padding, they can scratch the paint or wear down the finish over time. Furthermore, hanging a heavy bicycle vertically by a single wheel hook can place concentrated stress on the wheel rim and spokes, though high-quality wheels are generally designed to handle these loads.
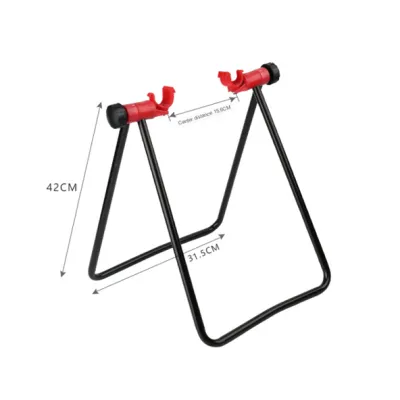
Freestanding stands typically support the bicycle by holding the rear tire or hub, avoiding direct contact with the frame tubes. This design is particularly advantageous for bicycles with delicate carbon fiber frames, where clamping or hanging the frame is not recommended by manufacturers. Because the bike’s weight is distributed naturally through the tires and onto the floor, there is minimal risk of component deformation or structural stress.
Weather conditions along the PCN also play a role in your storage choice. Sudden tropical downpours can leave your bicycle covered in water, mud, and road grit. If you hang a wet bike on a wall-mounted rack, dirty water can drip down the wall, leaving unsightly stains on paint or wallpaper. A freestanding stand offers better management for drip drying; you can easily place a protective plastic tray or a washable mat underneath the stand to catch water and debris, keeping your walls pristine and your floors dry.
Comparison Matrix: Freestanding Stand vs. Wall-Mounted Rack
| Feature | Freestanding Bike Rack Stand | Wall-Mounted Bike Rack |
|---|---|---|
| Installation Effort | Low; basic assembly with hand tools, no drilling required. | High; requires drilling, wall anchors, and precise leveling. |
| Floor Space Utilized | High; occupies dedicated floor area. | None; lifts the bike completely off the ground. |
| Wall Damage Risk | None; does not attach to the wall. | High; requires drilling holes and can cause tire scuffs. |
| Portability | High; easily moved to different rooms or new homes. | Low; permanent fixture that requires wall repair to remove. |
| Ideal User Profile | Renters, owners of carbon frames, and those who change layouts. | Homeowners with limited floor space and concrete walls. |
| What to Verify Before Buying | Tire width compatibility and base weight for stability. | Wall material type and manufacturer weight limits. |
How to Choose the Right Bike Rack Stand for Your Home
To finalize your decision, systematically evaluate your living constraints and bicycle specifications.
Choose a freestanding bike rack stand if:
- You are renting your home and want to avoid losing your security deposit due to wall damage.
- You want the flexibility to move your bicycle storage setup between rooms or take it with you when you move.
- Your bicycle has a carbon fiber frame or non-standard frame geometry that makes hanging it by the top tube difficult or risky.
- You want an easy, tool-free setup that does not require drilling into hard concrete walls.
Choose a wall-mounted bike rack if:
- You own your home and are comfortable performing permanent wall installations.
- Your indoor floor space is highly limited, and you need to keep walkways and entryways completely clear.
- You want a clean, minimalist aesthetic that displays your bicycle as a design feature on the wall.
- You have solid concrete walls that can easily support the weight of the rack and the bicycle.
Before making any purchase, verify the physical compatibility of your bicycle. Check the tire width to ensure it fits into the slots of a freestanding stand, especially if you ride a mountain bike with wide tires. If you choose a wall-mounted option, check the manufacturer’s product label for the maximum weight capacity and compare it against the actual weight of your bicycle to ensure a safe and secure setup.
Frequently Asked Questions (FAQ)
Can I store a heavy e-bike on a wall-mounted rack?
Storing a heavy e-bike on a wall-mounted rack requires careful verification of both the rack’s specifications and your wall structure. You must check the manufacturer’s maximum weight capacity printed on the product label, as e-bikes are significantly heavier than standard acoustic bicycles due to their motors and batteries. Additionally, the rack must be anchored securely into solid concrete walls using heavy-duty expansion bolts. Do not attempt to mount a heavy e-bike on drywall, partition walls, or hollow bricks, as the structural load can cause the anchors to pull out, leading to property damage or injury.
How do I prevent wall marks from a freestanding bike stand?
To prevent a freestanding bike rack stand from leaving scuffs or tire marks on your walls, start by checking your handlebar width and the swing radius of the front wheel before positioning the stand. Placing the stand slightly further away from the wall ensures that the handlebars and dirty tires do not make contact with the painted surface. If space is tight and the stand must sit close to the wall, you can apply removable protective wall guards or clear adhesive plastic sheets to the wall areas most likely to be touched by the tires or handlebar grips.
Community discussion
Share your experience or ask a question. Comments are reviewed before publication.