
Navigating Singapore’s Park Connector Network (PCN) after sunset is one of the most enjoyable ways to stay active, but it requires a careful approach to equipment. To ride safely and courteously, your primary requirement is a bicycle light front setup that balances moderate lumen output, a wide flood or cut-off beam pattern, and a highly adjustable mount. Unlike mountain biking on rugged, unlit trails, PCN riding takes place on paved, shared paths where blinding oncoming path users is a significant safety hazard. Selecting the right specifications ensures you can spot pavement hazards early while remaining a respectful sharing partner on the trail.
The PCN Environment: Why Standard Off-Road Specs Don't Apply
Singapore’s PCN system is a world-class network of shared paths, but its lighting conditions are highly variable. On a single ride along the Eastern Coastal Loop or the Central Urban Loop, you might transition from brightly lit park segments to pitch-black underpasses, rustic coastal stretches, and tree-canopied corridors. This mixed environment means you do not need the extreme, constant high-output illumination required for deep-forest mountain biking.
Furthermore, the PCN is a shared space. At any point, you will share the path with runners, brisk walkers, families with young children, and oncoming cyclists. A high-powered off-road light designed to illuminate wide-open trails will project a blinding glare directly into the eyes of oncoming path users. This temporary blindness makes it difficult for others to judge your speed and distance, increasing the risk of collisions. Therefore, the core decision framework for PCN riding prioritizes adequate visibility and path courtesy over raw, maximum power.
Products mentioned in this guide
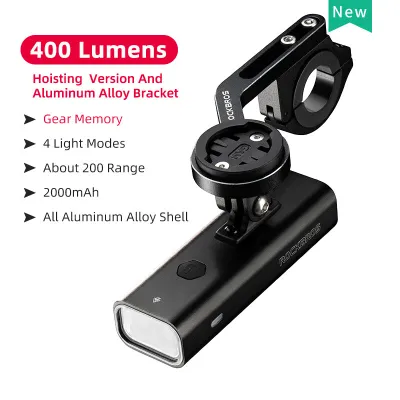
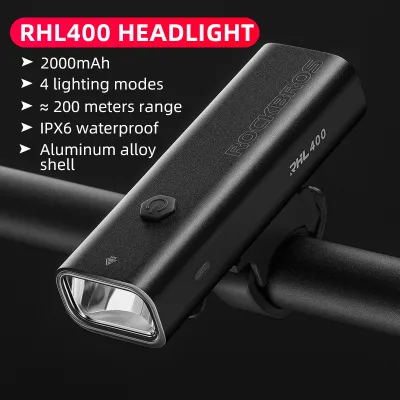
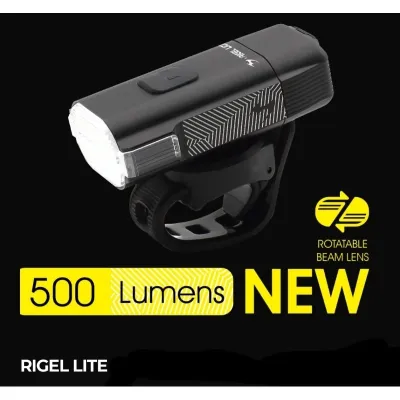
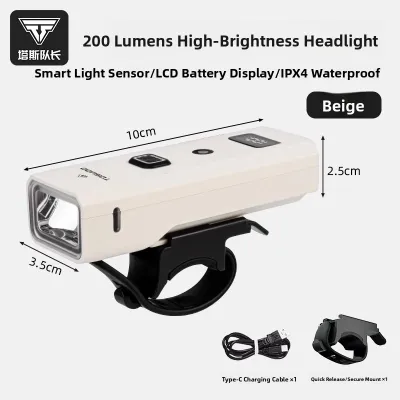
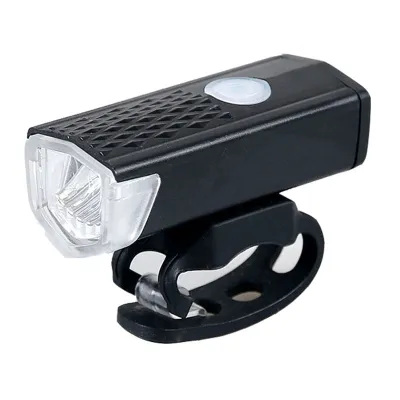
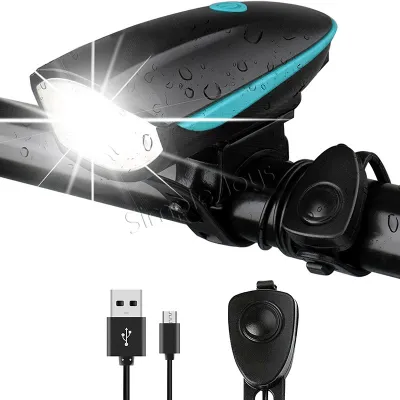
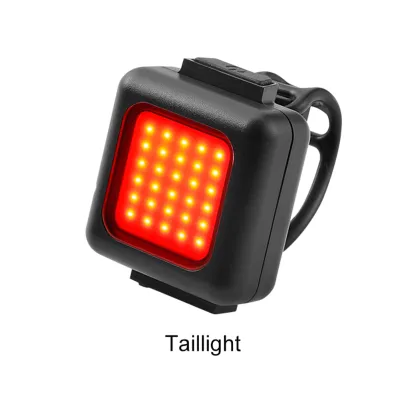
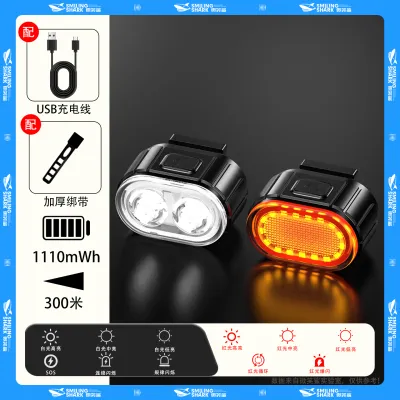
Prices are valid at publication and may change. Please refer to the product page for the latest price.
Lumen Output: Balancing Visibility and Courtesy on Shared Paths
Lumens measure the total amount of visible light emitted by a source in all directions. In practical terms, a light rating of 100 lumens is generally sufficient to make you visible to others under bright streetlights. To actually see the path surface and spot obstacles like fallen twigs, puddles, or uneven expansion joints at typical PCN speeds (around 15 to 20 km/h), you need a light that delivers between 200 and 400 lumens. Anything exceeding 600 lumens is typically overpowered for shared paths and should be reserved for completely unlit roads or technical off-road trails.

Using excessive lumens on a shared path creates a severe glare hazard. Because your eyes adapt to the ambient light, a massive hotspot on the pavement directly in front of you actually reduces your night vision outside of that bright zone, making it harder to see pedestrians stepping out from darker side paths. Instead of chasing the highest lumen number, look for a front light that offers multiple, easily accessible brightness modes.
A versatile PCN light should feature at least three distinct steady modes:
- Low Mode (100–150 lumens): Best for well-lit urban connectors where your primary goal is to be seen by others.
- Medium Mode (200–300 lumens): The sweet spot for typical PCN riding, providing enough illumination to see the ground ahead without overwhelming oncoming traffic.
- High Mode (400+ lumens): Reserved for dark underpasses, unlit park connectors, or sudden downpours where visibility drops dramatically.
This multi-mode capability allows you to adjust your brightness dynamically as you ride, conserving battery life and keeping the path safe for everyone.
Beam Pattern: Why Flood and Cut-Off Designs Beat Focused Spots
The shape of the light beam is just as important as its brightness. Many off-road bicycle lights feature a focused spot beam, which projects a narrow, intense cone of light far into the distance. While this is useful for high-speed trail riding where you need to see far ahead, it leaves your peripheral vision completely dark. On a paved PCN, this lack of side illumination makes it difficult to spot pedestrians, pets, or cyclists entering from intersecting paths.
Instead, look for a wide flood beam or, ideally, an anti-glare cut-off design. Often inspired by German road safety standards (StVZO), cut-off lenses use shaped reflectors to direct light downward onto the pavement, creating a flat horizontal boundary at the top of the beam. This ensures that the brightest part of the light illuminates the ground directly in front of your wheel and up to 10 to 15 meters ahead, while preventing any stray light from rising into the eyes of oncoming path users.
When evaluating product descriptions or user reviews, look for terms like “shaped beam,” “anti-glare lens,” or “StVZO compliant.” A quality lens design will distribute light even across the path rather than creating a single, blinding hotspot in the center with dark edges.
Mounting and Adjustability: Securing Your Light and Controlling the Glare
How and where you mount your light directly impacts its effectiveness and safety. Standard handlebar mounts are the most practical choice for PCN riding. By keeping the light source relatively low, handlebar mounts cast helpful shadows over pavement imperfections, making cracks and bumps easier to spot. In contrast, helmet-mounted lights follow your head movements; while useful for looking around corners on technical trails, they require strict discipline on shared paths because looking at an oncoming cyclist will instantly blind them.
For daily convenience and security in Singapore, look for a mounting system with a tool-free, quick-release mechanism. Because you will often park your bike outside food centres, convenience stores, or MRT stations, being able to slide the light off its bracket in a second prevents opportunistic theft. It also makes indoor charging much simpler.
The mount must also offer micro-adjustability. A secure, rubber-lined strap or a screw-tightened bracket allows you to fine-tune the downward angle of the light. This ensures that even if you hit a bump, a curb, or a rough patch of pavement, the light will not vibrate loose or rotate upward into a blinding position.
Secondary Specs: Evaluating Battery Claims and Weather Resistance
When comparing front bike lights, secondary specifications like battery runtime and weather resistance often determine the overall user experience. Manufacturers frequently advertise maximum runtimes that are based on the lowest flashing mode, or highlight a high lumen output that only lasts for a few minutes before stepping down to prevent overheating. To make an informed decision, look closely at the estimated runtime specifically for the steady medium mode (200 to 300 lumens). A reliable light should offer at least 2 to 4 hours of continuous runtime at this level.
Singapore’s tropical climate demands dependable weather resistance. While you do not need to pay a premium for extreme, diving-grade waterproofing (such as IPX7 or IPX8), your light must be able to withstand sudden, heavy downpours. A rating of IPX4 (resistant to splashes from any direction) or IPX5 (resistant to low-pressure water jets) is generally sufficient, provided the rubber seal covering the charging port is kept firmly closed.
Finally, prioritize charging convenience. Integrated USB-C ports are the modern standard, allowing you to recharge your light using the same cable as your phone or a portable power bank. This is especially useful for longer endurance rides along the Round Island Route, where a quick top-up during a rest stop can prevent you from being left in the dark.
Frequently Asked Questions (FAQ)
Do I need a strobe or flashing mode for the front light on PCNs?
While flashing or strobe modes are highly effective on public roads to grab the attention of distracted motorists, they are generally discouraged on dark, shared PCN paths. A rapid, high-intensity flash can be highly disorienting to oncoming pedestrians and cyclists, making it difficult for them to estimate your distance and speed. On dark sections of the PCN, always use a steady beam. If you prefer to use a flashing mode for added visibility during twilight or in well-lit areas, select a low-lumen pulsing mode rather than a sharp strobe.
How should I angle my front bike light to avoid blinding others?
Setting the correct angle is a quick and essential pre-ride check. Stand your bicycle upright and turn on the light to its standard riding mode. Walk approximately five to ten meters in front of your bike and look back toward the handlebars. The brightest part of the beam (the hotspot) should hit the ground well ahead of your front wheel—typically three to five meters ahead—and the light should not shine directly into your eyes when standing. If the beam is pointing at eye level, tilt the mount downward until the light is focused entirely on the pavement.
Community discussion
Share your experience or ask a question. Comments are reviewed before publication.