
Most Garmin Edge cycling computers and Varia radar units use a standard quarter-turn mounting system, meaning they share the same basic connection interface. However, compatibility is not just about the plastic tabs locking together; it also depends on the physical size, weight, and clearance of your specific device relative to your bicycle’s handlebars and stem. To find the right mount, you must verify both the physical mounting interface on the back of your device and the clearance limits of the mount itself.
Identify Your Garmin Device's Mounting Interface
To determine which mount fits your setup, start by physically inspecting the back of your Garmin cycling computer or radar unit. The standard Garmin mounting mechanism is a circular, quarter-turn male interface featuring two prominent locking tabs on opposite sides. When you insert the device into a compatible female mount and rotate it 90 degrees, these tabs lock securely into place.
While this quarter-turn design is highly standardized across the Garmin Edge lineup, the physical dimensions of your device play a critical role in mount selection. Larger units require a longer mount arm to clear the handlebar clamp and stem faceplate. Conversely, smaller units can fit on almost any standard mount but still need to be checked for secure engagement.
Products mentioned in this guide
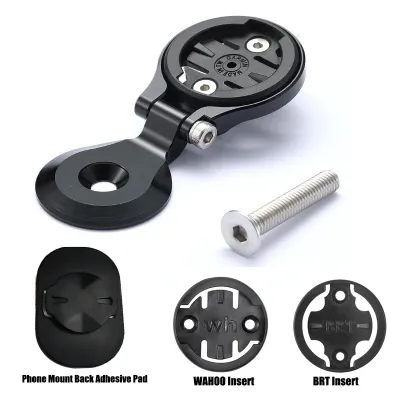
Prices are valid at publication and may change. Please refer to the product page for the latest price.
Additionally, some specialized Garmin devices or older models may feature variations in tab orientation or thickness. Inspect the back of your device to ensure the plastic tabs are intact, free of deep scratches, and not showing signs of stress discoloration. If your device has integrated charging pins on the mounting plate, you must verify that the mount insert does not block these contacts if you plan to use an external power pack.
Compare Common Garmin Bike Mount Styles
Choosing the right mount style depends on your riding environment, handlebar setup, and how you prefer to view your ride data.

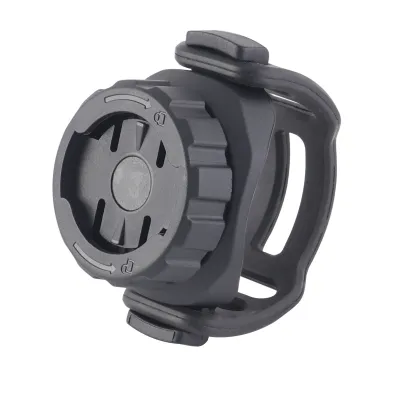
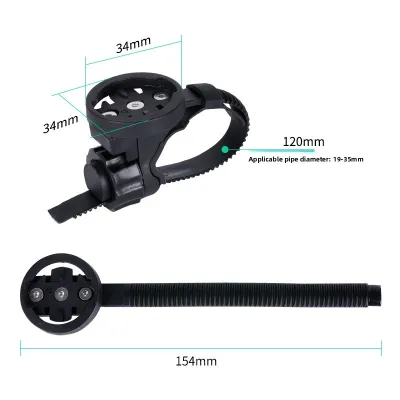
- Standard Stem Mounts: These basic, lightweight mounts attach directly to your handlebar stem or the handlebars themselves using durable rubber O-rings or bands. They are highly versatile, easy to swap between bikes, and position the computer directly over the stem. This style is ideal for casual riding or mountain biking where you want the device protected from frontal impacts, though it requires you to look further down to read the screen.
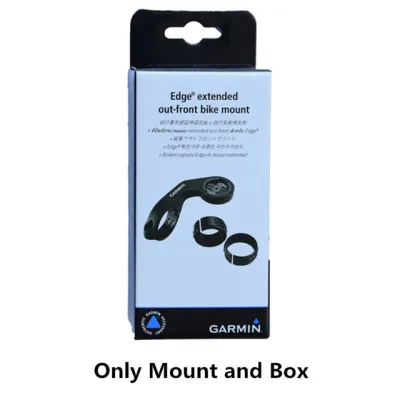
- Out-Front Mounts: These mounts extend an arm forward from the handlebars, positioning the cycling computer ahead of the stem and level with the bars. This placement improves aerodynamics and keeps the screen directly in your line of sight, which is highly beneficial for road cycling and fast group rides. Many out-front mounts also feature accessory mounting points underneath to hold a compatible front light or action camera.
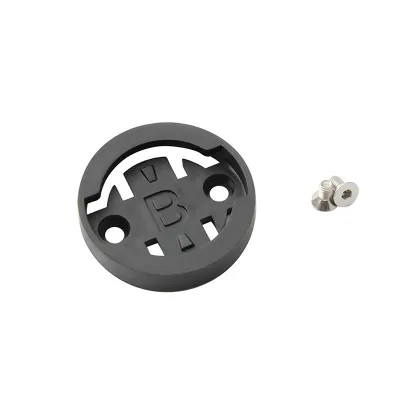
- Flush and Integrated Mounts: Designed primarily for modern aerodynamic road bikes, these mounts integrate seamlessly with proprietary, one-piece handlebar and stem cockpits. They often bolt directly to the underside of the handlebar assembly, keeping the computer perfectly flush with the bars to minimize wind resistance.
While the underlying quarter-turn connection remains identical across these styles, the physical clearance, arm length, and weight limits vary significantly. A mount designed for a compact computer may not offer enough clearance for a larger screen, causing the device to hit the handlebar stem during installation.
Steps to Verify Compatibility Before Purchase
Before purchasing a new Garmin bike mount, follow these verification steps to ensure a secure and compatible fit:
- Check the Manufacturer's Compatibility List: Always cross-reference your exact Garmin model number with the official compatibility documentation provided by the mount manufacturer. Do not rely solely on generic product titles, as some mounts are optimized only for specific device sizes.
- Verify Weight and Size Limits: Larger cycling computers are heavier and exert more leverage on the mount arm, especially when riding over rough roads or gravel. Check the mount's specifications to ensure it is rated to support the weight of your specific device, along with any underslung accessories like lights.
- Inspect Third-Party Mount Specifications: If you are considering a third-party mount, verify that the insert material is compatible with your Garmin's tabs. Some metal third-party inserts can wear down the plastic tabs on your Garmin device over time, potentially leading to a loose fit or failure during a ride. Opt for mounts with replaceable plastic inserts to protect your device's housing.
- Assess Adapter Requirements: If you are integrating your Garmin into a mixed-brand cockpit or using a mount designed for another brand, verify if a secure adapter is available. Ensure the adapter locks tightly without introducing excessive play or vibration, which can degrade the mounting tabs over time.
Installation and Safety Checks for Secure Riding
A compatible mount is only safe if it is installed correctly and inspected regularly. Proper installation prevents expensive device loss and ensures your focus remains on the road or trail.
Always read the installation instructions for both the mount and your handlebars before tightening any bolts. If you are mounting to carbon fiber handlebars, use a torque wrench to tighten the clamp bolts precisely to the manufacturer’s specified torque limit, which is typically measured in Newton-meters (Nm). Over-tightening can crush carbon handlebars, while under-tightening can cause the mount to rotate downward when you hit a bump.
Once installed, perform a physical check of the quarter-turn lock. Insert your Garmin device and rotate it until you feel and hear a distinct click. The device should sit level and feel completely secure, with no wobbling or play when you gently wiggle it. If the connection feels loose, do not ride; inspect the insert and the device’s tabs for wear.
Finally, establish a routine to inspect your mounting hardware periodically. Look for signs of UV degradation, cracking, or stress marks on plastic mounts, and check for loose bolts on metal mounts. If you ride frequently in wet or humid conditions, such as the tropical climate of Singapore, check metal bolts for signs of corrosion and replace them if necessary to prevent sudden failure.
Frequently Asked Questions (FAQ)
Can I use a GoPro action camera mount for my Garmin computer?
You cannot attach a Garmin computer directly to a GoPro mount because they use completely different physical interfaces. However, you can use a specialized adapter that converts the GoPro three-prong interface into a Garmin quarter-turn female receiver. When using these adapters, always verify the weight rating of the setup and ensure all connection bolts are tightened securely, as the added leverage of an adapter can increase vibration on rough terrain.
Do all Garmin Edge models use the exact same bike mount?
While almost all Garmin Edge models share the same quarter-turn mounting interface, they do not all fit on the exact same physical mounts. Larger, heavier models require out-front mounts with longer arms to clear the handlebar stem and robust construction to handle the extra weight. Always check the mount’s specifications to confirm it is designed to accommodate the physical dimensions and weight of your specific Edge model.
Community discussion
Share your experience or ask a question. Comments are reviewed before publication.