
Determining the correct Garmin mount adapter requires matching the physical interface on the bottom of your cycling computer with the specific mounting mechanism suited for your bike’s handlebar shape. By systematically checking your device connection, evaluating your bike’s front-end hardware, and verifying safety features, you can confidently select an adapter that ensures a secure fit and optimal visibility without risking damage to your equipment.
Identify Your Garmin Cycling Computer Interface
Start by examining the mounting interface on the back of your cycling computer. Most modern Garmin Edge devices utilize a standard quarter-turn locking system, where the device is inserted at a 90-degree angle and twisted into place. However, the physical dimensions and weight of your specific model play a significant role in determining which adapter is suitable.
Larger devices require longer out-front mounts to clear the handlebar stem. If you attempt to use a standard-length mount designed for smaller models, the body of the larger computer may press against your stem faceplate, preventing it from locking securely. Always consult your device’s official specification sheet to verify its physical dimensions before selecting an adapter.
Products mentioned in this guide
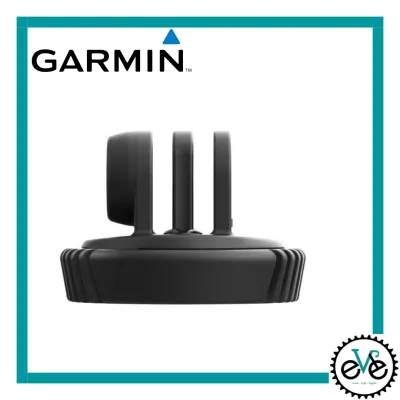
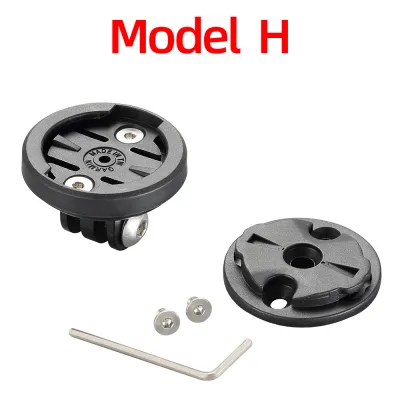
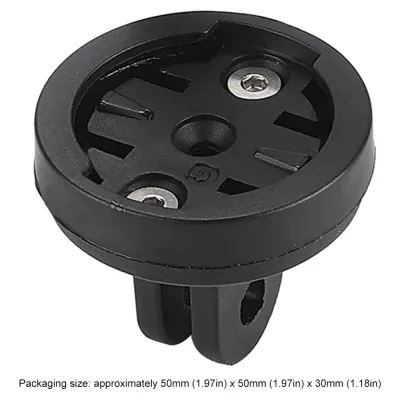
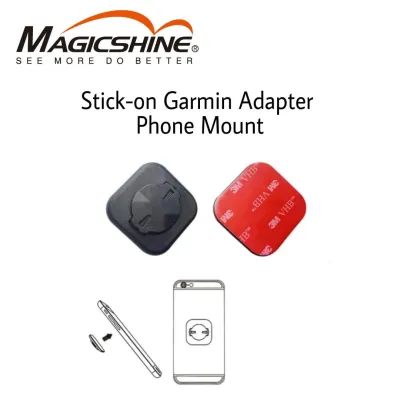
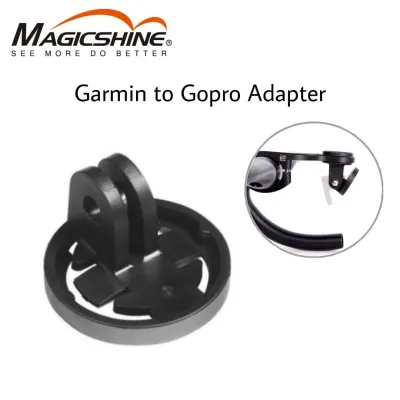
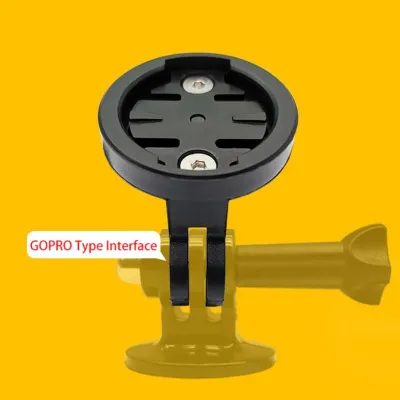
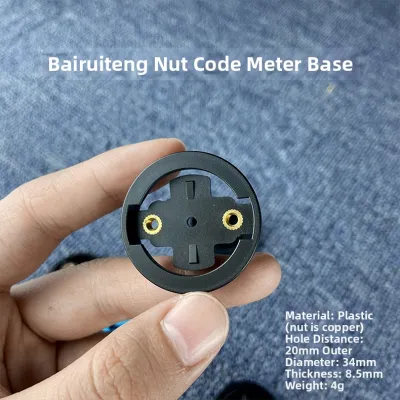
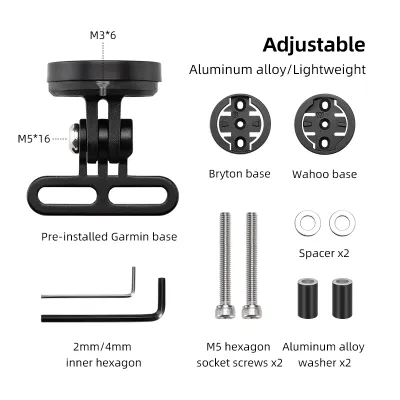
Prices are valid at publication and may change. Please refer to the product page for the latest price.
Additionally, pay close attention to the material of the mounting tabs on your device. Some models feature composite plastic tabs, while others use reinforced metal inserts. Matching these tabs with the correct adapter insert material is crucial. Using a rigid metal adapter insert with plastic device tabs can cause accelerated wear on the device’s mounting interface, potentially leading to broken tabs over time. Many high-quality adapters feature replaceable plastic inserts that are designed to wear out before the tabs on your expensive cycling computer do.
If you use a multisport watch, you will need a specialized quick-release kit or a cradle adapter rather than a standard quarter-turn mount. These adapters wrap around the watch pins or snap onto the watch body, converting the wearable device into a handlebar-compatible format. Identifying these unique physical requirements early prevents compatibility issues during installation.
Assess Your Handlebar and Stem Configuration
Once you have identified your device’s interface, you must evaluate the physical space and shape of your bike’s cockpit. Standard round handlebars typically come in diameters of 31.8 mm or 35 mm. You will need to measure your handlebars near the stem using a caliper or check your bike’s specifications to ensure the adapter’s clamp matches this diameter exactly. Using an incorrect clamp size can result in a loose mount that slips during rides or over-tightening that damages the handlebar.

Integrated or aerodynamic carbon handlebars present a different challenge. These handlebars often feature flat, non-round profiles that cannot accommodate standard circular clamps. Instead, they usually rely on proprietary mounting holes located on the underside of the handlebar stem area. For these setups, you must look for direct-mount adapters that bolt directly into these pre-drilled holes, often requiring specific bolt spacing and thread sizes provided by the handlebar manufacturer.
Physical obstructions around your cockpit can also limit your mounting options. Inspect the front of your bike for brake hoses, gear cables, electronic shifting junction boxes, or front-facing accessories. If you frequently use a handlebar bag for bikepacking or commuting, an out-front mount may interfere with the bag, making a stem-cap mount or a raised adapter a more practical choice.
Carbon fiber handlebars require extra caution during the assessment and installation process. Carbon is highly sensitive to clamping pressure, and using a mount without proper torque specifications can crush the carbon weave, leading to structural damage. Always verify if your handlebar manufacturer permits the use of aftermarket clamps and note the maximum torque limits, which are typically measured in Newton-meters (Nm).
Select the Right Mount Style for Your Setup
Choosing the right mount style depends on your primary cycling activity, riding position, and accessory needs. Stem mounts, which attach directly to the top of your stem or replace the stem cap, are highly favored by mountain bikers and gravel riders. This position keeps the cycling computer protected behind the handlebars, shielding it from trail debris, low-hanging branches, and impact during crashes.
For road cyclists, out-front mounts are generally the preferred option. By positioning the computer forward of the handlebars, these mounts align the screen closer to your natural line of sight. This reduces the distance you have to look down to check your data, which is a critical safety benefit when riding in fast-moving groups or heavy traffic. Out-front mounts also offer minor aerodynamic advantages by keeping the device flush with the handlebars.
If you ride with multiple accessories, a combo mount is an excellent way to keep your cockpit organized. These adapters feature a standard quarter-turn mount on top and a secondary three-prong action camera-style mount underneath. This allows you to attach a front safety light, an external battery pack, or a compatible radar device directly beneath your cycling computer, saving valuable handlebar space and maintaining a clean aesthetic.
When selecting the adapter material, consider the trade-offs between weight, durability, and device protection. CNC-machined aluminum mounts offer exceptional rigidity and a premium look, but they must be paired with a softer copolymer or plastic insert where the device connects. This ensures that the friction from twisting the device on and off does not wear down the mounting tabs on your computer.
Final Compatibility and Safety Checks Before Buying
Before finalizing your purchase, cross-reference the adapter’s official product documentation to ensure your specific Garmin model and handlebar setup are explicitly supported. Do not rely solely on generic compatibility claims, as minor design variations can prevent a secure lock. Checking the manufacturer’s compatibility list is the most reliable way to avoid purchasing an ill-fitting accessory.
Safety features should be a primary consideration when evaluating any mount adapter. Look for adapters that include or support a safety tether. A safety tether loops around your handlebar and attaches to the back of your Garmin device, acting as a crucial backup system. If the mount fails due to a crash or a heavy impact, the tether prevents your expensive device from bouncing into traffic or falling down a hillside.
Additionally, ensure the adapter package includes the necessary rubber shims or O-rings. These shims not only protect your handlebars from scratches but also provide the necessary friction to prevent the mount from rotating under the weight of the device. Without these shims, road vibrations can cause the mount to sag, forcing you to adjust it constantly while riding.
Finally, review the installation instructions and prepare the correct tools. If you are mounting the adapter to carbon handlebars or using direct-mount bolts on an integrated cockpit, you must use a calibrated torque wrench. Tightening the bolts to the exact manufacturer-specified torque prevents structural damage to your bike and ensures the mount remains securely fastened throughout your rides.
Frequently Asked Questions (FAQ)
Can I use a third-party mount adapter with my cycling computer?
Yes, you can use third-party mount adapters, but you must evaluate them carefully to ensure they offer a secure fit. Inspect the physical locking mechanism of the third-party adapter; it should engage smoothly without requiring excessive force. If you have to force the device to turn, the adapter’s tolerances may be incorrect, which can snap the plastic mounting tabs on your computer.
When using unofficial, generic, or 3D-printed adapters, using a safety tether is absolutely necessary. These adapters may not undergo the same rigorous quality control as official mounts, increasing the risk of material failure under stress. Additionally, be aware that using an unapproved mount that causes physical damage to your device’s housing or mounting tabs could void your manufacturer’s warranty.
Do I need a new adapter if I upgrade to a larger cycling computer?
If you upgrade to a larger cycling computer, your existing mount may or may not work depending on its style and clearance. While the standard quarter-turn interface remains consistent across most Garmin Edge models, the physical size of a larger screen can cause clearance issues. A mount that worked perfectly for a compact device may position a larger device too close to the stem, preventing you from twisting it into place.
Before upgrading, measure the distance from the center of your current mount to the stem faceplate and compare it to the dimensions of your new device. If the larger screen obstructs your view or physically contacts your stem or cables, you will need to transition to an extended out-front mount. This ensures you maintain proper visibility and can operate your device safely without interfering with your bike’s handling.
Community discussion
Share your experience or ask a question. Comments are reviewed before publication.