
Applying edge guard tape to your tennis racket is one of the simplest yet most effective ways to preserve your equipment’s structural integrity. The bumper guard at the top of your racket head is designed to absorb scrapes and impacts, but constant friction against hard court surfaces can quickly wear it down, eventually exposing the fragile graphite underneath. By applying a high-quality protective tape, you create a durable, sacrificial barrier that absorbs these abrasions.
In warm, humid environments, ensuring a flawless application is critical. Moisture and heat can easily compromise adhesive materials, leading to premature peeling and bubbling if the tape is not applied with care. Taking the time to properly install this protective layer will keep your racket looking pristine and structurally sound through intense rallies and low-slice recoveries.
Tools and Materials Needed for Application
To achieve a professional, long-lasting finish, gathering the correct tools before you begin is essential. You will first need to choose between pre-cut edge guard strips and continuous rolls. Pre-cut strips offer convenience and uniform width, while continuous rolls are highly cost-effective and allow you to customize the exact length of protection. A standard roll of edge guard tape typically costs between S$8 and S$15 at local specialty tennis shops, making it a highly economical investment compared to replacing a damaged bumper guard.
Products mentioned in this guide

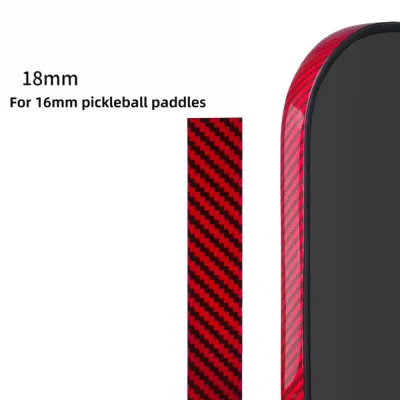
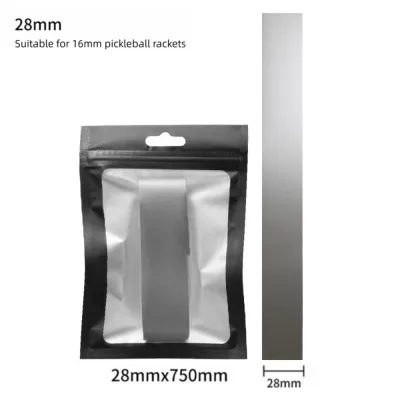
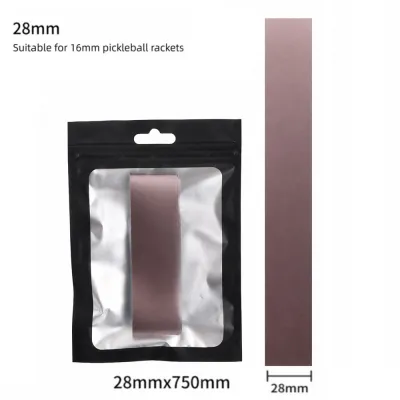
Prices are valid at publication and may change. Please refer to the product page for the latest price.
For surface preparation, keep a bottle of isopropyl alcohol (70% or higher) and a clean, lint-free microfiber cloth nearby to remove oils and dirt. For the application itself, a pair of sharp scissors is necessary for clean cuts, and a plastic squeegee or an old plastic card will help press out air bubbles. Finally, a standard hair dryer is highly recommended to gently heat-activate the adhesive, ensuring it conforms perfectly to the racket’s curved contours.
Preparing the Racket Frame for Proper Adhesion
Proper adhesion is entirely dependent on how well you prepare the surface of the bumper guard. If you are replacing old, worn-out tape, start by peeling it off slowly at a shallow angle to avoid pulling up the bumper guard itself. Any remaining adhesive residue must be completely removed, as new tape will not bond securely to old glue.

Avoid using metal scrapers or harsh chemical solvents like acetone, which can melt the plastic bumper guard or damage the racket’s paint finish. Instead, use a small amount of isopropyl alcohol on your microfiber cloth to dissolve the residue. Once the old adhesive is gone, wipe down the entire perimeter of the frame with alcohol to eliminate skin oils, sweat, and fine court dust.
Allow the frame to air-dry completely for a few minutes. Use this time to inspect the bumper guard for deep cracks or structural damage. If the plastic guard is severely cracked or separating from the frame, it should be replaced by a professional stringer before you apply any new tape, as tape alone cannot restore structural integrity.
Step-by-Step Guide to Applying the Edge Guard Tape
Begin by measuring the length of tape you need. Unroll the tape along the outer curve of the racket head, starting from just above the throat on one side, wrapping over the top, and ending at the same point on the opposite side. Cut the tape with your scissors, leaving an extra centimeter on each end to allow for precise trimming later.
To ensure perfect symmetry, fold the cut piece of tape gently in half without creasing it to locate the exact center point. Mark this center point on the backing paper, or simply keep it in mind as you prepare to align it with the top center of your racket’s bumper guard, which usually aligns with the center main strings.
Peel back only a small portion of the backing paper—about five centimeters—from the center of the tape. Align this exposed adhesive section precisely with the top center of the bumper guard. Press the center down firmly with your thumb to anchor the tape in place. Working with small sections at a time prevents the tape from accidentally sticking to the wrong parts of the frame or collecting airborne dust.
Gradually peel away the backing paper on one side, working your way down the curve of the racket head. As you expose the adhesive, use your thumb or a plastic squeegee to press the tape down, starting from the center line of the bumper guard and rolling outward toward the edges. This outward rolling motion is crucial for pushing out trapped air and preventing bubbles.
When navigating the curved shoulders of the racket, resist the temptation to pull or stretch the tape tightly. While stretching might make it seem easier to wrap around curves without wrinkles, it places the material under constant tension. Over time, this tension will cause the tape to contract, leading to lifting and peeling at the ends. Instead, gently ease the tape into the grooves and contours of the bumper guard, letting the material relax naturally.
Repeat the process for the other half of the racket, working from the center down to the opposite side. Once the entire length is applied, take your scissors and trim the ends cleanly. To prevent the corners from catching on your tennis bag or the court surface, round the corners of the tape ends slightly rather than leaving them as sharp, 90-degree angles.
Finishing Touches and Post-Application Checks
With the tape fully applied, you can significantly enhance its bond strength by using a hair dryer on a low, warm setting. Gently sweep the warm air along the taped surface for about thirty seconds, keeping the dryer at least fifteen centimeters away from the racket to avoid overheating the frame or strings. The mild heat softens the pressure-sensitive adhesive, allowing it to flow into the microscopic textures of the plastic bumper guard and create a much stronger physical bond.
Immediately after heating, use your microfiber cloth to firmly rub down the entire length of the tape, paying extra attention to the edges and the trimmed ends. This ensures that every millimeter of the tape is securely sealed against the frame. Pressing firmly along the sides helps the tape conform to the grooved channels where the strings sit.
Finally, perform a thorough visual inspection of the racket head. Check the string bed and the grommet holes to ensure the tape has not drifted or folded over them. If the tape is too wide and partially covers the grommet holes, it can interfere with string movement or make future restringing difficult. If necessary, use a precision utility knife to carefully trim away any tape blocking the grommets, taking extreme care not to nick the strings or the graphite frame.
Common Mistakes to Avoid During Application
One of the most frequent errors players make is applying the tape under high tension. Stretching the tape during application creates elastic memory within the material, which constantly pulls against the adhesive. Within a few days of play, especially in warm climates, the tape will inevitably snap back and begin peeling at the ends.
Another common pitfall is rushing the cleaning process or applying tape in a damp, humid environment. Moisture, sweat, and microscopic dust particles act as a barrier between the adhesive and the bumper guard. Even a tiny amount of moisture trapped under the tape will prevent a secure bond, leading to rapid bubbling and lifting during your first session on the court.
Lastly, failing to round the corners of the tape ends is a minor detail that leads to premature wear. Sharp corners are highly susceptible to catching on the inside of your tennis bag or peeling back when the racket lightly scrapes the court during a low slice. Taking the extra few seconds to round these edges ensures a flush, snag-free finish.
Frequently Asked Questions (FAQ)
How often should I replace the edge guard tape on my tennis racket?
The replacement frequency depends heavily on your playing style, court surface, and how often you play. If you frequently play on abrasive outdoor hard courts and tend to scrape the racket on low volleys, you may need to replace the tape every few weeks. Inspect the tape regularly for deep cuts, severe fraying, or areas where the plastic bumper guard is exposed. If you notice the tape lifting at the edges or if dirt has worked its way under the adhesive, it is time to peel it off and apply a fresh layer to maintain optimal protection.
Can I apply edge guard tape over an existing layer of old tape?
It is highly recommended to remove the old layer of tape before applying a new one. Layering tape prevents the new adhesive from bonding directly to the clean plastic bumper guard, resulting in a weak bond that will peel off quickly. Additionally, adding multiple layers of tape adds unnecessary weight to the head of the racket. Even a few extra grams at the tip can alter the racket’s swing weight and balance point, potentially affecting your swing timing and increasing the strain on your wrist and elbow.

Community discussion
Share your experience or ask a question. Comments are reviewed before publication.