
Applying lead tape to a tennis racket is a highly effective, reversible way to customize its weight, balance, and stability to match your playing style. By cleaning the frame, measuring precise lengths of adhesive-backed lead tape, and applying them symmetrically to specific locations on the hoop or handle, you can transform how your racket behaves on contact. This process allows you to fine-tune your equipment without purchasing a completely new frame, making it a favorite technique for players looking to optimize their performance. Whether you want to add power to your groundstrokes, stabilize your racket against heavy serves, or increase the overall weight for better shock absorption, lead tape provides a customizable solution that can be adjusted in tiny increments.
Why Players Use Lead Tape on Tennis Rackets
To understand why customization is so valuable, it helps to look at three core properties: static weight, balance point, and swingweight. Static weight is the total weight of the racket resting on a scale, measured in grams. The balance point determines how that weight is distributed along the frame, categorizing a racket as head-heavy, head-light, or evenly balanced. Swingweight is a dynamic measurement of how heavy the racket feels when you swing it.
Adding mass to different areas directly alters these properties, changing how the racket interacts with the ball. Placing weight on the hoop increases kinetic energy, generating more power and plow-through with less effort. It also enhances stability, preventing the frame from twisting on off-center hits. Conversely, adding weight to the handle increases static weight for shock absorption while keeping the racket highly maneuverable.
Products mentioned in this guide
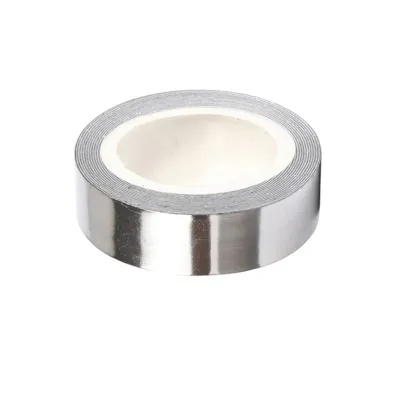
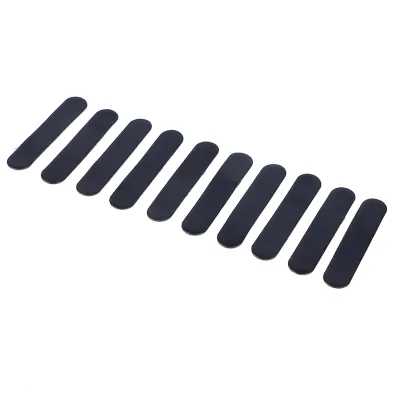
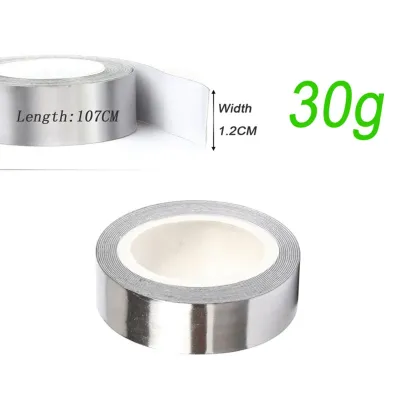
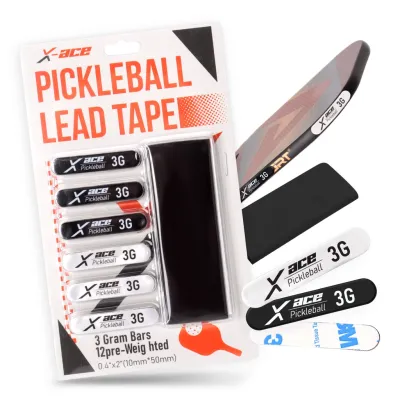
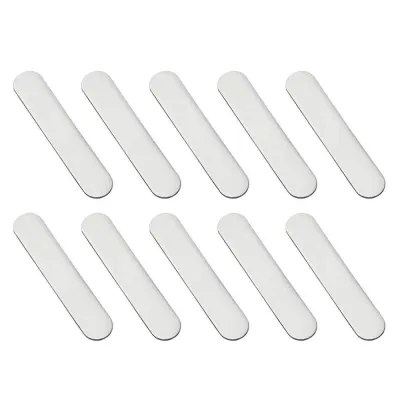
Prices are valid at publication and may change. Please refer to the product page for the latest price.
Customizing your racket is an iterative process based on personal feel and physical feedback rather than a rigid formula. Every player has a unique swing path, physical strength, and biomechanical makeup, meaning what works for a professional might not work for you. Make small, incremental adjustments, test them on the court, and listen to your body to find the perfect balance.
Safety Precautions When Handling Lead Tape
Because lead is a heavy metal that can pose health risks if ingested or inhaled, handling lead tape requires strict safety protocols. While sports-grade lead tape is safe when handled correctly, you must take proactive steps to minimize exposure during application, play, and storage.

Always use pre-cut, adhesive-backed lead tape designed for sports equipment rather than raw industrial lead. The adhesive backing acts as a barrier, and the structured design makes it much easier to handle safely. Wash your hands thoroughly with soap and cold water immediately after touching the tape, and avoid touching your face, eyes, mouth, or handling food and drinks until clean.
To prevent direct skin contact and environmental shedding during play, cover the applied lead tape. Seal the tape with a layer of electrical tape, head protection tape, or place it underneath the racket’s bumper guard or overgrip. This protective barrier ensures lead particles do not rub off onto your hands, tennis balls, or tennis bag.
Tools and Materials Required
Gathering the correct tools before you begin ensures a clean, durable, and safe application. You will need adhesive-backed lead tape (typically 1/4-inch or 1/2-inch wide), sharp household scissors, a metric ruler, a clean microfiber cloth, isopropyl alcohol, and a non-permanent fine-tip marker.
Before applying any adhesive, check your racket manufacturer’s warranty terms. While lead tape is generally reversible and non-destructive, some manufacturers have specific guidelines regarding frame alterations or the use of strong chemical solvents on the paint.
Step-by-Step Guide to Applying Lead Tape
Customizing your racket requires a methodical approach to ensure modifications are safe, balanced, and effective. The process is divided into three distinct phases: preparing the racket frame, cutting and applying the tape with precision, and conducting structured on-court testing to evaluate the changes.
Preparing the Racket Frame
To ensure the lead tape adheres securely and does not peel off during high-velocity swings, prepare the surface thoroughly. Apply a small amount of isopropyl alcohol to a clean microfiber cloth. Gently wipe down the areas of the frame where you plan to apply the tape, removing any accumulated court dust, sweat, skin oils, or sunscreen. Let the frame dry completely.
Next, use your ruler to find the exact center of the racket head (the 12 o’clock position) or the exact midpoints on the sides (3 and 9 o’clock). Use a non-permanent marker to make light guide marks on the inside of the frame. Because tennis rackets require perfect lateral balance to prevent uneven twisting, your measurements must be identical on both sides of the hoop.
Cutting and Applying the Tape
Once your frame is marked, measure and cut the lead tape. If you are using standard 1/4-inch tape, one inch typically weighs about 0.25 grams. Cut two identical strips of equal length using sharp scissors. Ensure the cuts are clean and square, as jagged edges are more likely to peel over time.
Carefully peel a small portion of the backing off the first strip. Align the edge of the tape with your guide mark on the inside of the frame. Slowly press the tape down, working from one end to the other to prevent air bubbles. Once aligned, rub the tape firmly against the graphite with your thumb to secure the adhesive bond. Repeat this exact process on the opposite side of the frame with the second strip, ensuring perfect symmetry.
To finish the application, seal the edges. Cover the lead tape with a strip of protective electrical tape or head protection tape. This extra layer keeps the lead tape from peeling when scraped against the court surface and prevents direct skin contact with the lead during play.
Testing and Iterating
When customizing a racket, the golden rule is to start small. Add weight in minor increments—such as 2 to 4 grams total—rather than applying a large amount all at once. Adding too much weight too quickly can disrupt your natural swing mechanics and place unnecessary stress on your arm.
Take your modified racket to the court for a structured practice session. Focus on how the racket feels during different strokes: groundstrokes, volleys, and serves. Pay close attention to the swing feel, maneuverability at the net, and whether you feel any unusual fatigue in your wrist, elbow, or shoulder.
Establish a clear stop condition: if the racket feels sluggish, if your timing is consistently late, or if you experience any joint discomfort or muscle strain, stop playing immediately. Remove the added weight and return to your baseline setup to protect your body from repetitive strain injuries.
Where to Place Lead Tape for Specific Adjustments
The location where you add weight determines how the racket’s balance and performance characteristics change. Understanding these key zones allows you to target specific areas of your game.
Placing lead tape at the very top of the hoop (the 12 o’clock position) shifts the balance point toward the head, making the racket head-heavy. This significantly increases the swingweight. The extra mass at the tip creates a hammer-like effect, generating maximum plow-through and power on full swings. However, this setup makes the racket much harder to maneuver quickly, which can hinder your net play and quick reaction shots. It is best suited for advanced baseline players with clean, developed strokes who want extra depth on their groundstrokes.
Placing equal strips of tape on the left and right sides of the frame (the 3 and 9 o’clock positions) increases the racket’s torsional stability. When you hit a ball off-center, the racket naturally wants to twist in your hand, leading to a loss of control and power. Adding mass at 3 and 9 o’clock resists this twisting motion, effectively expanding the sweet spot horizontally. This is an excellent adjustment for players looking for a more solid, forgiving feel on volleys and return of serves without drastically altering the racket’s overall balance.
For a hybrid setup, placing tape at the 10 and 2 o’clock positions offers a blend of the benefits of the 12 o’clock and 3/9 o’clock positions. It raises the sweet spot slightly higher up the string bed—where many modern players naturally strike the ball—while providing a moderate boost to both power and torsional stability.
If you want to increase the overall static weight of the racket to absorb shock and heavy balls better, but do not want to make the racket feel heavier to swing, add weight to the throat or under the handle grip. Wrapping lead tape around the handle (beneath the replacement grip) or placing it on the throat keeps the balance point head-light. This maintains or even improves maneuverability while giving the racket a more solid, headlight feel.
Ultimately, do not rely solely on theoretical calculations or professional player specs. Every player’s physical strength, swing path, and biomechanics are unique. Let your on-court comfort and physical feedback guide your customization journey.
How to Remove Lead Tape Safely
If you decide to change your setup or return the racket to its original specifications, you must remove the lead tape carefully. Start by peeling the tape back slowly from one end. Avoid pulling too fast or using sharp metal tools like knives or screwdrivers, which can easily scratch the racket’s paint, clear coat, or damage the underlying composite fibers.
Once the tape is removed, you will likely find sticky adhesive residue left behind on the frame. Apply a small amount of mild adhesive remover or isopropyl alcohol to a clean cloth and gently rub the residue until it dissolves. Avoid using harsh industrial solvents like acetone, which can strip the racket’s cosmetic paint and protective clear coat.
After the frame is clean, immediately wash your hands thoroughly with soap and water. Clean the workspace to ensure no lead residue or adhesive particles remain on your table or tools, and dispose of the old lead tape safely according to local waste guidelines.
Frequently Asked Questions (FAQ)
Can lead tape damage my tennis racket frame?
No, adhesive-backed lead tape will not cause structural damage to modern graphite, carbon fiber, or composite tennis rackets. The adhesive used on sports-grade tape is designed to be semi-permanent and safe for painted surfaces. However, damage can occur during the removal process if you use sharp metal objects to scrape off the tape or apply harsh chemical solvents that dissolve the racket’s clear coat and paint. Always use slow peeling and mild rubbing alcohol to keep your frame in pristine condition.
How do I know if I have added too much weight?
Your body and your swing timing will provide clear indicators if you have over-customized your racket. The most common sign is a delayed swing, where you find yourself consistently hitting the ball late because you cannot generate racket head speed quickly enough. You may also notice a sudden drop in your ability to whip the racket for spin. Physically, if you experience unusual fatigue, soreness, or sharp pain in your wrist, elbow, or shoulder during or after play, the racket is too heavy or poorly balanced for your current physical conditioning. If any of these signs occur, remove the tape immediately to avoid injury.

Community discussion
Share your experience or ask a question. Comments are reviewed before publication.