
Selecting the right bike light set for Singapore’s Park Connector Network (PCN) requires balancing your own need to see the path ahead with the safety and comfort of other path users. Because the PCN is a shared infrastructure used by cyclists, joggers, and families, a simple high-powered flashlight is often more of a hazard than a help. The ideal setup combines a front light that projects a controlled, downward-angled beam to illuminate obstacles without blinding oncoming traffic, and a highly visible rear light that alerts others to your presence from a distance. By focusing on key features like water resistance, beam shape, and secure mounting, you can ensure your night rides remain safe, legal, and enjoyable.
Understanding Park Connector Network Night Riding Conditions
The Park Connector Network spans hundreds of kilometers across Singapore, offering a dedicated space for recreation and commuting. However, navigating these paths at night presents a unique set of challenges that differ significantly from road cycling or mountain biking. Understanding these environmental and social dynamics is the first step in choosing an effective bike light set.
Shared-path dynamics are a primary consideration on the PCN. Unlike dedicated cycling lanes, these paths are shared with pedestrians, runners, dog walkers, and personal mobility device users. This high density of mixed traffic means your front light must be powerful enough to show you the path but carefully managed to avoid blinding oncoming users. A blinding glare can cause pedestrians to lose their footing or prompt oncoming cyclists to lose control, creating dangerous situations on narrow paths.
Products mentioned in this guide
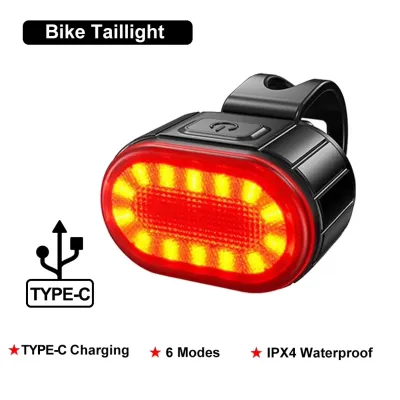
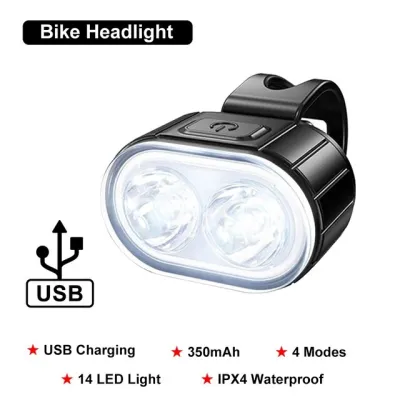
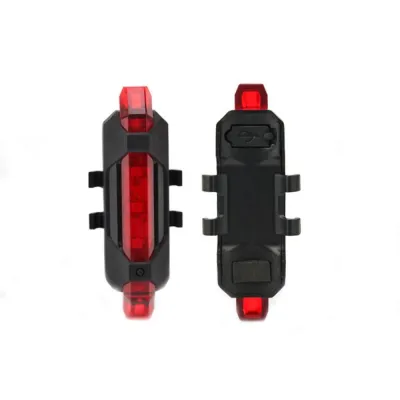
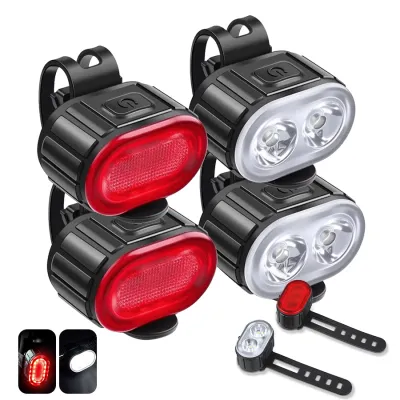
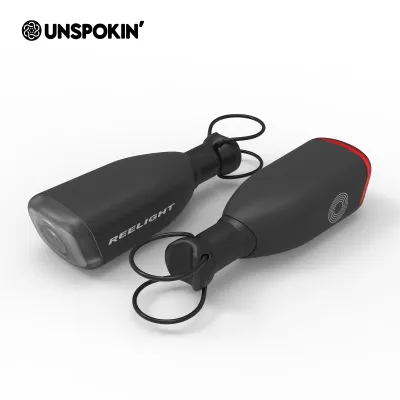
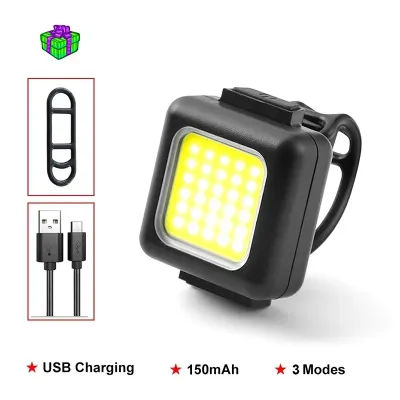
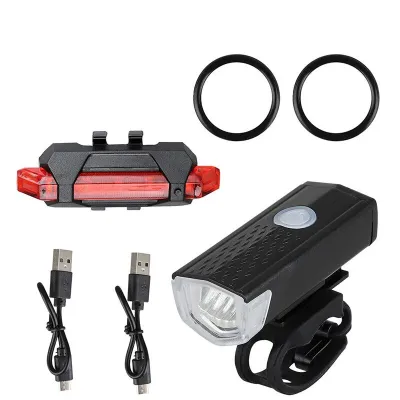
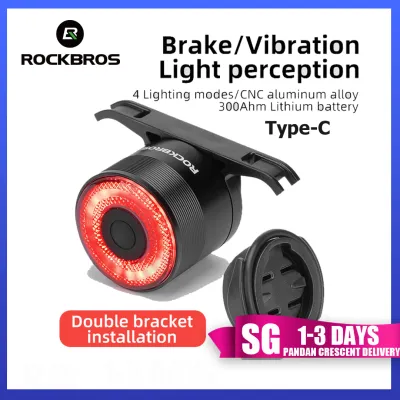
Prices are valid at publication and may change. Please refer to the product page for the latest price.
Lighting inconsistencies are another hallmark of the PCN. Some sections, particularly those running through urban parks or alongside major housing estates, are brightly lit by overhead streetlamps. In these areas, your lights serve primarily to make you visible to others. However, other stretches—such as those bordering nature reserves, canals, or coastal loops—can be pitch black. When transitioning into these unlit corridors, you need a front light that can instantly shift from a low-power visibility mode to a high-power illumination beam that reveals tree roots, wet leaves, and path boundaries.
Singapore’s tropical climate also places severe demands on cycling electronics. High ambient humidity can cause condensation to build up inside poorly sealed light housings, leading to short circuits. Sudden, torrential downpours are common, meaning your lights must be able to withstand heavy rain without failing mid-ride. Additionally, the persistent tropical heat can affect battery efficiency and heat dissipation, making robust thermal management a critical feature for any light set you choose.
Key Selection Criteria for Your Bike Light Set
When shopping for a bike light set, it is easy to get overwhelmed by high lumen claims and complex specifications. To make an informed decision, you should focus on four core technical dimensions: beam pattern, power management, mounting stability, and weatherproofing.

Brightness and beam pattern are the most critical factors for front lights. Lumens measure the total amount of light emitted, but how that light is distributed is what actually determines its usefulness. A narrow spot beam throws light far ahead, which is useful for high-speed riding but leaves your immediate surroundings in darkness. A wide flood beam illuminates the path edges, helping you spot pedestrians stepping onto the path, but lacks distance. For the PCN, a hybrid beam pattern or a light with a distinct cut-off line—similar to a car’s low-beam headlight—is ideal. This design directs light downward onto the ground rather than upward into the eyes of oncoming path users.
Power and charging specifications dictate how long and how safely you can ride. Look for lights that offer multiple brightness modes, allowing you to conserve battery power when riding through well-lit areas and boost output only when entering dark stretches. Real-world runtime often differs from the maximum runtime claimed on the packaging, which is usually measured on the lowest, least-usable setting. Standardized charging ports, particularly USB-C, are highly recommended for convenience, allowing you to top up your lights using a standard phone charger or a portable power bank during longer rides.
Mounting and security systems must be robust enough to handle vibrations and sudden bumps. A light that slips or rotates on your handlebars during a ride is a serious safety hazard. Look for mounts that use durable rubber straps or screw-on brackets that match your handlebar diameter. Quick-release mechanisms are highly beneficial, allowing you to easily remove the lights when parking your bike in public spaces to prevent theft. For rear lights, the mount must accommodate the angle of your seatpost, ensuring the light points directly backward rather than downward at your rear wheel.
Ingress protection (IP) ratings are the only reliable measure of a light’s water resistance. These ratings consist of two numbers: the first for dust protection and the second for liquid protection. For Singapore’s intense rainstorms, you should look for a minimum rating of IPX4, which protects against splashing water from any angle. Ideally, an IPX6 or IPX7 rating is preferred, as this ensures the light can withstand high-pressure water jets or temporary submersion, giving you peace of mind during sudden monsoon downpours.
Matching Light Specifications to Your Riding Style
Not every cyclist needs the most expensive, high-output light set available. Your choice should align with your typical riding speed, frequency, and the specific routes you frequent.
Casual and family riders who stick to well-lit PCN segments during early evening hours do not require extreme brightness. For these slower-paced rides, a front light emitting between 100 to 300 lumens is generally sufficient to make you visible to others. The primary focus should be on ease of use, lightweight designs, and simple mounting systems. A basic, reliable set with a wide beam pattern will ensure you are seen by pedestrians and other cyclists without requiring a significant investment.
Commuters and fitness cyclists who ride regularly at medium-to-high speeds require a more versatile setup. If your route includes a mix of brightly lit urban paths and darker, unlit connectors, look for a front light capable of producing 400 to 800 lumens. This range provides enough illumination to spot road hazards and debris from a safe stopping distance. A larger battery capacity is also important here, ensuring the light can maintain its output for the duration of your daily commute or training session without dimming.
Long-distance and exploration riders who tackle the entire Round Island Route or venture into remote park connectors late at night demand the highest level of performance. For these scenarios, a front light capable of delivering 1000 lumens or more is highly recommended for unlit stretches. You should also prioritize lights with swappable batteries or those that can run while connected to an external power bank. Redundancy is key; carrying a secondary backup light ensures you are never left stranded in total darkness if your primary light fails or runs out of power.
Front and Rear Light Configuration Checklist
A complete bike light set must work cohesively to provide 360-degree visibility. Properly configuring your front, rear, and side lighting ensures you are visible from all angles.
Your front light serves a dual purpose: it must illuminate your path and signal your approach to others. When setting up your front light, ensure it is mounted securely on the center of your handlebars. If you use a cycle computer or a handlebar bag, position the light so its beam is not obstructed. The light should be angled slightly downward, aiming the brightest part of the beam approximately five to ten meters ahead of your front wheel. This provides adequate reaction time for obstacles while keeping the glare out of the eyes of oncoming path users.
Your rear light is your primary defense against overtaking traffic and other cyclists approaching from behind. It should be mounted as high as possible, typically on your seatpost or the back of your helmet, to ensure it is not blocked by your rear wheel or saddlebags. Select a rear light with a brightness of at least 20 to 50 lumens for night riding. Utilize a steady mode or a slow, non-disruptive pulse pattern; rapid, high-intensity strobe modes can be highly disorienting to cyclists riding closely behind you on narrow paths.
Side visibility is often overlooked but is crucial when crossing intersections or joining the PCN from side streets. Many modern bike lights feature side-cutouts or amber side-emitting LEDs to help motorists and pedestrians see you from the side. You can supplement this by installing reflective tape on your bike frame, using tires with reflective sidewalls, or adding small spoke lights to your wheels. These passive safety measures significantly increase your visual footprint without drawing additional power from your main light batteries.
Pre-Purchase Verification and Maintenance
Before purchasing a bike light set, performing a few quick checks can save you from compatibility issues and premature equipment failure. Once purchased, simple maintenance routines will extend the lifespan of your lights.
Always verify the manufacturer’s specifications on the product packaging or official store listings. Be skeptical of extremely cheap lights claiming thousands of lumens; reputable brands typically provide honest ratings tested under standardized conditions. Check for official IP ratings rather than vague terms like “waterproof” or “rain-resistant.” If you are buying online, read user reviews specifically mentioning performance in wet weather to gauge real-world durability.
Fitment verification is essential, especially if your bicycle has non-standard frame shapes. Many modern road and gravel bikes feature aerodynamic, D-shaped, or oversized seatposts and handlebars that standard round mounts cannot accommodate. Check that the light set includes flexible rubber straps, adjustable brackets, or specialized aero adapters. If you plan to mount your front light on an out-front computer mount, ensure the light uses a compatible interface, such as a GoPro-style adapter.
Post-ride care is vital for maintaining water resistance and battery health in Singapore’s humid climate. After riding in the rain, wipe down your lights with a dry cloth and open the rubber charging port covers to allow any trapped moisture to evaporate. Periodically inspect the rubber seals around the charging ports and lens covers for cracks or debris, applying a tiny amount of silicone grease if necessary to keep them pliable. For long-term storage, avoid leaving lithium-ion batteries completely empty or fully charged; storing them at around 50% capacity in a cool, dry place will preserve their overall lifespan.
Frequently Asked Questions (FAQ)
Do I need a strobe or steady mode for PCN cycling?
For night riding on the PCN, you should primarily use a steady mode for your front light. A steady beam is necessary to illuminate the path surface, helping you judge depth and spot obstacles like potholes or wet leaves. Strobe modes can be highly distracting and disorienting to oncoming pedestrians and cyclists on narrow, shared paths. Save flashing modes for daytime riding or well-lit urban roads where you need to stand out against bright city backgrounds.
How do I prevent my front light from blinding pedestrians on shared paths?
To avoid blinding others, physically angle your front light downward so the center of the beam hits the ground five to ten meters in front of your bicycle. Additionally, look for bike lights designed with a German StVZO-compliant beam pattern or a built-in physical glare shield. These designs feature a sharp horizontal cut-off line that prevents light from escaping upward into the eyes of oncoming path users, keeping the illumination focused entirely on the ground.
What is the minimum IP rating for bike lights in Singapore's weather?
The absolute minimum rating you should look for is IPX4, which protects against splashing water from any direction. However, given the intensity of sudden tropical downpours in Singapore, an IPX6 (protection against powerful water jets) or IPX7 (protection against temporary immersion) rating is highly recommended. Choosing a light set with these higher ratings ensures the internal electronics remain dry and functional even when you are caught in a heavy monsoon rainstorm.
Community discussion
Share your experience or ask a question. Comments are reviewed before publication.