
Storing a bicycle in a compact Singaporean home requires balancing accessibility with floor space. A vertical bike rack offers an efficient solution to keep your bike ready for weekend Park Connector Network (PCN) rides without turning your living room or entryway into an obstacle course. Choosing the right rack involves analyzing your specific living space, understanding your bicycle’s physical dimensions, and verifying the structural limits of your walls. By taking a systematic approach to these factors, you can find a storage setup that keeps your home organized and your bicycle secure.
Assessing Your Space and Bike Dimensions
Before purchasing any storage system, you must measure the exact area where you plan to keep your bicycle. Take note of the ceiling height, the available floor footprint, and the surrounding walkway clearance. In tight HDB corridors or compact condominium entryways, even a few centimeters of protrusion can block daily foot traffic or violate common area safety rules.
Next, measure your bicycle’s physical dimensions. The total length of the bike from front to rear tire determines how high the rack must hold the front wheel, while the handlebar width dictates how far the bike will stick out from the wall. You should also check the tire width and depth, as deep-section aero rims or wide mountain bike tires require specific hook clearances to sit securely.
Products mentioned in this guide
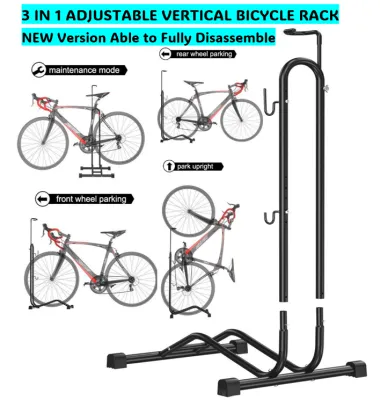
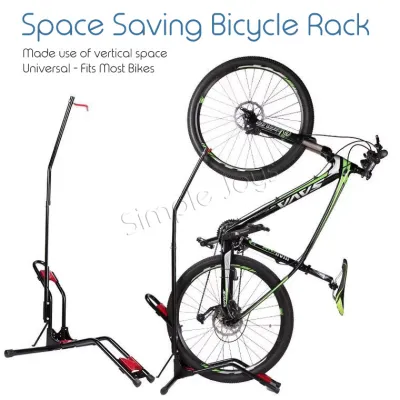
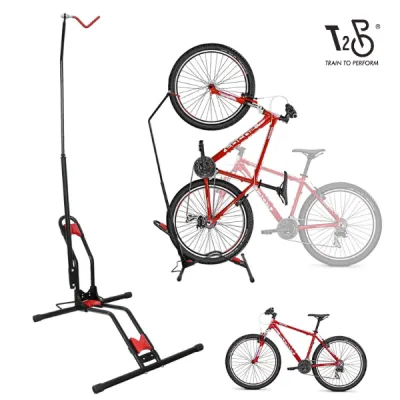
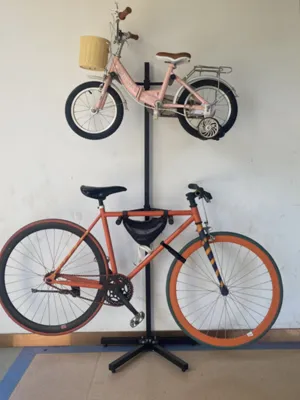
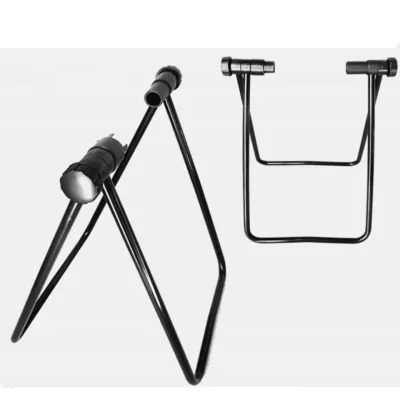
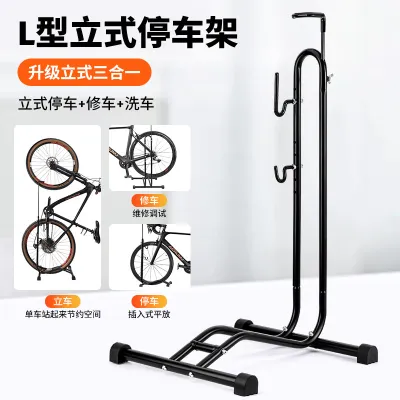
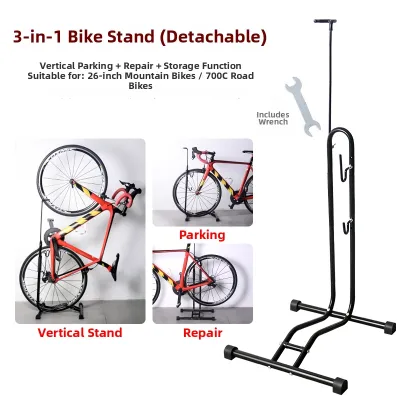
Prices are valid at publication and may change. Please refer to the product page for the latest price.
If you are considering a pivoting vertical rack that swings from side to side, you must map out the swing radius. Ensure that when the bike is pivoted to either side, it does not obstruct nearby doors, built-in cabinets, or narrow corridors. This step is crucial for maintaining a functional living space when accessing your bike or moving around it.
Additionally, consider the height at which you will need to lift the bicycle. If the rack requires lifting the front wheel high off the ground, ensure you have enough overhead clearance so the rear wheel does not hit light fixtures or ceiling fans. Measuring these clearances beforehand prevents unexpected installation issues and ensures a smooth daily routine.
Key Features to Look for in Compact Vertical Racks
Protecting your home’s interior is just as important as securing your bicycle. Look for racks equipped with wide, rubberized hooks or integrated rim protectors. These features prevent metal-on-metal contact, shield your wheels from scratches, and stop dirty tires from leaving dark scuff marks on your painted walls.

For spaces that serve multiple purposes, adjustable or foldable rack designs offer excellent versatility. Some vertical racks feature arms or hooks that fold flat against the wall when empty, reclaiming valuable walkway space when you are out on a ride. Adjustable height settings also allow you to fine-tune the rack to match different bicycle frame sizes.
Always verify the manufacturer’s specified weight capacity against your bicycle’s actual weight. Different bicycle styles, such as heavy commuter bikes, steel-framed retro builds, or lightweight carbon road bikes, place vastly different demands on a storage system. Never assume a rack is universally compatible; always check the product label for its maximum load limits.
Another feature to consider is the contact point between the rack and the bike. Some designs support the bike entirely by the front wheel rim, while others support the rear tire on a small tray or floor plate. Choosing a design that distributes the weight evenly can reduce stress on individual components and provide a more stable storage position.
Installation and Safety Checks for HDB and Condo Walls
The success of a wall-mounted rack depends heavily on the material of your wall. In Singapore, HDB flats and condominiums typically feature a mix of reinforced concrete structural walls, brick internal walls, or lightweight drywall partitions. You must identify your specific wall type to select the correct heavy-duty wall plugs, masonry anchors, or toggle bolts.
Before drilling any holes, review your housing guidelines. HDB residents must ensure they do not drill into structural columns or pre-cast panels where drilling is restricted, while condo residents should check their management corporation strata title (MCST) rules regarding wall alterations. If drilling is prohibited or if you are renting, a no-drill tension-based pole or a freestanding vertical stand serves as a practical alternative.
Once installed, establish a routine for safety checks. Regularly inspect the mounting hardware, tighten any loose bolts, and check the wall surface for signs of stress or cracking. This maintenance is especially critical if you store a heavier bicycle, as repeated mounting and dismounting can gradually loosen the anchors over time.
Furthermore, consider the tools and expertise required for installation. If you are uncomfortable using a hammer drill or selecting the correct masonry bits, hiring a professional handyman is a safer choice. A poorly installed rack poses a risk of falling, which can damage both your bicycle and your home’s interior.
Comparing Vertical Rack Types for Small Spaces
Wall-mounted hook systems offer the smallest physical footprint because they lift the bicycle completely off the floor. However, they require permanent drilling into your walls and demand the physical strength to lift your bike vertically onto the hook after every ride. This option is ideal for lightweight road or folding bikes in permanent homes.
Floor-to-ceiling tension poles provide an excellent solution for renters or those who prefer not to drill. These systems rely on vertical pressure to stay secure, but they do require a solid ceiling and floor structure to maintain tension. While they save wall space, they typically have a slightly larger base footprint and strict stability limits that you must verify.
Freestanding vertical stands require zero installation and can be moved easily around your flat. They hold the bike vertically by supporting the rear wheel on the floor and securing the front wheel with a vertical arm. While highly portable, they do consume actual floor space and may not sit as flush against the wall as a dedicated wall mount.
When choosing between these types, balance your physical lifting capacity against your space constraints. If you ride frequently, a system that requires minimal lifting, such as a roll-on freestanding stand, might be more practical than a high wall hook, even if it occupies slightly more floor area.
Frequently Asked Questions (FAQ)
Can I hang a heavy e-bike on a standard vertical wall rack?
You must verify the rack’s maximum weight capacity against the actual weight of your e-bike, including the battery, before purchasing. Standard vertical racks are often rated for lighter conventional bicycles, and overloading them can lead to sudden structural failure. Additionally, ensure you use heavy-duty masonry anchors specifically rated for the weight of your e-bike and install them into a solid concrete wall rather than drywall.
Will hanging my bike vertically damage the hydraulic brakes or suspension?
Storing a bicycle vertically can occasionally cause air bubbles in hydraulic brake systems to migrate into the brake lines, leading to a spongy lever feel. Suspension fork seals can also dry out or weep oil if left in an unusual orientation for extended periods. To prevent performance issues, consult your bicycle and component manufacturer manuals for specific storage recommendations, and pump your brakes a few times before riding to ensure they function correctly.
Community discussion
Share your experience or ask a question. Comments are reviewed before publication.