
Choosing the right bicycle pole rack requires evaluating your home’s structural layout, measuring your vertical clearance, and assessing the weight and geometry of your bicycle fleet. A tension-based vertical storage system is an excellent way to reclaim valuable floor space, but its success depends entirely on matching the rack’s specifications to your specific living environment. By verifying your ceiling material, floor stability, and clearance paths, you can safely store multiple bicycles vertically without risking structural damage or instability.
Is a Bicycle Pole Rack the Right Storage Solution for You?
Before purchasing a bicycle pole rack, you must determine whether a tension-supported vertical system aligns with your living arrangements and property rules. For tenants renting an apartment or condominium, a tension pole rack offers a highly desirable drill-free storage solution. Because it relies on vertical pressure between the floor and ceiling rather than screws anchored into the wall, it allows you to store your bicycles securely without violating tenancy agreements or risking your security deposit over wall damage.
However, this storage method is only viable if your home possesses the necessary structural prerequisites. A tension-based pole rack requires a completely solid floor and a load-bearing ceiling to create the outward pressure needed for stability. If your intended storage area features delicate materials, decorative plaster, or suspended panels, the pressure required to hold the rack in place could cause significant structural damage.
Products mentioned in this guide
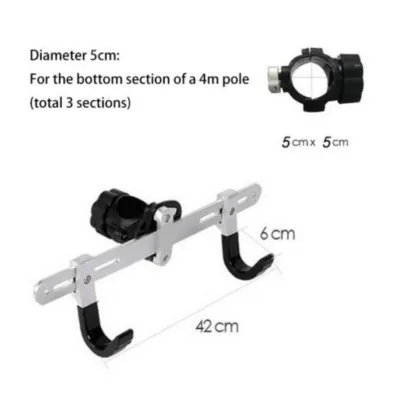
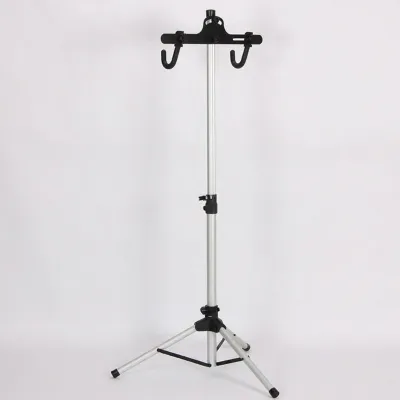
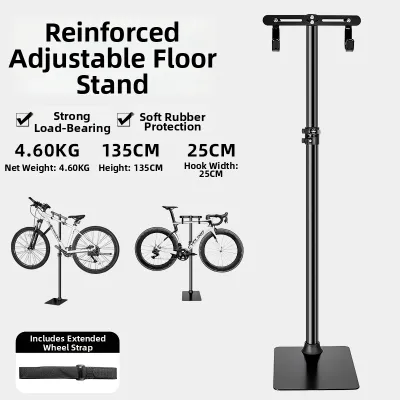
![[Thicker reinforced] Dual Bicycle bike Floor to Ceiling Storage Display Parking adjustable pole height rack](https://img.lazcdn.com/g/p/123abc6f3eead519ddd25bcc73008416.jpg_400x400q80.jpg_.webp)
Prices are valid at publication and may change. Please refer to the product page for the latest price.
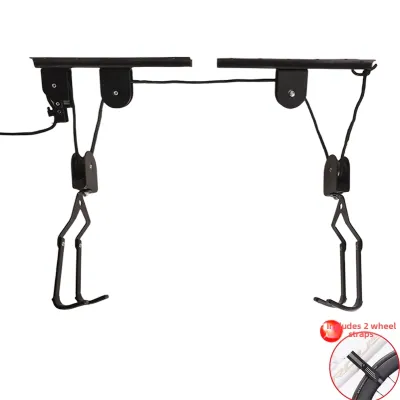
If your home does not meet these structural requirements, you should explore alternative storage configurations. For spaces with weak ceilings or irregular layouts, freestanding floor racks, heavy-duty wall mounts (if drilling is permitted), or ceiling-mounted hoist systems serve as safer, more reliable alternatives. Recognizing these limitations early prevents costly installation failures and ensures your bicycles remain securely stored.
Assessing Your Ceiling and Floor Constraints
To ensure a secure and stable installation, you must carefully measure and verify the physical dimensions and materials of your ceiling and floor. Begin by measuring the exact floor-to-ceiling clearance of your designated storage space using a reliable tape measure. Compare this measurement against the manufacturer’s specified telescopic range for the bicycle pole rack, ensuring your ceiling height falls comfortably within the adjustable limits of the pole without requiring over-extension.

The composition of your ceiling is the most critical safety factor when choosing a tension pole rack. Solid concrete slabs, common in modern high-rise apartments and public housing units, provide the ideal load-bearing surface to withstand high vertical pressure. Conversely, false ceilings, gypsum boards, and suspended plaster panels are not designed to support concentrated vertical loads and will crack or collapse under the tension. Always locate a solid concrete beam or structural slab before attempting installation.
Equally important is the floor surface where the base of the pole will rest. The floor must be completely flat, level, and non-slip to prevent the base from shifting over time under the weight of your bicycles. Tiled floors, sealed concrete, and solid hardwood are excellent options, but you must avoid placing the base directly over deep, uneven grout lines or loose rugs. Any slight shifting at the base can compromise the vertical alignment of the pole, leading to a complete structural failure of the tension system.
Matching Rack Capacity to Your Bicycle Fleet
A bicycle pole rack must be carefully matched to the total weight and physical dimensions of your bicycle fleet to prevent overloading and tipping. Start by checking the manufacturer’s maximum weight capacity for both the central pole and the individual mounting arms. Standard road bikes, lightweight gravel bikes, and heavy mountain bikes have vastly different weight profiles, and exceeding the rated limits can cause the central pole to bend or slip.
The geometry of your bicycle frames also dictates how they will sit on the rack’s mounting arms. Traditional diamond-frame road bikes rest easily on standard horizontal cradles, but step-through frames, full-suspension mountain bikes, and unique commuter geometries often require adjustable mounting hooks or top-tube adapter bars to hang level. Ensure the rack you select features independently adjustable arms that can tilt and slide vertically to accommodate these varying frame shapes.
Furthermore, you must account for the physical clearance of your handlebars, pedals, and wheel sizes. Wider handlebars on mountain bikes require longer mounting arms to prevent the front wheel from twisting aggressively against the wall or the central pole. Properly adjusting the height and angle of each set of mounting arms allows you to stagger your bicycles, preventing the pedals of the upper bike from tangling with the handlebars of the lower bike, which ensures smooth loading and unloading.
Optimizing the Footprint for Your Home Layout
Integrating a bicycle pole rack into your home layout requires strategic placement to maximize vertical space while keeping daily living areas clear. In high-rise apartments and public housing units where floor space is at a premium, utilizing vertical dead space is highly effective. Placing the pole rack in unused corners, deep alcoves, or sheltered balcony areas allows you to store two bicycles in the footprint of one, keeping your main living areas uncluttered.
For larger condominiums and landed homes, the pole rack can be integrated into private garages, utility rooms, or wider entrance hallways. In these spacious layouts, the rack serves as an organized display that keeps your cycling gear readily accessible for your next ride. Regardless of your home’s size, positioning the rack near your primary entry point minimizes the distance you must carry a dirty bicycle indoors after a wet ride.
When planning the placement, you must carefully evaluate clearance zones and daily traffic patterns. Ensure the stored bicycles do not obstruct safe walking paths, block access to electrical distribution boards, or interfere with the swing radius of nearby doors. Avoiding high-traffic choke points reduces the risk of family members accidentally bumping into the rack, which could knock the bicycles out of alignment or cause minor injuries from protruding pedals and handlebars.
Installation Safety and Ongoing Maintenance
Achieving long-term stability with a bicycle pole rack requires strict adherence to proper installation procedures and a commitment to routine maintenance. When setting up the rack, carefully follow the manufacturer’s instructions for extending the telescopic pole and engaging the locking mechanisms. Apply tension gradually, ensuring the pole remains perfectly vertical by checking it with a spirit level from multiple angles before locking it securely into place.
To protect your home’s surfaces and maximize grip, always utilize high-quality protective padding at both contact points. Most reputable pole racks include rubber or foam end caps designed to distribute pressure evenly and prevent cosmetic scratches on your ceiling and floor. Ensure these pads are clean and free of dust or debris before installation, as trapped particles can reduce friction and cause the pole to slip over time.
Because buildings naturally settle and materials expand or contract with changes in indoor temperature and humidity, you must establish a routine inspection schedule. Periodically check the tension of the pole by giving it a gentle shake to ensure it remains rock-solid. Re-tighten the locking mechanisms and inspect the arm joints for any signs of wear or loosening every few months, ensuring your vertical storage system remains completely safe and secure.
Frequently Asked Questions (FAQ)
Can I install a pole rack on a suspended or false ceiling?
No, you should never install a tension-based pole rack directly onto a suspended or false ceiling. These structures are typically made of thin plasterboard, gypsum, or acoustic tiles supported by lightweight aluminum grids, which lack the structural integrity to withstand the intense vertical pressure required to hold a tension pole in place. Attempting to install a rack on these surfaces will result in structural failure, causing the ceiling to crack or collapse, and leading to severe property damage and potential injury. Always ensure the top plate of the pole makes direct contact with a solid concrete slab or a load-bearing structural beam.
Will a tension pole rack damage my floors or ceilings?
When installed correctly on compatible surfaces, a high-quality tension pole rack should not cause permanent damage to your floors or ceilings. Most manufacturers equip their racks with non-marring rubber or foam end caps that distribute pressure evenly and prevent scratches. However, cosmetic marks or discoloration can occur if the contact surfaces are dirty, if the rack is over-tensioned beyond manufacturer recommendations, or if the pole is dragged across the surface during installation. To prevent damage, thoroughly clean both the floor and ceiling contact points before setup, and lift the pole carefully into position rather than sliding it.
How do I store an e-bike on a vertical pole rack?
Storing an electric bicycle on a vertical pole rack requires careful verification of weight limits and proper load distribution. E-bikes are significantly heavier than conventional bicycles due to their integrated motors and battery packs. Before attempting to hang an e-bike, verify that both the overall pole capacity and the individual mounting arm limits can safely support the weight of your specific model. To make lifting safer and reduce the load on the rack, remove the battery pack if possible before mounting. Always place the heavier e-bike on the lower cradle of the pole to maintain a low center of gravity, keeping the lighter bicycle on top to maximize overall stability.
Community discussion
Share your experience or ask a question. Comments are reviewed before publication.