
Finding the ideal bike phone mount requires balancing your bicycle’s physical dimensions, your smartphone’s size, and your typical riding environment. A secure mount keeps your navigation visible and your device safe, whether you are commuting along the park connectors or navigating bumpy gravel paths. To make the right choice, you must evaluate your handlebar setup, match the mount to your phone’s physical dimensions, and select a mounting style that suits your riding posture.
Investing in a high-quality mount is a practical decision that protects your valuable device. Replacing a damaged smartphone can easily cost upwards of S$1,000, whereas a reliable, well-fitted mount is a fraction of that cost. By taking the time to understand how different mounting systems interact with your bike and phone, you can enjoy a distraction-free ride with your navigation clearly in view.
Assess Your Bike's Handlebar and Stem Dimensions
To find a compatible mount, you must first measure the mounting area on your bicycle. Most standard handlebars feature a circular profile, but diameters vary significantly across different bicycle categories. Common standard diameters include 22.2 mm for flat city bike bars, 25.4 mm for older road or folding bikes, and 31.8 mm or 35 mm for modern mountain and road bikes. You can measure this diameter accurately using a pair of digital calipers or by wrapping a flexible measuring tape around the bar and dividing the circumference by 3.14.
Products mentioned in this guide
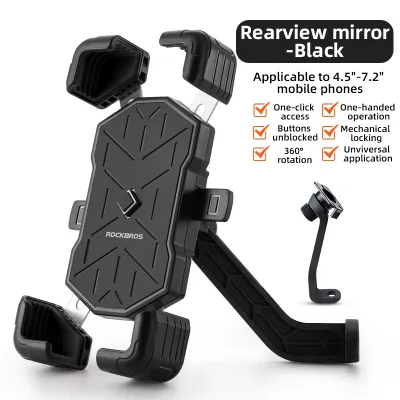
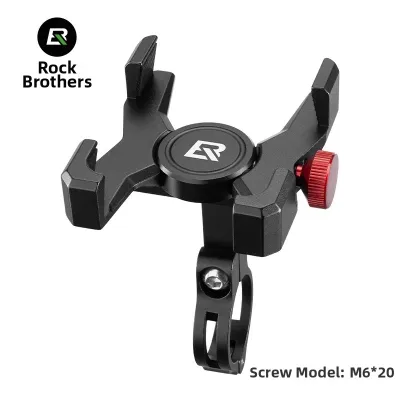
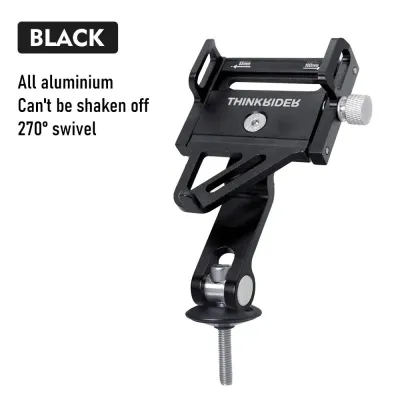
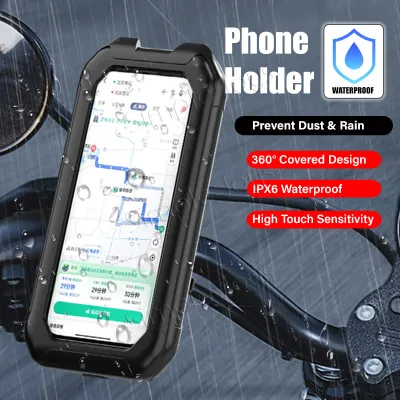
![[SG Ready Stock] GUB G-81 Mobile Phone Holder G81 Bicycle Bike Electric Scooter Motorcycle Phone Holders](https://img.lazcdn.com/g/p/82a416f0ed5cb32f4f621be9e20be181.jpg_400x400q80.jpg_.webp)
![[SG READY STOCK] GUB P-30 Mobile Phone Holder P30 Bicycle Bike Electric Scooter Motorcycle Phone Holders](https://img.lazcdn.com/g/p/49786a0b09465e6af9963bebb69e225d.jpg_400x400q80.jpg_.webp)
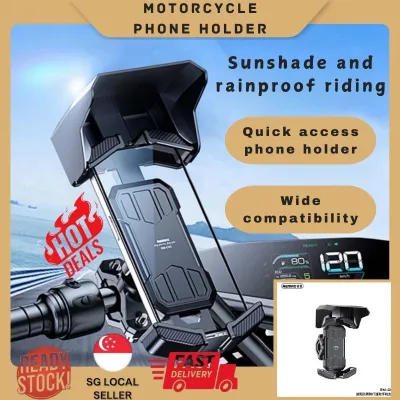
Prices are valid at publication and may change. Please refer to the product page for the latest price.
If you do not have calipers or a flexible tape measure, you can use a simple strip of paper and a standard ruler. Wrap the paper tightly around the handlebar at the exact spot where you plan to install the mount, mark the overlap point with a pen, and measure the flat length of the paper to find the circumference. Dividing this measurement by 3.14 will give you a highly accurate diameter reading, allowing you to rule out incompatible brackets before making a purchase.
If your handlebars feature an aerodynamic, flat, or non-round profile, standard circular clamp mounts will not fit securely. For these specialized setups, you will need to look for mounts designed specifically for aero bars, or consider alternative mounting locations like the stem or top tube. Attempting to force a circular clamp onto an oval or irregular bar can damage both the handlebar material and the mount itself, leading to a sudden failure while riding.
The stem cap and spacer configuration offer another excellent mounting point, especially if your handlebars are crowded with lights, bells, or GPS computers. Inspect your stem to see if it uses a standard top cap bolt. Stem mounts typically replace the existing top cap or attach directly to the stem faceplate bolts. You must verify that your stem has a standard thread pattern and that there is sufficient clearance around the spacers so the mount does not rub against the frame or restrict your steering.
Compare Mounting Styles for Your Riding Posture
The way you sit on your bicycle directly influences where your phone should be positioned for optimal visibility and safety. Your riding posture determines your natural line of sight, which dictates how far you must tilt your head to read a map. Choosing a mounting style that aligns with your posture helps prevent neck strain and keeps your eyes closer to the path ahead.

Handlebar clamp mounts are the most common and versatile option, offering flexible positioning along the flat sections of your bars. They allow you to adjust the angle of your phone easily, making them highly suitable for upright riding positions, such as commuting on a hybrid or city bike. However, these clamps take up valuable handlebar space and can sometimes interfere with brake cables, gear shifters, or front-mounted accessories.
Stem cap mounts position your phone directly in the center of your cockpit, creating a clean and streamlined look. This centralized placement is highly favored by road cyclists and gravel riders who maintain a lower, more aggressive riding posture. By keeping the phone aligned with the stem, you minimize aerodynamic drag and keep the screen in a predictable, central location. The trade-off is that stem mounts offer less angle adjustability compared to handlebar clamps, meaning you must rely on the angle of your stem to determine the screen’s position.
Frame mounts, such as top tube bags with clear phone sleeves, offer excellent protection from the elements and extra storage space for keys or external batteries. These are highly practical for long-distance touring or casual recreational rides where quick screen access is less critical. However, because they are positioned lower down on the frame, they require you to look far down away from the road, which can be a safety hazard during fast-paced group rides or busy traffic conditions.
Match the Mount to Your Smartphone and Case
A bike mount is only as secure as its grip on your specific phone and its protective case. Before purchasing, you must verify the maximum and minimum physical dimensions the mount can accommodate. Do not rely solely on the phone’s screen size, as bezel widths and overall dimensions vary widely between different smartphone manufacturers. Use a ruler to measure the total width, height, and depth of your phone while it is inside its everyday protective case.
Many riders prefer to keep their heavy-duty or rugged cases on their phones while cycling, but these cases add significant thickness and weight. Standard clamp mounts often have a maximum depth limit, usually around 12 mm to 15 mm. If your case features a built-in kickstand, a thick wallet compartment, or a heavily textured back, it may prevent the mount’s arms from gripping the edges securely. In such cases, you may need to look for mounts with extra-deep claws or transition to a dedicated phone case system that integrates directly with a proprietary mounting bracket.
You must also check for physical obstructions when your phone is secured in the holder. Some universal mounts feature corner straps or side clamps that can accidentally press your phone’s power or volume buttons, triggering unwanted emergency calls or shutting down your screen. Additionally, ensure the mount does not block the charging port if you plan to use an external power bank, or cover the rear camera lenses if you intend to record your rides.
Evaluate Security and Vibration Protection Features
Protecting your phone from road vibrations and accidental drops is essential for preserving both the device’s hardware and your peace of mind. Different terrains demand different levels of security. If you primarily ride on smooth, paved park connectors, a standard mechanical clamp may suffice, but rougher gravel paths or uneven city streets require more robust locking mechanisms.
Look for mounts that feature dual-locking systems, such as a mechanical clamp combined with a flexible silicone web or strap that wraps around the corners of your phone. This redundant security ensures that even if a clamp slips due to a sudden bump, the secondary strap prevents the phone from falling. Magnetic mounting systems are highly convenient for quick attachment, but for cycling, they should always be paired with a physical mechanical lock to prevent the phone from shaking loose over potholes.
High-frequency vibrations from rough roads can cause permanent damage to the delicate optical image stabilization (OIS) systems found in modern smartphone cameras. To mitigate this risk, consider a mount that incorporates a dedicated vibration dampener. These dampeners use rubber or silicone inserts to absorb road shock before it reaches your device. If you regularly ride on cobblestones, gravel, or off-road trails, a vibration-dampening mount is a highly recommended investment to protect your phone’s internal components.
Regularly inspect your mounting hardware to identify when it is time to replace the unit. Over time, exposure to sunlight, rain, and sweat can degrade plastic components, causing them to become brittle. Check for fine cracks in the plastic, loose joints that no longer hold their position, or silicone straps that show signs of tearing or loss of elasticity. If any locking mechanism feels loose or fails to click securely into place, stop using the mount immediately to avoid a costly drop.
Installation and Pre-Ride Safety Checks
Proper installation is just as important as choosing the right mount. When attaching a clamp to your handlebars, always refer to the manufacturer’s torque specifications to prevent damage. This is especially critical if you are mounting hardware onto carbon fiber handlebars, which can easily crush under excessive clamping force. Use a torque wrench if available, and apply grip paste if recommended to prevent the mount from rotating without over-tightening the bolts.
Before tightening the mount completely, perform a full cable interference check. Turn your handlebars fully to the left and right to ensure the mount and your phone do not pinch, pull, or restrict your brake lines or gear cables. A restricted cable can severely affect your braking performance or cause unexpected gear shifts. Additionally, verify that the mounted phone does not block your front safety light or your bell, keeping your cockpit safe and compliant with local riding regulations.
Before every single ride, make it a habit to perform a quick pre-ride safety check. Give the mounted phone a firm shake to ensure there is no play in the bracket or the clamp. Verify that the screen is positioned at an angle that minimizes glare from the sun, allowing you to read your navigation clearly without having to slouch or take your eyes off the path. Taking thirty seconds to verify these details before you set off can prevent accidents and protect your equipment.
Frequently Asked Questions (FAQ)
Can I use a standard clamp mount on a carbon fiber handlebar?
You must exercise extreme caution when attaching any clamp to a carbon fiber handlebar. Carbon fiber is highly sensitive to localized crushing forces, and over-tightening a metal or hard plastic clamp can cause structural micro-fractures that lead to sudden handlebar failure. Always check both the handlebar manufacturer’s guidelines and the mount’s instructions for compatibility. If you proceed, use a reliable torque wrench to stay strictly within the recommended torque limits, and consider using a carbon-safe friction paste to prevent slipping at lower torque settings.
Do magnetic phone mounts damage smartphone internals?
Modern smartphones use solid-state storage and digital sensors that are generally unaffected by the compact magnets used in bicycle phone mounts. However, strong magnetic fields can sometimes interfere with your phone’s internal digital compass or optical image stabilization systems while the phone is actively mounted. This interference is typically temporary and resolves once the phone is removed from the magnetic source. To ensure compatibility, check your smartphone manufacturer’s documentation regarding magnetic accessories before using a magnetic mount.
How do I prevent my phone from overheating while mounted?
Direct exposure to sunlight, combined with high ambient temperatures and continuous screen use for navigation, can quickly cause your phone to overheat. To prevent this, adjust the mount’s angle to avoid direct, perpendicular sunlight on the screen, or use a mount that features an integrated shade. You can also reduce heat buildup by lowering your screen brightness, closing unused background applications, and avoiding charging your phone while riding in direct sunlight. If your phone displays a temperature warning, stop riding, remove the phone from the mount, and place it in a shaded area to cool down.
Community discussion
Share your experience or ask a question. Comments are reviewed before publication.