
Selecting the right cycle water holder is more than just picking a color that matches your bike frame. The geometry of your frame, the placement of your suspension components, and the layout of your mounting bolts dictate exactly what kind of cage will function without interfering with your ride. By evaluating your frame’s physical limits and matching them to the correct loading style, you can ensure your hydration remains secure and accessible on every journey.
Assess Your Bike Frame Geometry and Clearance
Start by looking at the open space inside your main triangle. This area, bounded by the top tube, down tube, and seat tube, varies dramatically across different bike categories. On a traditional road bike, you typically have a large, open triangle that accommodates standard vertical-pull cages. However, modern compact road frames and step-through commuter designs feature sloping top tubes that significantly reduce the vertical clearance above your water bottle mounts.
To determine your frame’s limits, measure the distance from the mounting bolts to the nearest frame tube. You must account not only for the height of the cycle water holder itself but also for the extra length of the bottle as you slide it upward and outward. If you have less than three to four centimeters of clearance above the top of an inserted bottle, a standard top-loading cage will likely cause the bottle to strike the top tube during removal.
Products mentioned in this guide
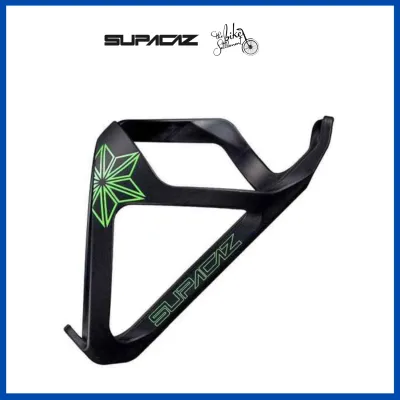
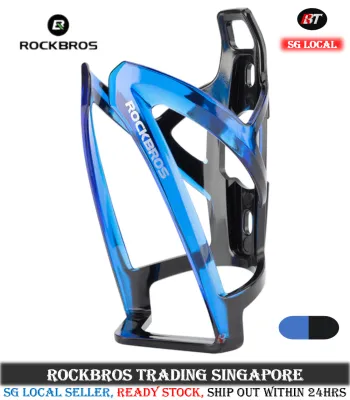
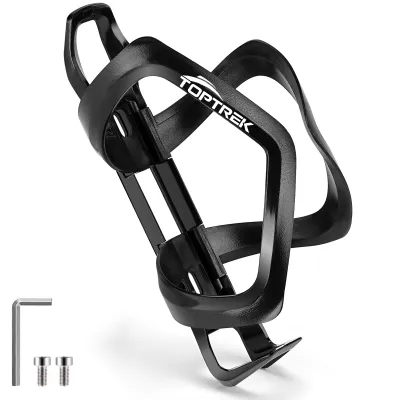
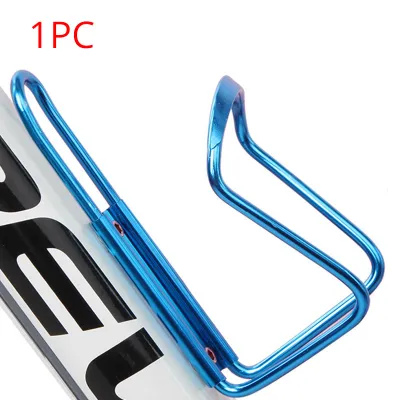
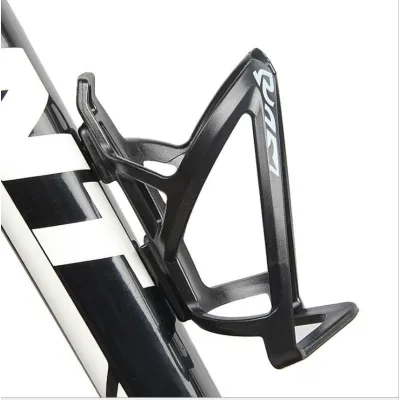
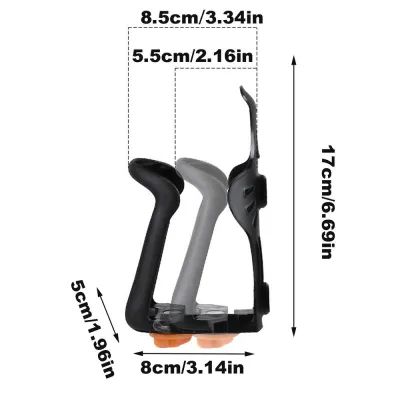
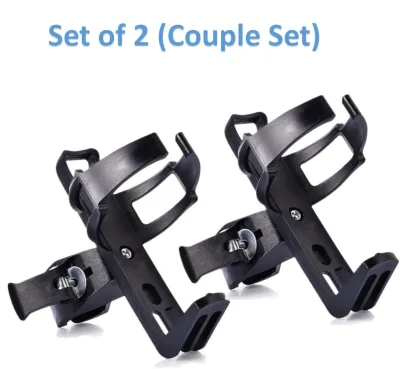
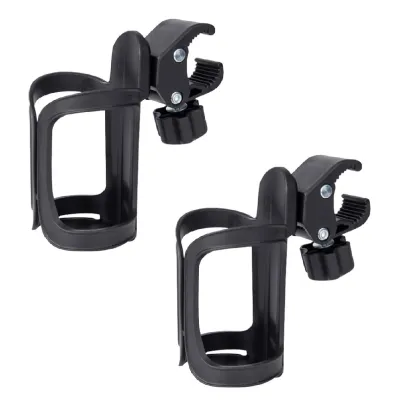
Prices are valid at publication and may change. Please refer to the product page for the latest price.
Full-suspension mountain bikes present an even greater challenge due to the rear shock assembly. The shock absorber, linkage pivots, and reinforced frame gussets often encroach directly into the front triangle, leaving a highly restricted, irregular space. In these tight rear triangles, a standard bottle cage is often unusable because there is simply no room to pull the bottle upward. Identifying these spatial constraints early prevents the frustration of purchasing a cage that blocks your suspension or prevents you from carrying a standard-sized bottle.
Identify Your Mounting Hole Configuration
Before selecting a cycle water holder, inspect the threaded inserts, known as braze-ons, built into your frame. The vast majority of modern bicycles feature at least one set of standard two-bolt mounts on the down tube, and many include a second set on the seat tube. These bolts are spaced exactly 64 millimeters apart, which is the industry standard for bottle cage mounting. However, the physical position of these holes relative to other frame elements can vary, affecting how high or low the cage will sit once bolted down.

Some gravel, touring, and adventure frames feature three-bolt mounts or offset configurations. These multi-bolt setups are designed to give you options; you can mount the cage higher to clear a frame bag, or lower to make room for a second bottle on the seat tube. If your frame has these adjustable mounts, you can use specialized cages that feature slotted mounting plates, allowing you to slide the cage up or down by several centimeters before tightening the bolts.
You must also check for potential obstructions around these mounting holes. On some frames, external gear cables or hydraulic brake lines run along the down tube or seat tube, occasionally passing directly over or adjacent to the braze-ons. If a cable housing is too close, a flush-mounted cage might pinch the cable, disrupting your shifting or braking performance. In these scenarios, you will need to plan for spacers or alternative mounting brackets that lift the cage slightly away from the frame surface.
Match Cage Designs to Frame Constraints
Once you understand your frame’s geometry and bolt layout, you can select the appropriate loading mechanism. Standard top-load cages are the traditional choice and work exceptionally well on medium-to-large road, gravel, and hardtail mountain bike frames. These cages hold the bottle securely from all sides, requiring you to pull the bottle straight up along the axis of the tube. They offer excellent retention and are highly intuitive to use when you have ample vertical clearance.
For compact frames, step-through designs, and full-suspension mountain bikes, side-load cages are the ideal solution. These cages feature an asymmetrical opening that allows you to slide the bottle in and out from the side rather than the top. When purchasing a side-load cycle water holder, pay close attention to the entry direction, as manufacturers design them specifically for right-side or left-side entry. If you mount a right-entry cage on the down tube, it will load from the right; however, if you mount that same cage on the seat tube, the entry side flips to the left, so plan your configuration carefully based on your dominant hand and frame layout.
Adjustable or modular cages offer a versatile middle ground for frames with non-standard spacing or highly restricted spaces. These designs feature elongated mounting slots instead of fixed holes, allowing you to fine-tune the cage’s position on the frame. Some modular systems even allow you to adjust the grip tension or swap out accessory mounts for tools and pumps. This flexibility is highly beneficial if you frequently switch between different bottle sizes or need to squeeze a cage into an incredibly tight spot on a small frame.
Evaluate Material and Grip for Your Riding Conditions
The material of your cycle water holder directly influences its weight, durability, and how tightly it grips your bottle. Plastic and composite cages are highly popular because they can be molded into complex, ergonomic shapes that facilitate easy entry and exit. High-quality composite materials offer an exceptional balance of lightweight performance and robust grip, making them highly suitable for rough gravel paths and bumpy cross-country trails where vibrations can easily eject a loose bottle.
For classic aesthetics and long-term durability, aluminum and titanium cages remain excellent choices, particularly for road and touring bikes. Metal cages can be gently bent by hand to adjust the grip tension, allowing you to customize how tightly the cage holds your bottle. Titanium offers the ultimate in longevity and corrosion resistance, though it comes at a higher price point, while aluminum provides a cost-effective, dependable option that matches the traditional look of metal frames.
Regardless of the material, you must evaluate the retention mechanism to prevent bottle ejection on rough terrain. Look for cages with a pronounced top hook or a wrap-around design that secures the neck of the bottle. If you ride on unpaved surfaces, a weak cage will allow the bottle to bounce out, creating a safety hazard for you and riders behind you. Ensure the inner surface of the cage is smooth or lined with non-abrasive materials to prevent scratching or wearing down your water bottles over time.
Final Installation Checks and Interference Prevention
Before heading out on your first ride with a new cycle water holder, perform a series of physical checks to ensure safe operation. If you are mounting a cage on the underside of the down tube—a common feature on adventure and touring bikes—verify that there is sufficient clearance between the bottom of the bottle and your front tire. Turn the handlebars fully to the left and right, and compress the front suspension if applicable, to confirm the tire never makes contact with the bottle.
Next, inspect the area around the cage for any cable rub or mechanical interference. Ensure that inserting or removing the bottle does not pull on exposed gear cables or press against hydraulic hoses. If your bike has internal cable routing, check that the mounting bolts you use are not too long; excessively long bolts can protrude deep into the frame interior, potentially damaging internal cables, hoses, or even a carbon fiber seatpost if installed on the seat tube.
Finally, confirm that the bottle is held firmly enough that it will not rattle or shift during your ride. A loose bottle cage can vibrate against the frame, leading to paint damage or gradually loosening the mounting bolts over time. Applying a small amount of medium-strength threadlocker to the bolt threads can prevent them from backing out due to road vibrations, ensuring your hydration system remains secure and silent.
Frequently Asked Questions (FAQ)
Can I mount a water bottle cage on a carbon frame without damaging it?
Yes, you can safely mount a cage on a carbon frame, but you must take specific precautions to protect the composite material. Always refer to your frame manufacturer’s user manual to find the exact torque specifications for the water bottle braze-ons, which typically range between 2 and 4 Newton-meters. Use a calibrated torque wrench to avoid overtightening, as excessive force can strip the threaded inserts or crush the surrounding carbon fibers. Additionally, place thin rubber or plastic washers between the cage and the frame to distribute the clamping force evenly and prevent the cage from scratching the protective clear coat of your carbon frame.
What should I do if my bike frame has no mounting holes?
If your frame lacks standard mounting braze-ons, several reliable aftermarket solutions allow you to carry water. You can use strap-on bottle cage adapters made of silicone or hook-and-loop fasteners, which wrap securely around the down tube or top tube without scratching the paint. Alternatively, seatpost clamp mounts allow you to position one or two cages directly behind your saddle, a popular configuration for triathletes and long-distance tourers. Handlebar or stem-mounted fabric feed bags also offer an accessible, tool-free way to carry bottles on commuter or vintage bikes without altering the frame.
Community discussion
Share your experience or ask a question. Comments are reviewed before publication.