
To master the pull-up, you must bridge the gap between your current pulling strength and your total body weight. Using exercise bands is one of the most effective ways to achieve this, as they provide dynamic assistance that mimics the natural strength curve of the exercise. However, selecting the wrong resistance level can stall your progress: a band that is too thick does all the work for you, while one that is too thin can lead to form breakdown or injury. Finding the perfect balance requires assessing your baseline strength, understanding how band tension works, and matching the band’s assistance rating to your specific needs.
Assess Your Current Pull-Up Strength Baseline
Before purchasing any exercise bands, you must establish an honest baseline of your current pulling strength. This self-assessment ensures you choose a level of assistance that challenges your muscles without causing you to rely entirely on mechanical help. Begin by testing your maximum unassisted pull-up repetitions under controlled conditions. Hang from a secure overhead bar with an overhand grip, slightly wider than shoulder-width, and attempt a single repetition. If your chest cannot reach the bar, or if you cannot initiate the movement at all, your baseline starts at zero unassisted repetitions, which is the standard starting point for many fitness enthusiasts.
If you cannot perform a full repetition, your next step is to test your static hanging endurance and core control. A solid dead-hang is the foundation of any pull-up; aim to grip the bar and hang with active shoulders (pulling your shoulder blades down and back) for at least twenty to thirty seconds. If you experience immediate grip failure or find your lower body swinging uncontrollably, your primary focus should be on building basic stability alongside band-assisted training. This baseline test reveals whether your primary limitation is raw pulling power, grip strength, or core activation.
Products mentioned in this guide
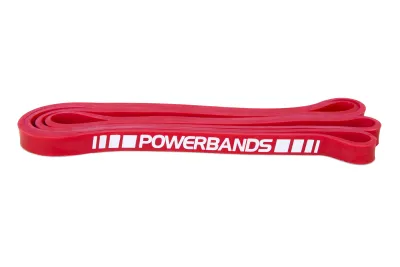
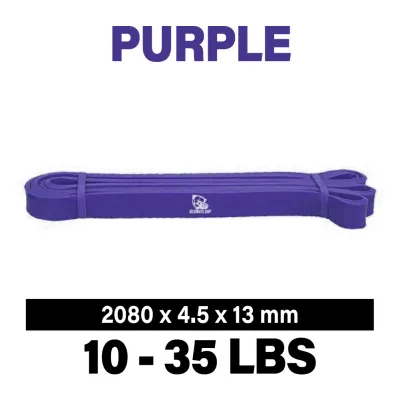
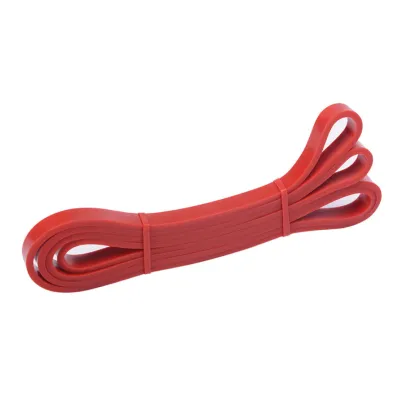
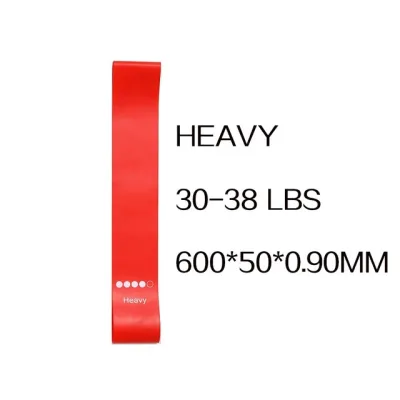
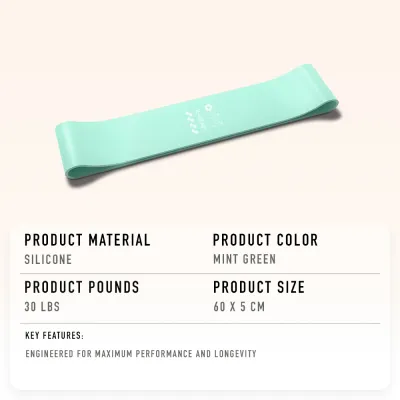
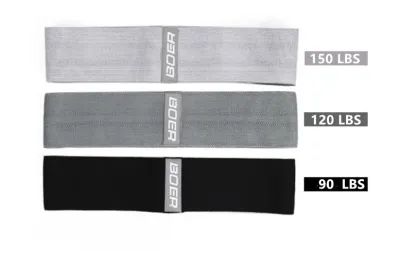
Prices are valid at publication and may change. Please refer to the product page for the latest price.
During your assessment, pay close attention to where your movement stalls, commonly known as the sticking point. For most individuals, this occurs either at the very bottom of the movement, where you must initiate the pull from a dead-hang, or at the midpoint, when your elbows reach a ninety-degree angle. Identifying this sticking point is crucial because exercise bands provide varying levels of support throughout the range of motion. Knowing where you fail helps you understand how much mechanical assistance you actually need to complete a smooth, continuous repetition.
Failing to conduct an honest baseline test often leads to common purchasing mistakes. Many lifters buy a generic multi-pack of bands and automatically use the thickest one, which can over-assist the movement and prevent the target back muscles from firing properly. Conversely, choosing an overly light band out of pride can lead to excessive straining, swinging, and potential shoulder impingement. By quantifying your starting point, you can make an informed decision that directly targets your strength deficit.
Understand Exercise Bands: Resistance and Assistance Levels
To select the right tool, you must understand how exercise bands are rated and how their physical properties behave under tension. A common point of confusion is band color. There is no universal industry standard for what color represents a specific resistance level; a red band from one brand might offer light assistance, while a red band from another manufacturer could be rated for heavy tension. You must ignore the color and look specifically for the manufacturer’s printed weight or resistance range, typically measured in kilograms or pounds on the packaging.

The physics of a looped latex band dictate how it assists your pull-up. Because elastic tension increases as the band stretches, the band provides its maximum upward lift at the very bottom of the pull-up, where your arms are fully extended and the band is stretched to its limit. As you pull yourself upward and the band contracts, the amount of assistance decreases. By the time your chin clears the bar at the top of the movement, the band is under minimal stretch, meaning your muscles must do almost all of the work to complete the repetition.
This variable resistance curve matches the human body’s natural strength curve in the pull-up. We are generally weakest at the bottom of the movement and strongest near the top, meaning the band naturally provides the most help where you need it most. However, this also means that relying solely on a very thick band can make you weak at the top of the pull-up, as the rapid drop-off in assistance requires a sudden increase in muscular effort that your upper back may not be prepared to handle.
Band thickness and width are the primary physical indicators of its assistance capacity. Thicker, wider bands are made of more layers of latex, requiring more force to stretch and consequently providing a stronger upward snap. While these heavy bands are excellent for bridging a large strength gap, they are also highly rigid. This rigidity makes them more difficult to stretch down to your foot or knee, and they require a sturdy, heavy-duty pull-up bar that can withstand the significant downward pull of the band without shifting or bending.
Select the Right Resistance Based on Your Current Level
When shopping for exercise bands, look for products that explicitly state their “assistance weight” range rather than simple tension ratings. The assistance weight refers to how many kilograms of your body weight the band will offset during the exercise. For example, if you weigh eighty kilograms and use a band rated for twenty to thirty kilograms of assistance, your muscles will effectively be lifting fifty to sixty kilograms. Matching this offset to your current strength bracket is the key to consistent, injury-free progression.
Beginners (Zero Unassisted Pull-Ups)
If you cannot yet perform a single unassisted pull-up, your primary goal is to build neurological pathways, master the range of motion, and develop basic muscular endurance. For this stage, you should select heavy or extra-heavy exercise bands, which typically feature a width of forty-four to sixty-four millimeters and offer an assistance range of approximately twenty-five to fifty-five kilograms. This substantial lift allows you to perform multiple repetitions without your form collapsing, ensuring your shoulders remain packed and your chest stays open.
Using a heavy band allows you to focus entirely on the mind-muscle connection in your latissimus dorsi and upper back, rather than just struggling to survive on the bar. It is vital to use this high level of assistance to practice the entire movement, from a fully extended active hang to pulling your chest all the way to the bar. Do not make the mistake of staying on heavy bands indefinitely; treat them as a temporary training wheel designed to prepare your joints and tendons for the intense loading of bodyweight pulling.
Intermediate (1 to 4 Unassisted Pull-Ups)
If you can perform between one and four unassisted pull-ups before your form degrades, you have already built a solid foundation of pulling strength. At this intermediate stage, your challenge is overcoming the mid-point sticking point and building the volume necessary to perform multiple sets. You should opt for medium to light exercise bands, which generally measure twenty-two to thirty-two millimeters in width and provide an assistance range of fifteen to thirty kilograms.
These moderate bands provide just enough lift to help you glide through your sticking point without taking over the entire movement. They are highly effective for volume accumulation, allowing you to perform clean sets of six to ten repetitions to build muscular hypertrophy. You can also use them to perform drop sets: start your workout with unassisted pull-ups until fatigue sets in, then immediately loop a medium band over the bar to squeeze out several more high-quality repetitions.
Advanced (5 or More Unassisted Pull-Ups)
For those who can comfortably perform five or more strict, unassisted pull-ups, exercise bands serve a different purpose. Rather than acting as a primary lifting aid, they are used for high-volume endurance training, speed work, or targeted skill refinement. Advanced lifters should choose thin, light-resistance bands, which typically measure thirteen to twenty-two millimeters in width and offer an assistance range of five to fifteen kilograms.
At this level, the light band provides a micro-boost that helps you maintain perfect mechanics during high-rep sets, such as when training for specific fitness tests or sporting events. It is also an excellent tool for active recovery days, allowing you to perform high-volume pulling movements without overtaxing your central nervous system. The minimal assistance ensures that your muscles perform ninety percent of the work while protecting your shoulders from excessive strain during deep fatigue.
Safely Rig and Use Your Exercise Band
Setting up your exercise band correctly is paramount to preventing painful slips, snaps, or joint injuries. To secure the band, drape it over the center of your pull-up bar so that it hangs down evenly on both sides. Take the bottom loop of the band, thread it through the top loop over the bar, and pull it downward firmly. This creates a secure, self-tightening choke hitch that prevents the band from sliding left or right along the bar during your exercise. Ensure the knot is completely tightened and centered before applying any body weight.
Once the band is rigged, you must decide between foot or knee placement. Placing your foot inside the loop provides the maximum amount of stretch, resulting in the highest level of assistance and making it ideal for beginners. To enter the band safely, pull the loop down, place the arch of one foot securely inside, and keep your other leg crossed over the front to prevent the band from slipping off your shoe. Alternatively, placing your knee inside the loop shortens the stretch of the band, reducing the assistance level and offering a more stable, compact setup that is highly suited for intermediate lifters.
Maintaining your equipment is critical for safety, especially under specific environmental conditions. Singapore’s tropical climate, characterized by high humidity and consistent warmth, can rapidly degrade natural latex. Moisture and heat accelerate dry rot, causing the rubber to lose its elasticity and become brittle over time. To protect your investment, store your exercise bands in a cool, dry place away from direct sunlight, and avoid keeping them in damp balcony gym setups or hot vehicles.
Before every single training session, perform a thorough visual and tactile inspection of your bands. Run your fingers along the entire length of the latex, checking for tiny micro-tears, surface cracking, discoloration, or a powdery white residue, which indicates chemical breakdown. If you notice any of these warning signs, or if the band feels unusually stiff or sticky, immediately discard it. Never attempt to use a compromised band, as a snap under high tension can cause severe injury to your face, eyes, or torso.
You must also establish clear stop conditions during your workout. If the band begins to slip or slide along the bar during your descent, stop the set immediately and re-secure the choke hitch. If you hear any faint cracking or popping sounds from the rubber as it stretches, slowly step out of the band and inspect it. It is always safer to cut a set short and replace a worn band than to risk a high-velocity elastic snap mid-rep.
Progression Plan: Transitioning to Unassisted Pull-Ups
The ultimate goal of using assisted bands is to eventually discard them. To prevent your muscles from adapting to a specific level of assistance and plateauing, you must implement a structured progression plan. The most reliable method is the “step-down” approach. Once you can complete three sets of eight to ten repetitions with perfect form using your current band, it is time to transition to the next thinnest band in your collection. This gradual reduction in mechanical support forces your back muscles to assume more of your body weight over time.
Another highly effective strategy is the use of hybrid sets. Begin your working set by performing as many strict, unassisted pull-ups as you can with perfect form. The moment your speed slows down or your shoulders begin to shrug upward, immediately step into a light or medium exercise band to complete the remaining repetitions of your target set. This approach ensures you maximize your raw strength while still accumulating the training volume necessary for muscle growth.
To accelerate your transition, combine your band training with targeted complementary exercises. Eccentric, or negative, pull-ups are highly effective: jump or use a step to get your chin over the bar, then lower yourself down as slowly as possible over a five-to-ten-second count. Additionally, perform scapular pulls from a dead-hang to strengthen the initial initiation phase of the movement. By combining these raw strength builders with structured band assistance, you will steadily close the gap and achieve your first fully unassisted pull-up.
Frequently Asked Questions (FAQ)
Can I loop two exercise bands together for extra assistance?
While it is physically possible to loop two bands over a bar simultaneously to combine their resistance, it is not recommended for safety reasons. Combining bands increases the complexity of the rigging, making it much easier for one band to slip, shift, or rub against the other, which can cause premature wear or a sudden release under tension. Furthermore, two bands can create uneven lateral forces, pulling your body out of alignment during the exercise. If you require more assistance than your current band provides, it is far safer to invest in a single, thicker band specifically rated for your required weight offset.
How often should I replace my rubber exercise bands?
There is no fixed calendar expiration date for rubber exercise bands, as their lifespan depends heavily on usage frequency, storage conditions, and environmental exposure. In high-humidity environments like Singapore, bands can degrade within six to twelve months of regular use, whereas bands stored in climate-controlled spaces may last longer. You should replace your bands immediately if they exhibit any signs of dry rot, permanent stretching, surface cracking, or loss of snap, regardless of how long you have owned them. Regular inspection remains your best defense against unexpected equipment failure.
Community discussion
Share your experience or ask a question. Comments are reviewed before publication.