
To choose the right fishing connector for your first setup, you must match the connector’s breaking strength to your line rating, select a style that fits your lure or bait presentation, and pick a physical size that does not disrupt the natural action of your gear. Getting this small piece of hardware right prevents lost fish, saves expensive lures, and ensures your line does not twist into a tangled mess.
For beginners, navigating the wall of terminal tackle at a local shop can feel overwhelming. However, understanding how these small metal links interact with your rod, reel, and line will quickly simplify your decision-making process. By focusing on compatibility and balance, you can confidently select hardware that enhances your presentation rather than hindering it.
Why Matching Your Fishing Connector to Your Gear Matters
A fishing connector serves as the critical bridge between your mainline and your terminal tackle, leaders, or lures. Whether you are using a simple snap, a heavy-duty swivel, or a combined snap-swivel, this small piece of hardware bears the brunt of the tension when casting, retrieving, and fighting a fish. If you choose a connector without considering the rest of your gear, you risk creating a major bottleneck in your setup.
Products mentioned in this guide
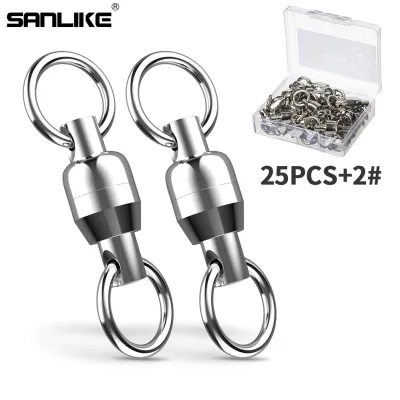
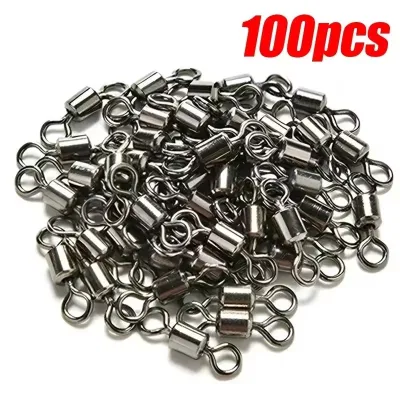
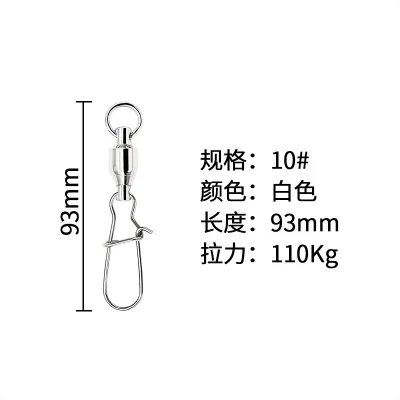
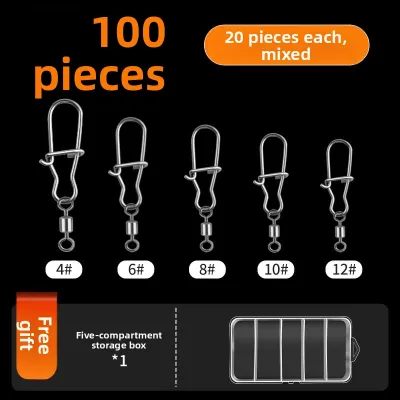
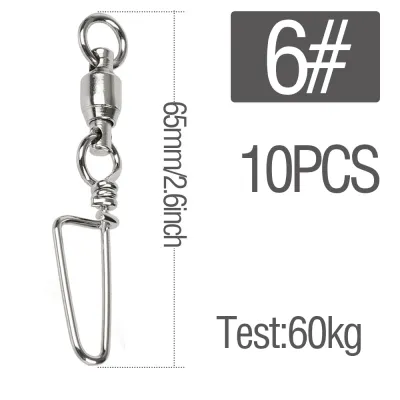
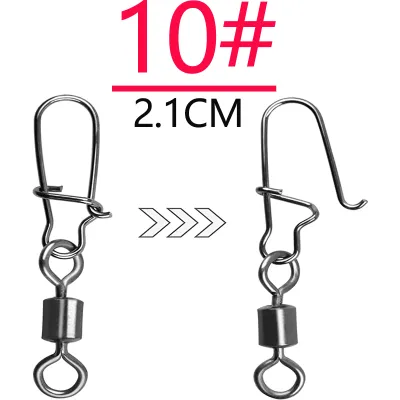
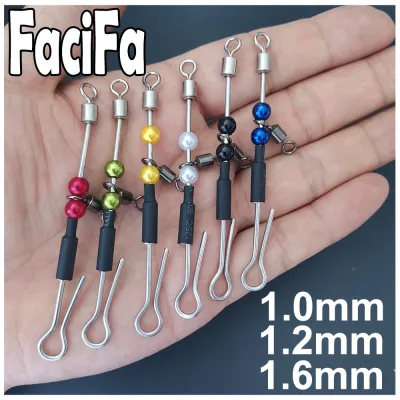
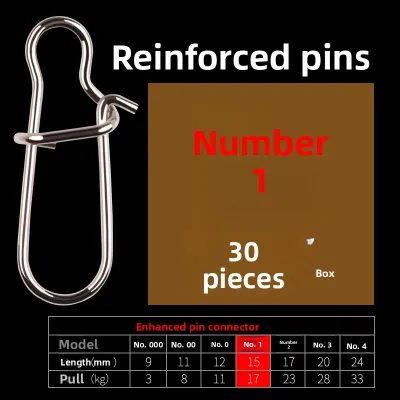
Prices are valid at publication and may change. Please refer to the product page for the latest price.
Mismatched hardware can severely impact your casting distance and accuracy. A connector that is too heavy for your rod’s rating acts as an unwanted weight at the end of your line, causing the rod tip to overload during a cast and reducing the overall distance you can achieve. Furthermore, oversized connectors can ruin the delicate swimming action of lightweight lures, making them sink nose-first or fail to wobble as intended.
To avoid these issues, start by identifying the specific weight ratings printed on your current entry-level rod. Most rods feature a recommended line weight range (such as 8 to 17 pounds) and a lure weight range printed just above the handle. Your chosen connector should align with these specifications, ensuring that the hardware is light enough to cast comfortably within your rod’s limits while remaining strong enough to handle the tension your reel’s drag system will apply.
How to Match Connector Size and Strength to Your Target Catch
When shopping for fishing connectors, you will find manufacturer specifications printed clearly on the packaging, detailing both the pound test (breaking strength) and the physical size. The breaking strength indicates the maximum amount of direct tension the connector can withstand before deforming or failing. Physical sizes are typically represented by a numerical scale, which can vary by style; for swivels, larger numbers like size 10 or 12 indicate very small hardware, while smaller numbers like size 1 or 2 represent much larger, heavier options.

It is vital to align your connector’s strength with your mainline and leader material to ensure the hardware is not the weakest point in your rig. For example, if you are spooling your reel with a 15-pound monofilament line and tying on a 12-pound fluorocarbon leader, your connector should ideally have a breaking strength that meets or slightly exceeds the 15-pound mark. Choosing a connector rated far below your line strength creates an unnecessary point of failure, while choosing one rated significantly higher adds useless bulk.
Additionally, you must adjust the physical size profile of the connector to suit the mouth size and feeding behaviors of your target species. In clear waters or highly pressured fishing spots, such as local reservoirs or coastal breakwaters, fish can easily spot large, shiny metallic objects. A bulky connector can cause fish to become suspicious and refuse to bite. Opting for the smallest possible connector that still meets your strength requirements—especially those with matte black or non-reflective finishes—helps maintain a stealthy and natural presentation.
Choosing the Right Connector Type for Your Line and Lure
Navigating the different styles of fishing connectors is much easier once you understand their primary functions. Swivels, which feature two rings connected by a rotating pivot, are designed primarily to prevent line twist by spinning freely under tension. Snaps are openable wire loops that allow you to swap lures quickly without retying knots, while snap-swivels combine both functions into a single piece of hardware. For specialized setups, speed clips offer a streamlined, knotless-style connection, and metal sleeves are used for crimping heavy wire or thick leader materials.
Your choice of connector must also account for the specific line material you are using. Monofilament line is stretchy and forgiving, making it compatible with almost all standard connector eyes. Fluorocarbon, while highly abrasion-resistant, is stiff and susceptible to shearing if pulled against sharp or rough metal edges; therefore, it requires connectors with perfectly smooth, rounded solid rings. Braided line is incredibly thin and slick, meaning it can easily slip through tiny gaps in split rings or poorly closed snaps, making secure knot selection or the use of solid-ring swivels highly beneficial.
Finally, ensure that your selected hardware allows your chosen lure to move naturally during retrieves. Lures that naturally spin or rotate through the water, such as inline spinners or spoons, will rapidly twist your line into knots if used without a high-quality swivel. Conversely, lures with delicate, built-in swimming actions—such as suspending jerkbaits or topwater walk-the-dog lures—can have their action completely deadened by the added weight of a heavy snap-swivel. For these active lures, a lightweight, standalone snap or a direct knot is often the best choice to preserve their lifelike movement.
Step-by-Step Guide to Assembling Your First Connected Rig
Assembling your first connected rig correctly before you head to the water is essential for preventing gear failure and ensuring a successful day of fishing. Begin by preparing your line ends carefully. Inspect the last meter of your line for any nicks, rough patches, or memory coils caused by rubbing against rocks or structure. Use a sharp pair of line cutters to trim away any damaged sections, leaving you with a clean, perfectly smooth end to tie your knot.
Next, attach your line to the connector using a knot recommended by the manufacturer or widely trusted for your specific line type. For monofilament and fluorocarbon lines, the Uni knot or the Improved Clinch knot provides excellent strength and reliability. If you are using braided line, the Palomar knot is highly recommended because its double-line wrap prevents the slick braid from slipping under tension. Thread the line through the eye of the connector, tie the knot carefully, and ensure the wraps lay flat without overlapping awkwardly.
Before pulling the knot tight, always moisten the line with water or saliva. This simple step is critical because dry line creates friction heat as it slides against itself, which can severely weaken monofilament and fluorocarbon materials. Once moistened, pull the tag end and the standing line slowly and steadily to seat the knot firmly against the connector eye. Trim the excess tag end with your cutters, leaving a tiny tail of about two millimeters to allow for minor settling under load.
The final step is to verify the security of your connection before making your first cast. Hold the connector firmly in one hand—taking care to keep your fingers away from any exposed hook points if a lure is already attached—and pull steadily on the main line with your other hand. This manual tension check ensures that the knot is fully locked, will not slip, and can withstand the sudden pressure of a striking fish.
How to Inspect and Maintain Connectors to Prevent Gear Loss
Establishing a regular inspection and maintenance routine for your terminal tackle is the best way to avoid the heartbreak of losing a fish or an expensive lure to hardware failure. Before every fishing session, perform a quick visual and tactile check of your connectors. Look closely for any signs of rust, hairline cracks, or metal fatigue. Run your fingernail over the wire loops to feel for sharp burrs that could slice through your line, and gently flex snaps to ensure they still have plenty of spring tension and close securely.
Environmental factors play a massive role in how quickly your gear degrades. In warm, humid tropical climates and coastal saltwater environments, salt crystals and moisture will rapidly accelerate galvanic corrosion on metal components. After every outing, make it a habit to rinse your entire rig—including all snaps, swivels, and lures—thoroughly with clean, fresh water. Allow the hardware to dry completely on a towel before storing it back in your tackle box, as trapping moisture inside a closed plastic container will cause rust to spread quickly to your other gear.
Knowing exactly when to discard a connector is key to protecting your setup. If you observe any orange rust spots, permanent bending of the wire arms, or if a swivel feels gritty and fails to spin smoothly when turned by hand, replace it immediately. Investing a few S$ in a fresh pack of high-quality connectors is a small price to pay compared to the cost of replacing lost lures or missing out on the catch of a lifetime due to a preventable hardware failure.
Frequently Asked Questions (FAQ)
Can I use the same fishing connector for both freshwater and saltwater?
You can use the same connector in both environments only if the hardware is specifically manufactured from highly corrosion-resistant materials, such as high-grade stainless steel or solid brass with a protective nickel or black oxide coating. Standard steel or low-grade alloy connectors designed solely for freshwater will rust and weaken rapidly when exposed to saltwater. Even when using saltwater-rated hardware, it is essential to rinse the connectors thoroughly with fresh water after every saltwater trip to prevent salt buildup from seizing the moving parts of swivels or corroding the snap hinges.
Do I need to use a swivel with every type of fishing lure?
No, you do not need a swivel with every lure, and using one unnecessarily can actually ruin your lure’s presentation. Swivels are mechanically necessary for lures that naturally spin or rotate during retrieve, such as inline spinners, spoons, or trolling rigs, because they prevent the spinning motion from twisting your main line into tangles. However, for lures that rely on a delicate, built-in swimming action—such as suspending jerkbaits, crankbaits, or soft plastic swimbaits—the extra weight and pivot point of a swivel can deaden the action and make the lure look unnatural. For these lures, tying your line directly to the lure’s eyelet or using a lightweight, standalone snap without a swivel is highly recommended.
Community discussion
Share your experience or ask a question. Comments are reviewed before publication.