
Choosing the right resistance level for a pull-up assist band is the defining step between struggling with poor form and building a strong, progressive pull-up. The ideal band acts as a temporary bridge, providing just enough upward force to offset your body weight while allowing your back, shoulders, and arms to work through a full range of motion. To find your starting point, you must evaluate your current unassisted pulling strength against your total body weight, then select a band tension that allows you to complete eight to twelve controlled repetitions.
Quick Diagnostic: Assessing Your Current Pull-Up Ability
Before purchasing any equipment, you need an accurate baseline of your current pulling strength. Find a stable pull-up bar—whether at a local fitness corner, a commercial gym, or using a secure home doorway bar—and perform a single set of unassisted pull-ups. Focus on strict, controlled form: start from a dead hang, pull your chin completely over the bar without swinging your legs, and lower yourself slowly. Record the exact number of clean repetitions you can complete before your form breaks down.
Based on this test, you will fall into one of three distinct strength tiers. The first tier consists of those who cannot yet complete a single unassisted pull-up, requiring a band that provides substantial weight offset. The second tier includes lifters who can manage one to three repetitions but struggle to maintain volume, needing moderate assistance to complete full training sets. The third tier comprises individuals who can perform four or more clean repetitions, requiring only light assistance to accumulate high-volume hypertrophy or endurance work.
Products mentioned in this guide
![[RECEIVE IN 3 DAYS] Looped Resistance Exercise Yoga Bands](https://img.lazcdn.com/g/p/478c71011ff76f1dc2636e7c42012a8d.jpg_400x400q80.jpg_.webp)
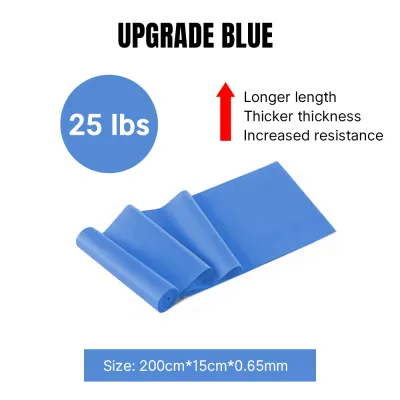
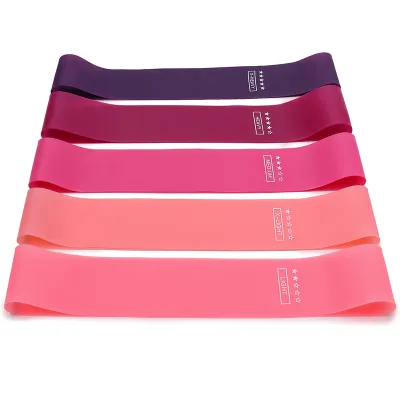
Prices are valid at publication and may change. Please refer to the product page for the latest price.
Your total body weight is the primary variable that dictates how much assistance you actually need from the band. A person weighing 90 kg who can perform zero pull-ups requires a significantly thicker, more resistant band than a person weighing 60 kg in the same strength tier. Because the band must offset a specific portion of your mass, always keep your current body weight at the center of your selection process.
Decoding Band Resistance Levels and Assist Ranges
Pull-up assist bands are heavy-duty latex loops, and manufacturers typically categorize them by width, thickness, and color. While many fitness brands follow a general color progression—often starting with thin red or yellow bands for light resistance and moving up to thick green or blue bands for heavy assistance—there is no universal industry standard. A blue band from one manufacturer might offer twice the tension of a blue band from another, making it essential to verify the specific brand’s product specifications before buying.

When browsing options at local fitness retailers or online marketplaces, look closely at the “assist weight range” printed on the packaging or detailed in the product description. This range, usually measured in kilograms or pounds, indicates the amount of counterweight the band provides when stretched. For example, a medium band might be rated for an assist range of 15 kg to 35 kg, meaning it offsets that amount of your body weight during use.
It is equally important to understand how the physics of a latex band affect your movement. Resistance bands do not provide a constant level of assistance throughout the pull-up; instead, the tension changes dynamically based on how far the band is stretched. You will receive the maximum amount of assistance at the very bottom of the movement, where the band is fully extended and your muscles are in their weakest, most stretched position. As you pull yourself upward and the band contracts, the assistance decreases, requiring your muscles to do more of the work near the top of the bar.
Matching Your Band to Your Body Weight and Fitness Level
To select the correct band, you must calculate your personal “assistance gap” by comparing your body weight to your current lifting capacity. If you weigh 80 kg and cannot perform a single pull-up, you need a band that offsets roughly 30 kg to 40 kg of that weight to make the movement manageable. If you can already perform three unassisted pull-ups, you only need a light band that offsets 10 kg to 15 kg to help you complete your target training volume.
Your goal is to choose a band resistance that allows you to perform eight to twelve controlled repetitions per set before reaching muscular fatigue. This repetition range is highly effective for building both muscular hypertrophy and the neurological patterns required for unassisted pulling. If you find yourself failing at five repetitions, the band is too light and is not providing enough assistance; if you can easily breeze past fifteen repetitions without feeling a deep burn in your lats, the band is too heavy.
Pay close attention to your upward phase and overall pulling mechanics during your first few sessions. If the band is too thick, it will launch you upward with excessive speed, causing you to lose control at the top of the movement and bypass the critical mid-range of the exercise. Conversely, if the band is too thin, you may find yourself jerking your body or kicking your legs to get over the bar, which compromises your shoulder health and limits back muscle recruitment. Adjust your band thickness immediately if you observe either of these mechanical errors.
Signs It Is Time to Downsize Your Band Resistance
As your back and arm muscles adapt to the training load, your strength will increase, meaning the band that was once perfect will eventually become too supportive. The most reliable physical signal that it is time to downsize to a lighter band is when you can consistently complete three sets of twelve repetitions with perfect, slow form and minimal rest. If you finish your sets without your heart rate spiking or your muscles shaking, you are ready to reduce the assistance.
Progressing toward an unassisted pull-up is a gradual process of systematic downsizing rather than an abrupt jump. If you are currently using a thick purple band, transition to a medium black band next, rather than attempting to go completely band-free. This step-by-step reduction in assistance ensures that your tendons, ligaments, and stabilizing muscles adapt safely to the increasing load, preventing overuse injuries in the shoulders and elbows.
Do not discard your heavier bands once you have progressed past them. These high-resistance bands remain highly useful tools in your fitness kit; you can repurpose them for dynamic warm-ups, shoulder mobility drills, or high-repetition burnout sets at the end of your workout. They can also be used to add resistance to other movements, such as banded squats or push-ups, ensuring you get long-term value out of your initial investment.
Essential Form and Safety Checks for Assisted Pull-Ups
Using resistance bands safely requires careful setup and strict movement control to prevent painful slips or equipment failure. Always begin by looping the band securely around the center of the pull-up bar using a girth hitch knot, ensuring it is centered and cannot slide side-to-side. Inspect the band thoroughly before every workout, looking for tiny tears, discoloration, or dry rot; a band that snaps under high tension can cause severe bruising or facial injuries.
Once your foot or knee is secured in the loop, focus on maintaining absolute core tension throughout the entire set. Keep your glutes squeezed and your abs braced to prevent your body from swinging back and forth like a pendulum. Avoid the temptation to use momentum, kipping, or leg-kicking to assist the movement, as this transfers the work away from your target back muscles and increases the risk of the band slipping off your foot.
The eccentric, or lowering, phase of the pull-up is just as important for strength development as the pulling phase. Control your descent slowly, taking two to three seconds to return to the starting dead-hang position rather than letting gravity drop you quickly. Controlling this phase maximizes muscle fiber recruitment, builds tendon strength, and protects your shoulder joints from sudden, jarring forces at the bottom of the movement.
Frequently Asked Questions (FAQ)
Can I combine two lighter bands instead of using one heavy band?
Yes, stacking two lighter bands is a highly effective and flexible way to customize your assistance level. For example, combining a light band and a medium band can bridge the gap when transitioning between major resistance levels. However, you must ensure both bands are aligned perfectly in the center of the bar and do not overlap in a way that causes friction, which can accelerate wear and tear. Always step into both loops simultaneously with even weight distribution to prevent one band from slipping off and snapping.
Should my feet or knees go inside the pull-up assist band?
Placing your foot inside the band provides the maximum amount of assistance because it fully stretches the latex, generating more upward tension. This position also makes it easier to keep your legs straight and your core engaged, which mimics the body alignment of a standard, unassisted pull-up. Placing your knee inside the loop shortens the stretch of the band, providing less assistance, which is an excellent intermediate step as you get stronger, though you must remain mindful of keeping your hips stable to prevent swinging.
Community discussion
Share your experience or ask a question. Comments are reviewed before publication.