
A push-up board is a structured training tool designed to guide hand placement and optimize upper-body muscle engagement. Selecting the right equipment requires an honest assessment of your current strength baseline, joint mobility, and specific training objectives. For men looking to build a defined chest, strong shoulders, and powerful triceps, this tool offers a systematic approach to bodyweight training. By utilizing preset angles, it removes the guesswork from hand placement, ensuring symmetrical muscle development while minimizing joint strain.
Assess Your Current Fitness Level and Baseline Strength
To choose the right push-up board, you must first establish your current physical baseline. A practical way to start is by conducting a baseline max-rep test. Clear a space on your floor, warm up your joints, and perform as many consecutive, high-quality push-ups as you can with strict form. Stop the test the moment your hips sag, your neck strains, or you can no longer complete a full range of motion.
Your max-rep score provides a clear indicator of your starting strength tier. If you struggle to complete five to ten clean push-ups, your primary focus should be on stability and basic movement patterns. Intermediate trainers who can comfortably perform fifteen to thirty repetitions will benefit from boards that offer a wider variety of angles to challenge different muscle fibers. Advanced fitness enthusiasts who easily exceed thirty repetitions should look for heavy-duty boards compatible with external resistance to keep progressing.
Products mentioned in this guide
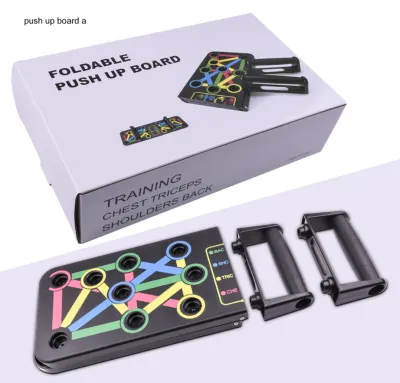
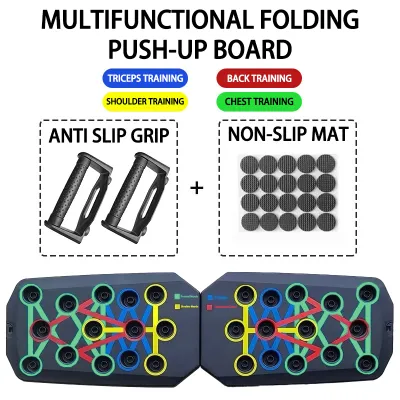
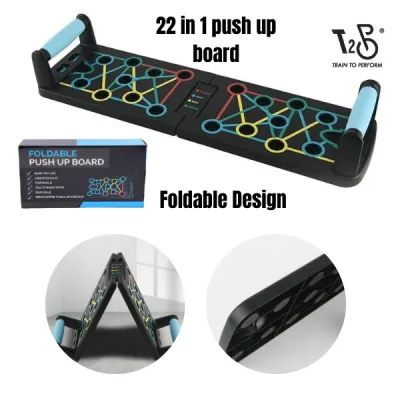
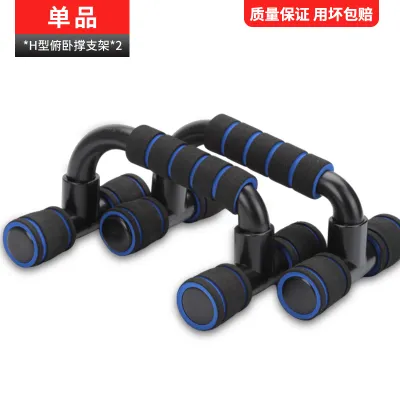
Prices are valid at publication and may change. Please refer to the product page for the latest price.
During your baseline test, pay close attention to any joint discomfort. If you experience sharp pain or dull aches in your wrists, elbows, or shoulders, this indicates mobility limitations or improper alignment. Standard floor push-ups force the wrists into extreme extension, which can exacerbate joint issues. A push-up board with elevated, ergonomic handles can alleviate this stress, but your choice of board must accommodate your specific joint comfort levels. Beginners or those recovering from minor joint strain should prioritize boards with highly stable, wide-set handle options that allow for a neutral grip.
Define Your Upper-Body Training Goals
Your specific fitness objectives dictate how you should utilize a push-up board’s layout. If your primary goal is chest hypertrophy, you need a board that facilitates wider, externally rotated grip positions. These wider placements stretch the pectoral fibers more intensely at the bottom of the movement, promoting muscle growth. Look for boards that feature clearly marked chest zones, which typically position the handles wider than shoulder-width apart and at a slight outward angle to maximize chest activation.

For those focusing on triceps development and shoulder stability, narrow or parallel grip configurations are essential. Placing the handles closer together shifts the mechanical load away from the chest and directly onto the triceps brachii and anterior deltoids. However, narrow push-ups place higher demands on elbow and shoulder stability. Ensure the board you select offers secure, close-grip slots that do not feel cramped or force your shoulders into an awkward, rounded position.
If your goal is to balance muscular endurance with raw strength, you should look for a board that supports structured grip variation routines. Endurance training relies on high-volume sets with minimal rest, which is easily achieved on a color-coded board where you can quickly transition between grip positions. For raw strength, you will want to focus on challenging, biomechanically disadvantageous angles that increase the load on specific muscle groups. Choosing a board that allows for rapid, secure handle adjustments ensures your workouts remain fluid and aligned with your training tempo.
Key Features to Evaluate When Selecting a Board
When shopping for a push-up board, structural integrity and ergonomics should be your top priorities. Begin by evaluating the handle ergonomics, grip thickness, and surface texture. In warm, humid climates, sweat management is a critical safety factor. Handles with textured rubber or silicone grips provide superior traction compared to smooth plastic alternatives, preventing your hands from slipping during intense, high-rep sets. The grip thickness should also feel comfortable in your palm; handles that are too thin can dig into your hands, while excessively thick handles can prematurely fatigue your grip.
Base stability is another non-negotiable feature for safe execution. Inspect the underside of the board to verify the presence of high-quality, non-slip rubber feet. These feet must grip your flooring securely, whether you are training on polished tiles, vinyl, or hardwood, to prevent the board from sliding mid-repetition. Additionally, check the manufacturer-stated weight capacity limits. A robust board should support your full body weight plus any potential external load, such as a weighted vest, without flexing or bowing.
Portability is a key consideration for modern living spaces where home gym equipment must be stored efficiently. Foldable designs that split down the center are highly practical for small apartments, allowing you to slide the board under a bed or tuck it into a closet. Detachable handles that snap securely into the board or store within a dedicated carrying case make the system easy to transport to a local park or take with you while traveling.
Finally, consider the board’s compatibility with add-on accessories to ensure long-term utility. Some boards feature integrated anchor points or metal loops designed for attaching resistance bands. This feature allows you to perform auxiliary exercises like bicep curls, shoulder presses, or resisted push-ups using the same base. While budget boards may cost around S$15 to S$30 on online marketplaces, premium models with reinforced bases and high-grade silicone grips can range from S$40 to S$80. Investing in a versatile system that accommodates interchangeable handles or bands ensures your equipment can grow alongside your physical capabilities.
When to Upgrade Your Equipment or Adjust Your Routine
As your strength improves, you will eventually reach a point where your current routine no longer yields progress. Recognizing the signals of a strength plateau is crucial. If you can easily complete your target sets and repetitions without feeling muscular fatigue, or if your form begins to break down out of boredom rather than exertion, it is time to adjust your training stimulus. Progressive overload is the foundation of muscle growth, and relying solely on the same bodyweight angles will eventually lead to stagnation.
To break through these plateaus, transition from standard, stable board positions to more challenging variations. You can increase the difficulty by performing unilateral-focused push-ups, where you consciously shift more of your body weight onto one arm while using the other handle purely for balance. If your board design allows, you can also elevate your feet on a sturdy chair or bench while keeping your hands on the board, creating a decline push-up that places a greater percentage of your body weight onto your upper chest and shoulders.
When bodyweight variations are no longer sufficient to challenge your muscles, integrate external resistance into your routine. Wearing a weighted vest is a highly effective way to add load while keeping your hands securely on the push-up board. Alternatively, you can loop a heavy resistance band across your upper back and anchor the ends under your hands or into the board’s designated accessory slots. This setup increases tension exponentially as you reach the top of the movement, forcing your chest and triceps to work harder to lock out each repetition.
Frequently Asked Questions (FAQ)
Is a push-up board suitable for beginners with low upper-body strength?
Yes, a push-up board can be an excellent tool for beginners when used with appropriate modifications. If you lack the upper-body strength to perform a standard floor push-up, you can place the board on the floor and perform knee push-ups, which significantly reduces the amount of body weight you must lift. Alternatively, you can place the board securely against an elevated, stable surface like a sturdy bench to perform incline push-ups. When starting out, select a board with clear, beginner-friendly grip markers and stick to neutral, shoulder-width handle placements to prevent overstretching your shoulder joints or causing impingement.
How does a push-up board help with wrist discomfort compared to floor push-ups?
Performing push-ups flat on the floor forces your wrists into a ninety-degree angle of hyperextension, which places substantial compressive stress on the carpal bones and surrounding tendons. A push-up board solves this issue by utilizing elevated handles that allow you to maintain a neutral, straight wrist position throughout the entire range of motion. This alignment distributes your body weight evenly through your forearms and knuckles, significantly reducing joint strain. However, while ergonomic adjustments can provide immediate relief, you should always consult a qualified healthcare professional or physical therapist if you experience persistent wrist pain during or after exercise.
Community discussion
Share your experience or ask a question. Comments are reviewed before publication.