
Choosing the right resistance level for an arm exercise band is the difference between a highly effective, joint-friendly workout and an exercise in frustration or injury. Unlike traditional iron weights, these elastic tools provide dynamic, variable tension that changes throughout the movement. To find your ideal match, you must balance your current physical strength with your specific training objectives, whether you are rehabilitating an old shoulder injury in a home gym or building muscle endurance for outdoor sports.
In Singapore, where compact living makes space-saving home workout gear highly practical, a versatile arm exercise band set often replaces bulky dumbbells. However, selecting the wrong resistance can stall your progress. A band that is too heavy forces you to compromise your form, while one that is too light fails to stimulate muscle growth. Finding the sweet spot requires understanding how elastic tension operates, assessing your starting point, and applying structured testing methods to your routine.
Assess Your Fitness Level and Training Goals
Before purchasing or looping a band around an anchor, you must define what you want to achieve with your workouts. Training goals dictate the physiological stress your muscles need, which directly correlates to the tension level of your arm exercise band.
Products mentioned in this guide
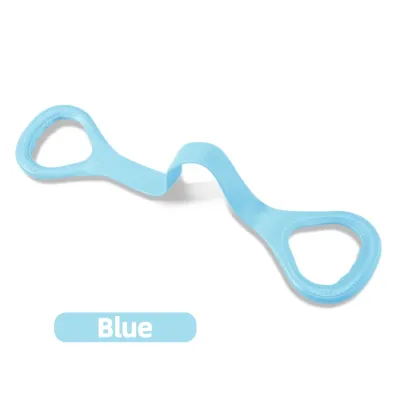
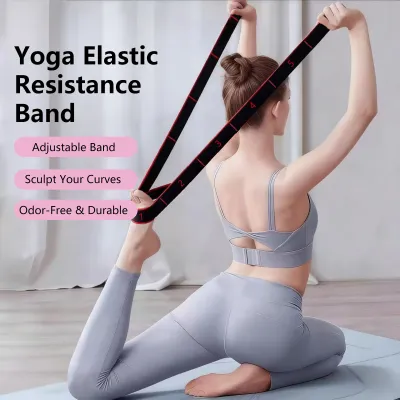
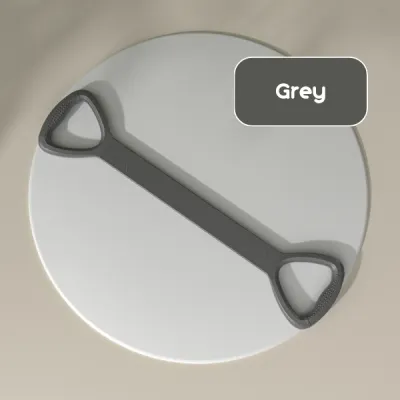
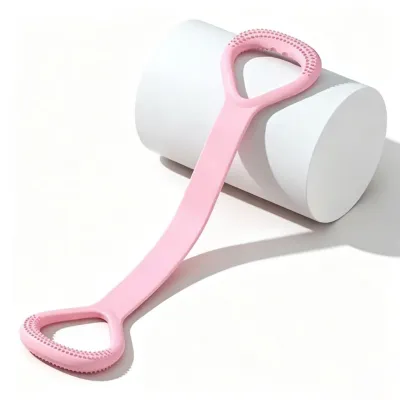
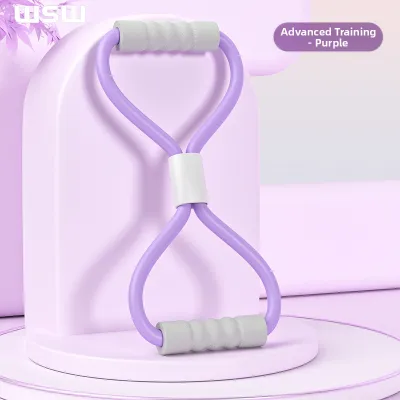
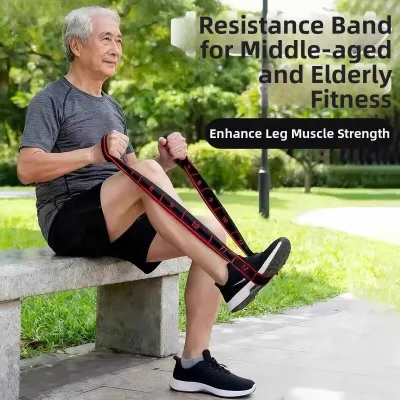
Prices are valid at publication and may change. Please refer to the product page for the latest price.
- Rehabilitation and Mobility: If you are recovering from an injury or focusing on joint health (such as rotator cuff mobility), your priority is high-repetition, low-resistance movement. For these goals, you need a very light band that allows you to move through a complete range of motion without pain, typically aiming for 15 to 20 controlled repetitions.
- Muscle Endurance: If your objective is to build stamina for activities like paddling, climbing, or long-distance swimming, you require moderate tension. This level should challenge your muscles over a high volume of work, generally between 12 and 15 repetitions per set, without causing premature fatigue or form breakdown.
- Hypertrophy and Strength: To build muscle size or raw strength, you must apply progressive overload with higher tension. Your chosen band should provide enough resistance to make the final reps of an 8-to-12-repetition set highly challenging, forcing the muscle fibers to adapt and grow.
Honest self-assessment of your current fitness level is crucial. Beginners—defined here as individuals new to resistance training or those returning after a long hiatus—should always start with the lowest resistance level available. Intermediate lifters who have consistent experience with free weights or machines can typically begin with medium-tension bands. Advanced athletes may require heavy or ultra-heavy bands, but even seasoned lifters should use lighter bands for warm-ups and target stabilization exercises.
Ego-lifting is a common pitfall when transitioning from free weights to elastic resistance. It is far safer and more effective to master the movement pattern with a lighter band than to struggle with a heavy one. Because elastic tension increases as the band stretches, starting too heavy often leads to jerky movements, incomplete ranges of motion, and unnecessary strain on your tendons and joints. Let your current physical capacity, rather than your aspirations, guide your initial selection from a manufacturer’s product line.
How to Decode Resistance Ratings for Your Arm Exercise Band
Understanding how manufacturers label and measure resistance is essential for making an informed choice. Because there is no universal regulatory body for fitness equipment, resistance ratings can vary dramatically between brands.

- Color-Coded Systems: Most brands use a color spectrum to indicate tension levels, typically ranging from yellow or red (lightest) to blue, black, or grey (heaviest). However, these color schemes are not standardized across the industry. A "medium" green band from one manufacturer might offer the same tension as a "heavy" blue band from another. Never assume that a color code is consistent when switching brands.
- Printed Tension Ratings: Many high-quality bands print a weight range directly on the material, such as "5–15 kg" or "10–30 lbs." These numbers do not represent a static weight like a dumbbell does. Instead, they indicate the resistance profile from the start of the stretch to its maximum safe elongation.
To understand the exact resistance profile of the band you are using, always consult the specific manufacturer’s tension chart, product packaging, or official online specifications. These resources often detail the exact pounds or kilograms of force generated at specific stretch thresholds.
A critical mechanical concept to grasp is variable resistance. When you lift a dumbbell, the weight remains constant throughout the movement. With an arm exercise band, the resistance increases exponentially as the rubber stretches. The printed weight rating usually represents the tension at a specific stretch percentage—often 200% or 300% of its resting length. This means the exercise will feel significantly heavier at the peak of the contraction (when the band is fully stretched) than at the beginning of the movement.
Step-by-Step Guide to Testing Your Band Tension
Once you have selected a candidate band, you must physically test it to ensure it matches your target exertion levels. Use this step-by-step framework to evaluate the tension safely and accurately in your workout space.
Step 1: Setup and Baseline Movement
Begin by securing your arm exercise band to a stable anchor point, such as a heavy door frame adapter, a sturdy pole, or under your feet. Choose a classic isolation exercise, such as a standing bicep curl or a triceps pressdown. Perform the movement using a strict, controlled tempo: take two seconds to pull or push the band (concentric phase), pause for one second at peak contraction, and take three seconds to return to the starting position (eccentric phase).
Step 2: Evaluate Effort Using Reps in Reserve
To determine if the resistance is correct, use the Reps in Reserve (RIR) framework, which is a subjective measure of how close you are to muscular failure. If your training goal requires 12 repetitions, perform the set with strict form. When you reach the 12th rep, ask yourself how many more clean repetitions you could have completed before your form collapsed.
- Ideal Resistance: You should finish the set with 2 to 3 reps in reserve (RIR 2–3). This means you feel fatigued, but could have completed 14 or 15 reps if pushed to your absolute limit.
- Too Light: If you finish 12 reps and feel you could have easily completed 5 or more additional repetitions, the resistance is too low to stimulate significant adaptation.
- Too Heavy: If you struggle to reach your target rep count, or if you reach absolute failure before completing the set, the resistance is too high.
Step 3: Micro-Adjustments
One of the greatest advantages of elastic bands is the ability to make instant micro-adjustments to the tension without changing the equipment. If the band feels slightly too light or too heavy, you can modify the resistance dynamically:
- To Increase Tension: Shorten the active length of the band by wrapping it around your hand, widening your stance if standing on the band, or stepping further away from the anchor point.
- To Decrease Tension: Lengthen the active portion of the band by narrowing your stance, loosening your grip, or moving closer to the anchor point.
Stop Conditions and Common Errors
You must stop the exercise or immediately downgrade to a lighter band if you experience any of the following warning signs:
- Form Breakdown: Shrugging your shoulders, swinging your torso, or using momentum to complete the movement.
- Loss of Eccentric Control: Allowing the band to snap your arm back to the starting position rather than resisting the pull.
- Joint Discomfort: Feeling sharp, pinching, or radiating pain in your elbows, wrists, or shoulders, rather than a deep muscular burn in the target muscle.
Match Resistance to Specific Arm Movements
A common mistake is attempting to use a single arm exercise band for an entire upper-body workout. Your arms consist of various muscle groups with vastly different sizes, biomechanical leverage, and strength capacities.
Larger compound movements utilize multiple joints and larger muscle groups working in unison. Exercises like assisted pull-ups, chest presses, or overhead triceps extensions can handle significantly higher resistance because they recruit major muscles like the latissimus dorsi, pectorals, and triceps. For these movements, you will naturally require a medium-to-heavy band to experience adequate muscle stimulation.
Conversely, smaller isolation movements target delicate, single-joint muscle groups. Exercises such as lateral raises (for the lateral deltoids), rear delt flyes, and wrist curls isolate small muscles that have poor mechanical leverage. Attempting to use a heavy band for these movements will overload the joints, force compensating muscles to take over, and potentially cause shoulder impingement or wrist strain. These exercises demand a light or ultra-light band to maintain strict form.
To build a functional routine, invest in a minimal set of bands—typically consisting of light, medium, and heavy options. This variety allows you to match the tension to the specific biomechanical demands of each exercise. When starting a new routine, always test the resistance on your weakest exercise first. This conservative approach prevents you from overestimating your capacity and ensures your smaller stabilizing muscles are protected from excessive load.
Safety Checks, Form Cues, and Progression Rules
Because synthetic rubber and latex are subject to wear and tear, safety must remain your primary concern. Proper maintenance, strict form, and structured progression rules will protect you from injury and ensure long-term fitness gains.
Pre-Workout Inspection
Before every single workout, perform a thorough visual and tactile inspection of your arm exercise band. Stretch the band slightly under a bright light and check for micro-tears, hairline cracks, white stress marks, nicks along the edges, or areas that feel unusually thin or brittle. In Singapore’s warm, humid climate, latex can degrade faster if exposed to direct sunlight or stored in damp environments. If you detect any signs of wear, discard the band immediately. A snapping band under high tension can cause severe skin welts, facial injuries, or eye damage.
Form Cues for Control
The fundamental rule of training with elastic resistance is that you must control the band; the band must never control you. Maintain a stable, athletic stance with your core engaged. Focus on a smooth transition at the turn-around points of the movement. If you find your limbs jerking or if the band pulls your arm back faster than you can actively resist, the tension is too high. Reduce the resistance immediately to protect your connective tissues.
Progression Criteria
To continue making progress, you must gradually increase the challenge over time. However, you should only upgrade to a heavier band when you meet specific, objective criteria:
- You can complete all scheduled sets and repetitions for a specific exercise with perfect form.
- You achieve a full range of motion on every single repetition.
- You reach 0 Reps in Reserve (RIR 0) only at the very end of your final set, with zero joint pain or compensation.
- You have successfully maintained this level of performance for two consecutive workout sessions.
If you are recovering from an injury, or if you experience persistent joint discomfort that does not resolve with rest, stop using the bands immediately. Consult a certified fitness professional or a registered physical therapist in Singapore to evaluate your movement mechanics and guide your rehabilitation process safely. Equipment and self-guided routines can support your fitness journey, but they can never replace professional medical assessment and personalized training judgment.
Community discussion
Share your experience or ask a question. Comments are reviewed before publication.