
Selecting your very first fishing line is one of the most critical decisions you will make as a new angler. The right line acts as your direct connection to the underwater world, translating subtle vibrations into your hands and securing your catch. For absolute beginners, monofilament is the most practical and forgiving choice. It handles easily, stretches to cushion mistakes, and holds knots exceptionally well, making it the ideal starting point before transitioning to more specialized materials.
While experienced anglers often debate the merits of high-tech setups, a beginner’s primary needs are simplicity, reliability, and ease of handling. Spending your day untangling knots or losing lures due to poor line management quickly drains the fun out of the sport. By understanding how different line types behave, you can match your gear to your learning environment—whether you are casting from a crowded coastal jetty or a quiet reservoir bank—and build your skills without unnecessary frustration.
Why the Right Fishing Line Matters for Beginners
When starting out, your gear needs to forgive the inevitable mistakes of learning. Beginners frequently encounter issues like loose spooling, improper knot tying, and poor casting control. The fishing line you choose directly influences how often these mistakes turn into day-ending tangles or lost fish.
Products mentioned in this guide
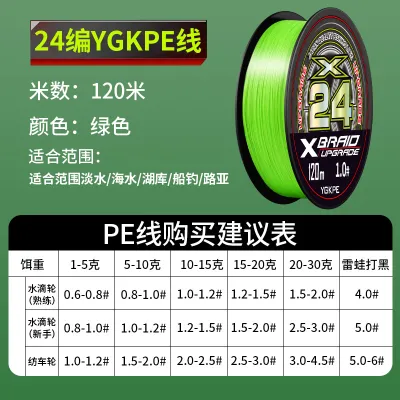
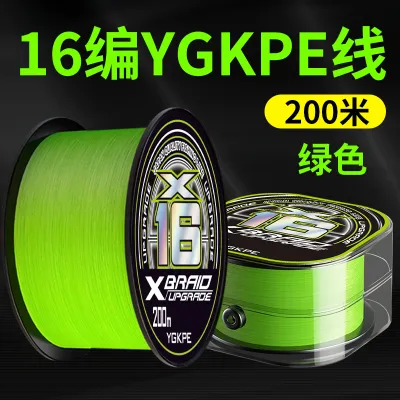
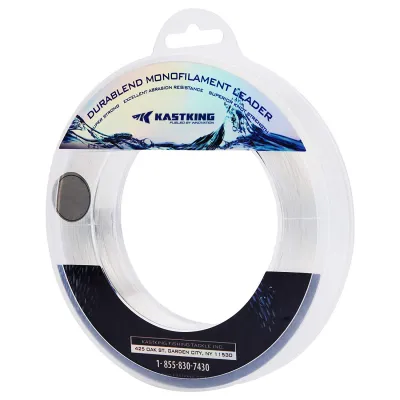
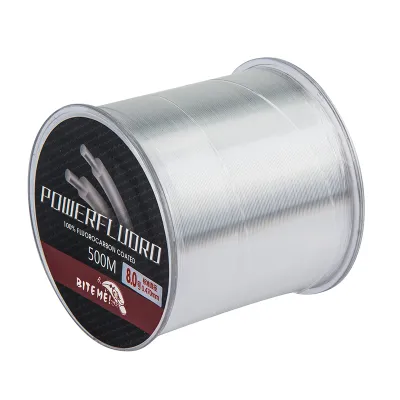
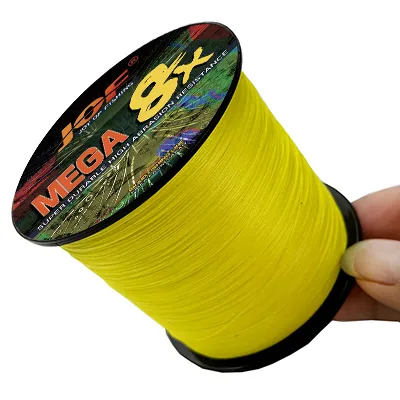
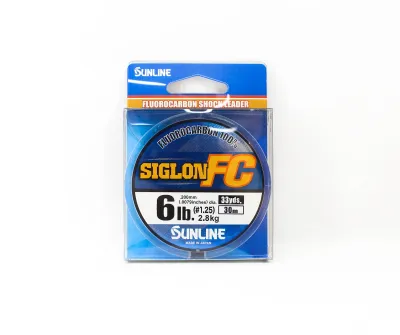
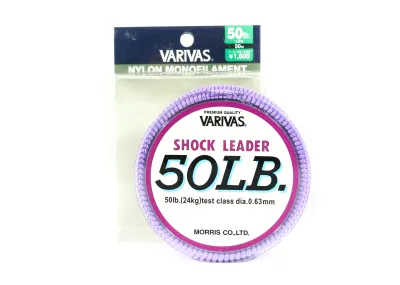
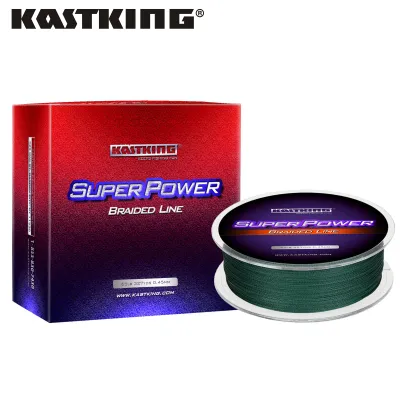
Prices are valid at publication and may change. Please refer to the product page for the latest price.
There are three primary types of fishing line available on the market: monofilament, fluorocarbon, and braided line. Each material behaves differently under tension, reacts uniquely to water, and requires specific handling techniques. For a novice, choosing a line that is easy to tie, sits cleanly on the reel, and does not slip is far more valuable than choosing a high-performance line designed for niche professional techniques.
Your primary goal is to establish a solid foundation in casting, retrieving, and fish handling. A forgiving line reduces the mechanical hurdles of the sport. By matching your line to your current skill level rather than chasing advanced gear, you ensure a smoother, more enjoyable learning process on the water.
Monofilament vs. Fluorocarbon vs. Braided: Which Should You Choose?
How a fishing line behaves depends entirely on its material composition. The physical characteristics of the line control three main factors: stretch, underwater visibility, and spool management. Stretch acts as a shock absorber when a fish pulls hard, visibility determines how easily fish can spot your line in clear water, and spool management dictates how smoothly the line coils and releases from your reel.

Understanding these trade-offs is essential for selecting the right setup. While one material might offer incredible strength, it may be too stiff for a beginner to cast easily. Another might be completely invisible to fish but require complex knots that are difficult to tie correctly on the water. Let us break down each of the three main line types to see how they compare.
Monofilament: The Most Forgiving Starter Line
Monofilament, commonly referred to as “mono,” is a single strand of nylon plastic. It remains the most popular and recommended starting line for new anglers due to its balance of simplicity and performance.
- Pros: Mono has a high level of stretch, often expanding up to 25% or more under load. This elasticity acts as a shock absorber, preventing the hook from tearing out of a fish's mouth during a sudden run or when a beginner sets the hook too aggressively. It is also incredibly easy to tie knots with, holds those knots securely without slipping, and is highly affordable, typically costing between S$10 and S$20 for a generous filler spool. It behaves exceptionally well on budget-friendly spinning reels, staying limp and manageable.
- Cons: Because it is made of nylon, monofilament absorbs water and is highly susceptible to ultraviolet (UV) degradation. In warm, sunny tropical environments, intense sunlight will weaken the line over time, making it brittle. Mono also develops "line memory," meaning it retains the coiled shape of the reel spool if left unused, which can lead to casting loops. Additionally, it has a thicker diameter relative to its breaking strength compared to braided line.
- Best Beginner Use Cases: Monofilament is excellent for topwater lures because it floats, general freshwater bait fishing in local reservoirs, and light saltwater applications from jetties where the extra stretch helps cushion sudden runs from active fish.
Fluorocarbon: Invisible but Stiffer
Fluorocarbon is made of a dense polymer called polyvinylidene fluoride. It is highly regarded by experienced anglers for its stealth and durability, but its physical properties make it a challenging choice as a main line for beginners.
- Pros: The primary advantage of fluorocarbon is its near-invisibility underwater. It has a refractive index very close to that of water, making it almost impossible for wary fish to see. It is also denser than monofilament, meaning it sinks quickly, and it offers superior abrasion resistance against rough structures like concrete pillars, rocks, and barnacles.
- Cons: Fluorocarbon is inherently stiff and dense. When spooled onto a standard spinning reel, this stiffness causes the line to spring off the spool in unruly coils, leading to frustrating tangles. It also has poor knot strength if the knot is not tied perfectly and thoroughly moistened before tightening; dry friction will burn and weaken the material, causing it to snap easily. It is also the most expensive of the three line options.
- Best Beginner Use Cases: Instead of spooling an entire reel with fluorocarbon, beginners should use it primarily as a leader material. Tying a 1-to-2-meter section of fluorocarbon to the end of your main line gives you the benefits of underwater invisibility and abrasion resistance without the headache of managing a stiff line on your reel.
Braided Line: High Sensitivity but Less Forgiving
Braided line is constructed by weaving multiple strands of high-tech synthetic fibers (such as Dyneema or Spectra) into a single, incredibly strong cord. While it offers impressive performance, it requires a higher level of line management skill.
- Pros: Braid has virtually zero stretch, providing extreme sensitivity. You will feel every minor bump, rock, and fish nibble instantly. It has an incredibly thin diameter relative to its breaking strength, allowing you to pack more line onto a smaller reel and cast significantly further. It also has zero line memory, meaning it will never coil or stiffen over time.
- Cons: Because it is opaque, braided line is highly visible underwater, which can spook fish in clear conditions. It is also incredibly slippery; standard beginner knots will simply slide apart under pressure, requiring you to learn specialized knots like the Palomar or Double Uni. The lack of stretch means there is no shock absorption, increasing the risk of pulling hooks out of a fish's mouth. For beginners, braid is highly prone to "wind knots"—loose loops of line that catch the wind during a cast and wrap tightly around the rod guides.
- Best Beginner Use Cases: Braid is best suited for fishing in heavy underwater vegetation, deep-water bottom bouncing, or targeting large fish where high line capacity is required. It is best adopted after you have mastered basic casting control and spool tension with monofilament.
How to Spool and Tie Your First Fishing Line
Setting up your gear correctly is the best way to prevent early frustrations like line twists and bird’s nests. Spooling your reel and tying your knots properly ensures your line performs exactly as intended when you get to the water.
To get started, gather the necessary tools: your chosen fishing line, your reel (mounted on the rod’s bottom section), a pair of sharp scissors or line clippers, and a clean, damp cloth.
Step-by-Step Spooling Guide (Monofilament)
- Check the Rotation: Place your line spool on the floor. Look at your spinning reel and identify which direction the bail arm rotates when you turn the handle (usually clockwise). Position the line spool so that the line unrolls from it in the same direction. Matching these directions prevents twisting the line as it goes onto the reel.
- Thread the Rod: Run the tag end of the line through the large guide guide on the bottom section of your rod.
- Secure to the Spool: Open the reel's bail arm. Tie the line to the center of the reel spool (the arbor) using a simple arbor knot or a double overhand knot. Pull it tight, trim the short tag end, and flip the bail arm back down.
- Apply Consistent Tension: Hold the line firmly with a damp cloth a few inches above the reel. The damp cloth provides smooth, consistent tension and protects your fingers from friction heat as you wind.
- Wind Steadily: Crank the reel handle slowly and steadily. Watch to ensure the line packs tightly and evenly across the spool. Loose spooling is the number one cause of casting tangles.
- Leave a Safety Gap: Stop filling the reel when the line level sits about 1/8 inch (approximately 3 mm) below the outer edge of the spool lip. Overfilling will cause the line to spill off in loops during your first cast.
Tying a Reliable Beginner Knot: The Improved Clinch Knot
The Improved Clinch Knot is highly reliable, easy to learn, and works exceptionally well with monofilament line.
- Pass the tag end of the line through the eye of your hook or swivel.
- Wrap the tag end around the standing line five to six times, creating a spiral pattern.
- Take the tag end and pass it through the small loop that has formed right next to the hook eye.
- Bring the tag end back through the large loop you just created (this is the "improved" step).
- Moisten the Line: Wet the knot thoroughly with water or saliva. This step is critical; dry nylon generates friction heat when pulled tight, which damages the line and reduces its breaking strength by up to 50%.
- Pull the standing line and the tag end simultaneously to seat the knot tightly against the eye. Trim the excess tag end, leaving about 1/8 inch of clearance.
Verifying Your Setup
Before heading to the water, perform a steady pull test by securing your hook to a stable object (or holding it carefully with pliers) and pulling firmly on the main line to ensure the knot holds under tension. Next, take your rod to an open grassy area or a safe shoreline. Perform a few light, short casts with a practice weight to ensure the line flows smoothly off the spool without looping or twisting.
Always prioritize safety when handling hooks and lines. Keep your fingers clear of the line path when casting, and ensure you are standing on stable ground, especially near wet jetty steps or muddy reservoir banks. Additionally, make sure to check local fishing regulations and designated fishing zones before casting your line.
Common Fishing Line Mistakes Beginners Should Avoid
Even with the right line, simple maintenance and setup errors can lead to lost gear and missed opportunities. Avoiding these common pitfalls will extend the life of your line and keep your fishing trips hassle-free.
- Mismatched Line Weight: Every fishing rod and reel is designed to handle a specific range of line strengths, printed directly on the side of the rod blank and the reel spool (e.g., "Line WT: 6-12 lb"). Using a line that is too heavy makes casting incredibly difficult and can damage your rod guides, while using a line that is too light can result in frequent break-offs. Always match your line to your gear's specifications.
- Ignoring Line Memory: Monofilament that has sat on a reel for several weeks will retain the coiled shape of the spool. If you cast this coiled line without stretching it first, it will quickly twist into a bird's nest. Before your first cast of the day, pull out the first 15 to 20 meters of line and stretch it firmly between your hands to straighten it out.
- Skipping Regular Inspections: Rocks, concrete structures, and underwater debris can easily nick or fray your line without you noticing. After retrieving your line from a rough area, run the last two meters of line through your fingertips. If you feel any rough spots or nicks, cut that section off and re-tie your hook immediately. A damaged line will snap easily under the weight of a fish.
- Overfilling the Spool: It is tempting to pack as much line onto the reel as possible, but filling it right to the brim is a recipe for disaster. The outer coils will easily slip off the spool during a cast, creating a massive, unusable tangle. Always maintain the recommended 1/8-inch safety gap from the spool lip.
Frequently Asked Questions (FAQ)
What lb test fishing line should a beginner use?
For general freshwater fishing in reservoirs or light coastal jetty fishing, a monofilament line rated between 8 lb and 12 lb test is highly versatile. This range is thin enough to cast easily but strong enough to handle common target species without snapping. Always verify that your selected line weight falls within the recommended limits printed on your rod and reel.
Does fishing line expire or go bad?
Yes, fishing line degrades over time. Monofilament and fluorocarbon are sensitive to heat and ultraviolet (UV) light. In warm, sunny climates, a spooled monofilament line should generally be replaced every six months to a year, or sooner if it becomes brittle, develops extreme coils, or breaks easily when pulled by hand. Store spare spools in a cool, dark drawer to prolong their shelf life.
Can I use braided line without a leader?
While you can tie braided line directly to a hook, it is not recommended for most situations. Braid is highly visible underwater and has poor abrasion resistance against sharp rocks or structure. Attaching a 1-to-2-meter leader of fluorocarbon or monofilament to the end of your braid provides invisibility near the bait and protects the line from fraying on obstacles.
Community discussion
Share your experience or ask a question. Comments are reviewed before publication.