
Why Pair an Ankle Strengthener with Foam Rolling?
To build a resilient lower leg that can withstand the repetitive impact of running, you must address both muscle tension and joint stability. Many runners treat these as separate issues, either stretching out tight muscles or performing strength exercises in isolation. However, combining a targeted soft-tissue release tool with a dedicated ankle strengthener creates a powerful, synergistic recovery protocol that accelerates tissue repair and builds lasting joint resilience.
Foam rolling and ankle strengthening serve two distinct but complementary roles in your post-run routine. A foam roller acts as a self-myofascial release tool, targeting muscle tightness and fascial restrictions in the calves, shins, and lateral lower leg. Conversely, an ankle strengthener—such as a resistance band, balance disc, or wobble board—focuses on loading the tendons, strengthening the stabilizing muscles, and sharpening proprioception, which is your brain’s ability to sense joint position.
The synergy between these two modalities lies in the relationship between tissue length and joint mechanics. Releasing tight, overactive muscles first helps restore a more natural range of motion around the ankle joint. When you attempt to strengthen a joint restricted by tight calf muscles, your body naturally compensates, recruiting incorrect muscles or overloading the joint at an awkward angle. By rolling out the surrounding soft tissue first, you clear the path for clean, biomechanically sound movement during your strengthening exercises.
Products mentioned in this guide
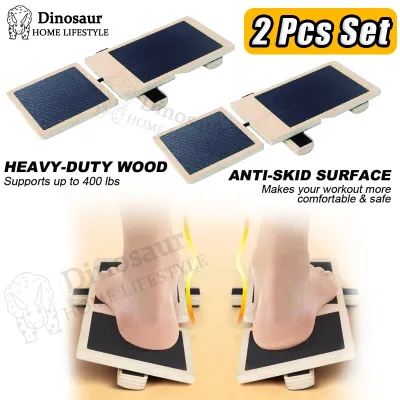
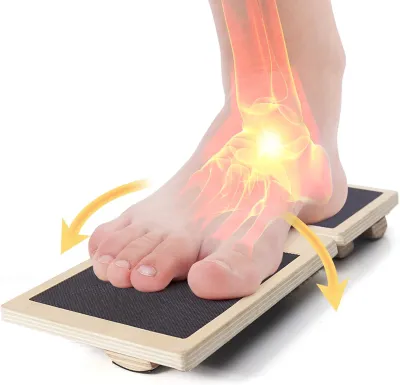
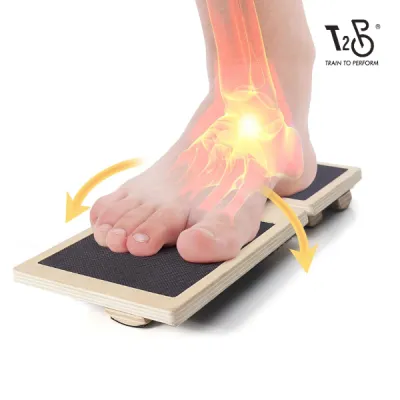
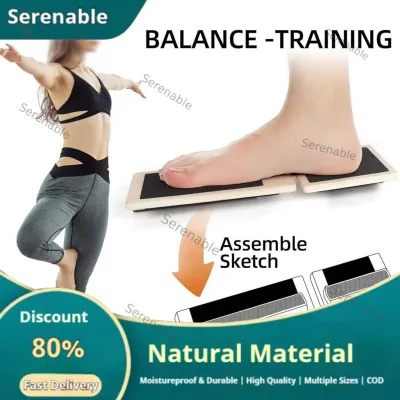
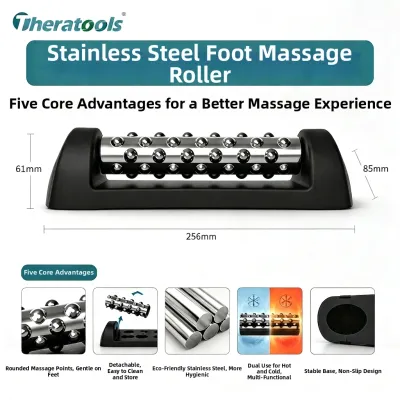
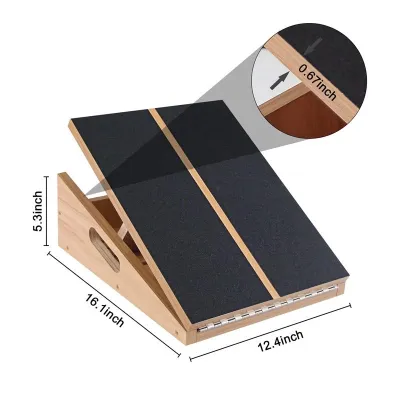
Prices are valid at publication and may change. Please refer to the product page for the latest price.
For runners navigating Singapore’s concrete park connectors or the undulating trails of MacRitchie Reservoir, this combined approach is highly beneficial. The constant impact on hard surfaces can lead to repetitive strain, manifesting as shin splints, Achilles tendinopathy, or minor ankle sprains. Integrating these two recovery methods helps proactively manage these risks, keeping your lower legs prepared for high-mileage weeks and humid training conditions.
Step-by-Step Routine: Sequencing Your Recovery Protocol
To maximize the benefits of your recovery session, follow a logical sequence. The general rule of thumb for any comprehensive recovery or mobility routine is to release and mobilize restricted tissues before you load and strengthen the surrounding joints. This order of operations ensures that your stabilizing muscles can fire correctly through an unrestricted range of motion.

The volume and intensity of this routine should always be adjusted based on your current fatigue levels. On days following a grueling speed session or a long run along the East Coast Park, your muscles will be highly fatigued. In these scenarios, keep the foam rolling gentle and focus on low-resistance, high-control exercises with your ankle strengthener. Consistency and proper form are far more valuable for long-term joint health than pushing through pain when your body is already exhausted.
Phase 1: Foam Rolling for Tissue Release
Before you begin, find a comfortable space on a yoga mat or a clean floor. The primary target areas for runners are the calves (including both the gastrocnemius and the deeper soleus muscle), the shins (anterior tibialis), and the outer lower leg (the peroneal muscles). These muscle groups work continuously during the running gait to stabilize your foot strike and propel you forward.
When rolling your calves, sit on the floor with your legs extended, placing the roller under your lower legs. Lift your hips slightly off the floor to apply pressure, and slowly roll from just above the ankle up to the back of the knee. If you encounter a highly tender spot, pause there for 20 to 30 seconds, taking slow, deep breaths to encourage the muscle fibers to relax. Avoid rolling directly over the back of the knee or the lower Achilles tendon insertion point, as these areas are sensitive and prone to irritation from direct compression.
To target the outer peroneals, turn onto your side and place the roller under the lateral aspect of your lower leg, rolling between the ankle bone and the knee. For the anterior tibialis on the front of your shin, flip over onto your hands and knees, placing one shin on the roller while keeping your hands on the floor to control the applied weight. Always move slowly and deliberately; rapid, aggressive rolling can trigger a protective muscle spasm rather than encouraging tissue release. Spend about one to two minutes on each muscle group, adjusting the pressure so that it feels like a productive massage rather than sharp pain.
Phase 2: Ankle Strengthener Exercises for Stability
Once your lower leg muscles are mobilized and relaxed, transition immediately to your ankle strengthener to build stability and neuromuscular control. If you are using a loop resistance band, sit on the floor with your legs extended. Loop the band around the ball of your foot and hold the other end with your hands to create tension.
Begin with controlled dorsiflexion and plantarflexion. Slowly point your toes away from you against the band’s resistance, pause for a second, and then slowly return to the starting position. The key to building tendon resilience is focusing heavily on the eccentric, or lowering, phase of the movement. Take three to four seconds to return your foot to the starting position, resisting the pull of the band. This slow, controlled eccentric loading is highly effective for strengthening the Achilles tendon and the surrounding musculature.
If you are using a wobble board or balance cushion, progress to standing exercises to challenge your proprioception. Start by placing the board near a wall or sturdy chair that you can touch for support. Stand on the board with one leg, keeping a slight bend in your knee to avoid locking out the joint. Focus on keeping your hips level and your foot centered, allowing the small stabilizing muscles around your ankle to make rapid, micro-adjustments to keep you upright. Begin with short intervals of 15 to 30 seconds, and only progress to hands-free standing balances when you can maintain strict, stable form.
Selecting the Right Tools for Your Running Needs
Choosing the right recovery equipment depends on your running experience, specific recovery goals, and practical lifestyle constraints. Foam rollers come in various densities, sizes, and surface textures. If you are new to self-myofascial release or are recovering from an intense training block, a softer, smooth foam roller is generally the best starting point. Softer rollers provide a gentler compression that is less likely to aggravate highly sensitive or inflamed tissues. As your tolerance improves, you can transition to a high-density firm roller or a textured grid roller, which allows for more targeted, deep-tissue pressure.
When selecting an ankle strengthener, you must weigh the distinct benefits of resistance bands versus balance-based tools. Resistance bands are highly versatile, cost-effective, and provide linear loading in specific planes of motion, making them excellent for isolating individual muscle groups like the tibialis anterior or the peroneals. On the other hand, balance boards, wobble cushions, and balance discs focus on multi-directional stability and reactive joint awareness. These tools force your nervous system to coordinate multiple muscle groups simultaneously, mimicking the dynamic, unpredictable forces your ankles experience when running on uneven trails or stepping off curbs.
For runners in Singapore who travel frequently or commute regularly, portability and storage are essential practical considerations. Resistance bands are incredibly lightweight and can be folded flat into any running vest or carry-on bag, making them the ultimate travel-friendly option. If you prefer balance training on the go, an inflatable balance cushion is a highly portable alternative to a rigid wooden wobble board; you can easily deflate it for travel and inflate it using a small hand pump when you arrive at your destination.
Before purchasing any recovery tool, always check the manufacturer’s specifications. Verify the weight limits for balance boards and cushions to ensure they can safely support your body weight during single-leg exercises. Additionally, inspect the material quality of resistance bands to ensure they are made of durable, snap-resistant latex or fabric, and choose a resistance level that aligns with your current strength baseline rather than opting for the heaviest band immediately.
Safety Boundaries and Contraindications
While combining tissue release and ankle strengthening is highly effective for recovery, you must recognize when these techniques should be avoided. Foam rolling is safe for healthy muscle tissue, but should never be applied directly to acute injuries, fresh bruises, open wounds, or varicose veins. Avoid rolling directly over bony prominences, such as the ankle bones or the shin bone itself, as direct compression can cause localized inflammation. Furthermore, do not apply deep, direct pressure to the Achilles tendon; instead, focus on rolling the calf muscles that feed into the tendon to relieve tension indirectly.
Similarly, ankle strengthening exercises should be suspended if you experience sharp, localized joint pain, visible swelling, or heat around the ankle. These symptoms often point to acute conditions, such as a severe ligament sprain, tendon tear, or stress fracture, which require rest and professional medical evaluation. Attempting to perform single-leg balance work or heavy resistance band exercises on an unstable, acutely injured joint can worsen the damage and significantly delay your recovery.
A critical safety rule is the “Do Not Mix” rule: avoid combining aggressive, deep-tissue foam rolling with high-load plyometric ankle exercises or explosive jumping drills in the same recovery session. Deep rolling temporarily relaxes muscle fibers and reduces neural drive, which can compromise joint stability and reaction time immediately afterward. If you attempt high-impact plyometrics while your muscles are in this relaxed state, you place a much higher demand on your ligaments, greatly increasing the risk of an acute strain or sprain. Keep your recovery sessions focused strictly on low-impact, controlled stabilization.
It is vital to distinguish between normal muscle soreness (DOMS) and actual injury pain. DOMS typically presents as a dull, bilateral ache in the muscle bellies that peaks 24 to 48 hours after a hard run and gradually fades with light movement. In contrast, injury pain is often sharp, localized to one side, felt directly in a joint or tendon, or accompanied by clicking, catching, or a feeling of instability. If you experience persistent pain, stop your recovery routine immediately and consult a qualified sports physiotherapist or medical professional.
Frequently Asked Questions (FAQ)
Can I use an ankle strengthener and foam roller on rest days?
Yes, using these tools on rest days is an excellent way to promote active recovery and maintain lower-leg mobility. On non-running days, keep the intensity of both rolling and strengthening relatively low. Focus on gentle, slow rolling to stimulate local blood circulation and light, low-resistance band exercises to keep the joints moving smoothly. The goal on rest days is to encourage blood flow and joint lubrication without generating additional muscular fatigue or tissue strain.
Should I foam roll before or after a long run?
You can do both, but your technique and goals must change depending on the timing. Before a long run, perform a brief, dynamic rolling session lasting only 10 to 15 seconds per muscle group using fast, light strokes. This helps stimulate blood flow, warm up the tissues, and temporarily improve your ankle’s range of motion without over-relaxing the muscles. After your run, focus on a slower, deeper rolling routine combined with your ankle strengthener to help flush metabolic waste, relax tight muscle fibers, and rebuild joint stability.
How do I know if my ankle strengthener resistance is too high?
Your resistance is too high if you cannot complete the exercises through a full, controlled range of motion, or if you find yourself compensating with other parts of your body. Common signs of excessive resistance include hiking your hip, bending your knee to force a movement, or experiencing sharp, pinching pain in the joint. If you notice these signs, immediately step down to a lighter resistance band or transition to a more stable, supported surface to ensure you are isolating the correct stabilizing muscles safely.
Community discussion
Share your experience or ask a question. Comments are reviewed before publication.