
Combining resistance bands, foam rollers, and massage guns creates a highly effective leg recovery routine by targeting different layers of tissue and muscle function. The optimal approach uses a massage gun first to address localized, deep muscle knots, followed by a foam roller to smooth out broad myofascial tissue, and finishes with a resistance band for legs to restore joint mobility and activate blood flow through active stretching. This sequence transitions your lower body from targeted tension release to functional movement, helping you recover efficiently after intense runs, cycling sessions, or gym workouts.
Using these tools in isolation can provide temporary relief, but integrating them systematically addresses both structural tightness and movement patterns. By understanding how each tool interacts with your neuromuscular system, you can customize your recovery sessions to match your specific training volume, body size, and daily fatigue levels.
Understanding the Role of Each Recovery Tool
To build an effective recovery routine, you must first understand what each tool specifically targets in your leg muscles. Using them without a clear purpose can lead to redundant effort or, worse, increased muscle soreness from over-manipulation.
Products mentioned in this guide
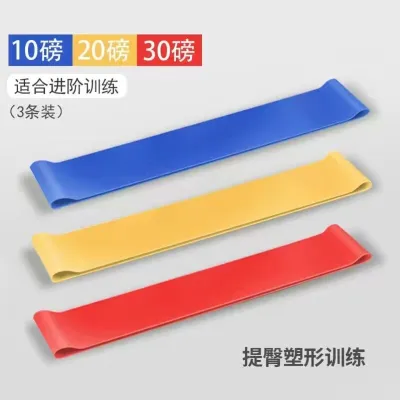
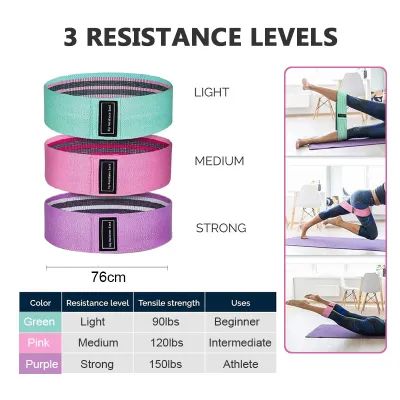
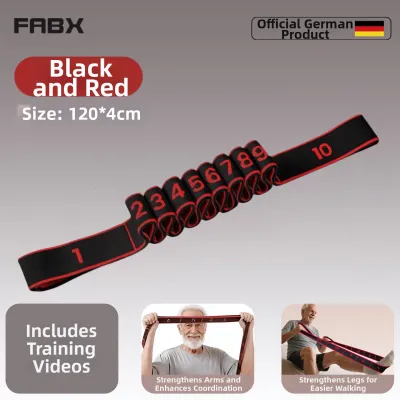
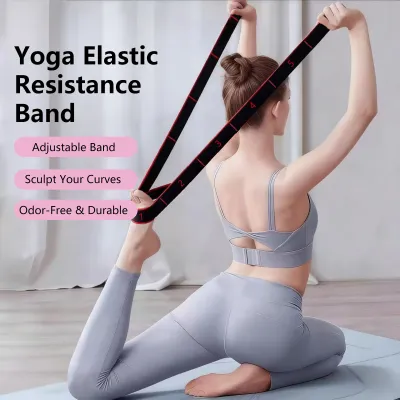
Prices are valid at publication and may change. Please refer to the product page for the latest price.
Massage guns utilize percussive therapy to deliver rapid, concentrated pulses deep into your muscle tissue. This localized action is highly effective for desensitizing the nervous system’s pain receptors and targeting specific, stubborn trigger points. If you have a highly localized knot in your calf or glute, the massage gun can pinpoint that exact area without stressing the surrounding tissues.
Foam rollers, on the other hand, focus on broad myofascial release. By using your body weight to roll over a dense cylinder, you apply sweeping pressure across entire muscle groups. This action helps improve tissue sliding surfaces, hydrates the fascia, and addresses general stiffness across larger areas like the quadriceps, hamstrings, or outer thighs.
Resistance bands for legs serve a completely different purpose by introducing active stretching, muscle activation, and joint mobility under controlled tension. While massage guns and foam rollers are passive tools that compress tissue, resistance bands require active muscle engagement. They allow you to perform guided mobility drills that gently distract tight joints and restore functional movement patterns.
Sequencing Your Leg Recovery Routine
The order in which you use these tools determines the physiological impact on your recovery. A mismatched sequence can limit your flexibility gains or leave your muscles feeling excessively fatigued before your next workout.

For pre-workout preparation, your goal is muscle activation and joint lubrication rather than deep tissue relaxation. Keep the massage gun on a low setting for quick, 30-second sweeps to stimulate blood flow, skip the foam roller to avoid reducing muscle force output, and finish with dynamic resistance band movements to prime your joints. For post-workout recovery, transition to a down-regulation sequence designed to relax hyperactive muscles and restore resting tissue length.
The recommended post-workout flow starts with localized release using the massage gun to desensitize the tightest spots. Once those primary trigger points are addressed, transition to the foam roller to smooth out the broader muscle group and flush out metabolic waste. Conclude the session with a resistance band for legs to guide the newly relaxed muscles through a full, active range of motion, reinforcing healthy movement patterns.
You should always adjust the duration of this sequence based on your specific leg fatigue signals and available time. If your legs feel generally heavy but lack sharp, localized knots, spend more time on the foam roller and bands. When packing your gear for outdoor track sessions or gym workouts, lightweight resistance bands and compact travel rollers are easy to carry, while heavier percussive tools are often best reserved for home use where you can verify battery runtime and charging access.
Step-by-Step Integration for Major Leg Muscle Groups
Applying this three-step framework to specific muscle groups allows you to address the unique demands of your lower body. Ensure you adjust the resistance of your bands and the speed of your massage gun to match your body size and tissue sensitivity.
Calves and Achilles
Start by targeting the calves, which often bear the brunt of high-impact running on hard concrete paths. Gently apply the massage gun to the meaty part of the calf muscle, focusing on the gastrocnemius and soleus while strictly avoiding the Achilles tendon itself. Spend approximately 30 to 60 seconds per side on a low-to-medium speed setting.
Next, sit on the floor and place your calf over the foam roller. Lift your hips slightly and roll slowly from the ankle up to just below the back of the knee, pausing on any tender spots for 20 seconds. To increase the pressure, you can cross your opposite leg over the shin, ensuring the roller’s load capacity matches your body weight.
Finish with banded ankle dorsiflexion to restore joint mobility. Anchor a light resistance band to a sturdy post close to the floor, loop the other end around the front of your ankle joint, and step forward to create tension. Keep your foot flat on the floor and slowly push your knee forward over your toes, performing 10 to 12 controlled repetitions to stretch the calf and mobilize the ankle joint.
Hamstrings and Glutes
The hamstrings and glutes require deep, structured release to relieve lower back tension and hip tightness. Begin with the massage gun, targeting the gluteus medius on the side of your hip and the belly of the hamstrings. Avoid placing the percussive head directly on the sit bones or the sensitive area behind the knee.
Transition to the foam roller by sitting directly on top of it. Cross one ankle over the opposite knee to expose the deep glute muscles, and roll back and forth at a slow pace. Move the roller down to your hamstrings, rolling from the base of the glutes to just above the knee crease, using your hands for support.
Conclude with banded active leg lowers to restore hamstring flexibility. Lie flat on your back, loop a medium resistance band for legs around the arch of one foot, and hold the ends of the band to keep that leg vertical. Slowly lower and raise your opposite leg to the floor while keeping the banded leg completely stable, completing 10 repetitions per side.
Quads and Hip Flexors
Your quadriceps and hip flexors can become highly restricted from prolonged sitting or repetitive cycling. Start by sweeping the massage gun along the front of your thigh, focusing on the outer quad while avoiding the kneecap and the groin area.
Lie face down on the floor with the foam roller positioned under your thighs. Roll slowly from your hip crease down to just above the knee, keeping your core engaged to prevent your lower back from sagging. If you find a particularly tight spot, bend and straighten your knee slowly while resting on the roller to perform an active tissue release.
Finish with a banded hip flexor stretch to open up the front of your hips. Anchor a medium band behind you, loop it high up around one thigh, and step forward into a half-kneeling lunge with the banded leg behind you. Squeeze your glutes and gently push your hips forward, allowing the band’s forward traction to assist in stretching the deep hip flexor muscles.
Safety Limits and Contraindications
While combining these recovery tools can accelerate your physical restoration, improper use can lead to tissue damage, nerve irritation, or joint strain. Recovery equipment is designed to assist your body, but it can never replace proper training progression, adequate sleep, and structured rest.
There are several anatomical areas you must strictly avoid with compressive and percussive tools. Never apply a massage gun or heavy foam rolling pressure directly over bones, joints, or major nerve pathways. This includes the kneecap, the shin bone, the back of the knee, the groin, and the lumbar spine, where deep pressure can cause severe irritation.
Always monitor your body for observable signals to stop the routine immediately. Sharp or shooting pain, numbness, tingling, or sudden bruising are clear indicators of nerve compression or excessive tissue trauma. Therapeutic release should feel like a deep, manageable stretch or pressure, never an agonizing pain that forces you to hold your breath or tense your muscles.
If you are dealing with an acute muscle strain, joint sprain, or persistent localized pain that does not improve after several days of rest, avoid self-treatment. Consult a qualified physiotherapist or sports medicine professional to receive a proper diagnosis and a structured rehabilitation plan tailored to your specific injury.
Frequently Asked Questions (FAQ)
Can I use all three tools on the same muscle group in one session?
Yes, you can integrate all three tools into a single recovery session, provided you keep the duration brief to avoid over-treating the tissue. Limit your total session time to under five minutes per muscle group to prevent localized inflammation and muscle soreness. If your muscles feel exceptionally tender or fatigued, space the tools out across different days or focus exclusively on gentle, low-tension banded mobility work.
How much tension should I use with the resistance band during recovery?
For recovery and mobility purposes, always select a light to medium resistance band. The primary goal of recovery work is to facilitate blood flow, improve joint range of motion, and gently stretch tight tissues, not to build strength or reach muscle failure. If you find yourself straining, holding your breath, or losing proper alignment, the band tension is too high and should be reduced immediately.
Community discussion
Share your experience or ask a question. Comments are reviewed before publication.