
To find the best kite brands for your first flight, look for manufacturers that specialize in dedicated entry-level sport kites rather than generic novelty toys. A beginner-friendly brand prioritizes structural durability, provides clear wind-range guidelines, and uses standard, replaceable components. By focusing on brands that offer robust ripstop fabrics, flexible fiberglass frames, and comprehensive assembly guides, you can avoid the frustration of a kite that refuses to launch or breaks on its first impact.
Choosing a reputable brand ensures that your initial experience is defined by the joy of flight rather than the hassle of troubleshooting poorly balanced equipment. High-quality entry-level brands design their products with inherent aerodynamic stability, allowing novices to learn the basics of wind awareness and line control in a wide range of weather conditions.
Understanding What Makes a Kite Brand Beginner-Friendly
When searching for a kite brand, the first step is distinguishing between mass-market novelty toys and dedicated entry-level sport kites. Mass-market toys, often found in supermarkets or convenience stores, are typically constructed from thin, brittle plastic sheets and fragile plastic dowels. These products are rarely balanced correctly, making them difficult to launch and highly prone to irreversible damage during their first crash. In contrast, dedicated kite manufacturers design entry-level models with the same aerodynamic principles and durable materials used in their professional-grade sport and stunt kites.
Products mentioned in this guide
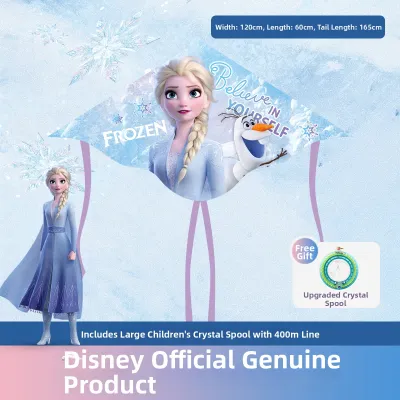
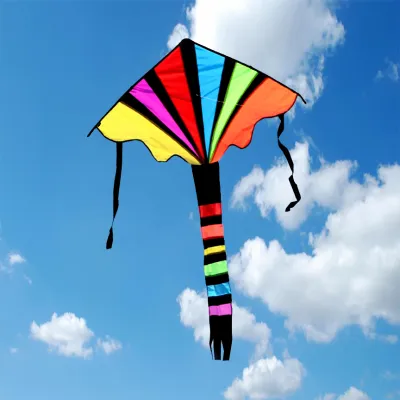
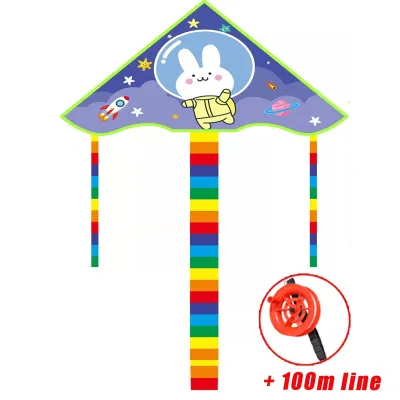
![[SG SELLER] Outdoor Children Kites Flying Game Windspeed with Tail String Line Colorful Large Kite Toy Different Designs](https://img.lazcdn.com/g/p/0bf57f2a5db4baf70319140ec51ab722.jpg_400x400q80.jpg_.webp)
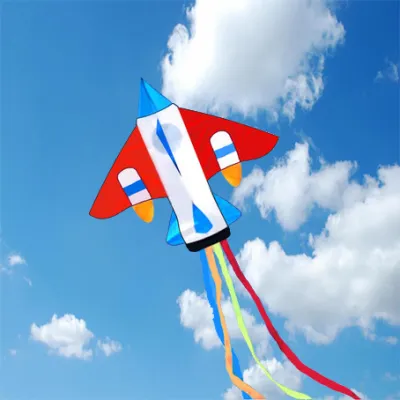
![[Ready Stock] DIY Colouring Kite](https://img.lazcdn.com/g/p/9608fbd0a2fb32622b85b8a4b230b563.jpg_400x400q80.jpg_.webp)
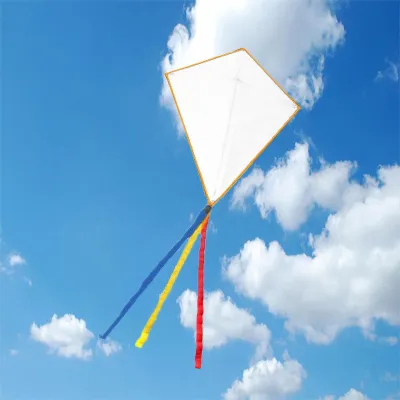
Prices are valid at publication and may change. Please refer to the product page for the latest price.
An outstanding beginner brand is also defined by the quality of its instructional support. First-time flyers often struggle with assembly, bridle adjustment, and launching techniques. Reputable brands address this by including highly detailed, illustrated instruction manuals in the packaging. Many also provide online video tutorials, troubleshooting databases, and responsive customer support channels to help you resolve flight issues without frustration.
Furthermore, a brand’s commitment to product longevity is highly visible in the availability of replacement parts. Even the most durable beginner kites will occasionally suffer damage from high-velocity impacts or tree snags. Dedicated brands sell individual replacement spars, connectors, bridles, and tails. This modular design means that a broken frame rod does not render the entire kite useless; you can easily purchase a matching spare part and restore the kite to flying condition.
Key Design Features to Look for in Entry-Level Kites
For your very first flight, the shape of the kite plays a critical role in how easily it catches the wind and maintains stability. Single-line delta (triangular) and classic diamond shapes are the most forgiving designs for beginners. Delta kites feature a wide surface area that generates excellent lift even in light breezes, and their swept-back wings naturally spill excess wind to prevent over-powering. Diamond kites offer a nostalgic aesthetic and exceptional stability when paired with a long tail, making them highly predictable and easy to control.

To ensure your kite survives the inevitable learning curve, inspect the sail material before purchasing. Avoid cheap plastic films that tear easily under tension or puncture upon contact with dry grass and twigs. Instead, look for brands that use high-density ripstop nylon or ripstop polyester. These fabrics feature a reinforced grid pattern of thicker threads woven at close intervals, which prevents small punctures or cuts from spreading into major tears.
The frame, or spars, of the kite must be both lightweight and highly resilient. Flexible fiberglass is the industry standard for quality beginner kites, offering an excellent balance of strength, flexibility, and affordability. Fiberglass rods can bend significantly during a nose-dive, absorbing the impact energy without snapping. While advanced flyers sometimes prefer stiffer carbon fiber spars for precise control, fiberglass remains the superior choice for novices due to its high impact resistance.
Finally, pay close attention to the flying line and spool included in the package. Low-quality brands often supply thin, twisted cotton string that tangles easily and snaps under moderate wind loads. Reliable brands package their kites with braided polyester or nylon lines, which offer high tensile strength and minimal stretch. The line should be wound onto an ergonomic hoop spool or a comfortable handle that allows you to feed and retrieve the line smoothly without causing twists or knots.
Evaluating Brand Reliability and Quality Assurance
Assessing a brand’s manufacturing standards requires looking beyond generic marketing claims. When researching options online, focus on user feedback that specifically mentions durability after multiple crashes and ease of assembly. A brand that consistently receives praise for surviving hard landings on grass or sand is far more reliable than one that relies solely on colorful graphics to attract buyers.
Clear technical specifications are another hallmark of a reputable manufacturer. A trustworthy brand will always print a recommended wind range directly on the packaging or product label, typically measured in miles per hour (mph) or kilometers per hour (km/h). This specification tells you exactly when the kite is safe to fly. Brands that use vague, exaggerated phrases like “flies in any wind” should be avoided, as no single kite design can safely handle both light breezes and heavy gales.
Look for brands that offer transparent material disclosures and clear warranties against manufacturing defects. A manufacturer that proudly lists the exact specifications of their materials—such as “40D ripstop polyester sail” or “4mm solid fiberglass spars”—demonstrates confidence in their product’s build quality. This transparency ensures you are paying for genuine structural integrity rather than just branded packaging.
Matching the Kite to Your Local Flying Conditions
Your choice of kite brand and model should be heavily influenced by the typical weather patterns and spatial constraints of your local environment. In Singapore, inland parks often feature light, turbulent wind conditions blocked by surrounding trees and high-rise buildings. If you plan to fly in these areas, prioritize brands that offer specialized light-wind delta kites, which are designed with ultra-lightweight frames to catch minimal breezes.
Conversely, if you frequent coastal areas such as East Coast Park, West Coast Park, or the elevated lawns of Marina Barrage, you will experience much stronger, steadier sea breezes. In these environments, a standard-sized delta or a large diamond kite with a long, stabilizing tail is ideal. Be cautious of flying oversized kites in strong coastal winds, as they can generate significant pull that may be difficult for a beginner or a child to manage safely.
Our local climate also presents unique challenges in the form of high relative humidity and intense tropical UV exposure. Over time, moisture and sunlight can degrade fabric fibers and weaken structural adhesives. To protect your investment, select brands that treat their sails with UV-resistant coatings and utilize synthetic, mold-resistant materials like polyester. Storing your kite in a dry, ventilated sleeve after flying in humid conditions will further extend its lifespan.
Your Pre-Purchase Checklist for First-Time Flyers
Before finalizing your purchase at a local hobby shop or through an online marketplace, use this practical checklist to verify that the kite is truly ready for a successful first flight:
- Verify Package Completeness: Ensure the product is labeled as "Ready to Fly" (RTF). The package must include the fully sewn sail, all necessary frame spars, a pre-wound flying line on a spool, any required stabilizing tails, and an instruction sheet.
- Inspect the Bridle Attachment Points: The bridle is the multi-string harness that connects the flying line to the kite's frame. Inspect these connection points for reinforced stitching, heavy-duty webbing, or brass grommets. Weak bridle connections are a common failure point on low-quality kites.
- Evaluate the Price-to-Durability Ratio: A high-quality, durable beginner kite typically ranges in price from S$30 to S$70. Be skeptical of ultra-cheap options priced under S$15, as they often compromise on material quality. Conversely, avoid spending over S$100 on your very first single-line kite, as premium pricing at that level usually reflects advanced stunt capabilities rather than basic durability.
- Check the Return and Exchange Policy: Ensure the retailer or online marketplace offers a clear return policy. If the kite arrives with missing components or a warped frame that prevents stable flight, you should be able to exchange it easily.
Frequently Asked Questions (FAQ)
Do I need to buy a separate tail for a beginner kite?
No, you do not always need to purchase a separate tail, as many beginner kites are designed to fly straight out of the box. Classic diamond kites and some delta designs usually include a matching tail in the package because they rely on the tail’s weight and drag to maintain vertical stability. However, many modern delta kites feature advanced aerodynamic shapes that allow them to fly perfectly without any added tail. Always check the product description to see if a tail is included or recommended for that specific model.
What is the ideal wind speed for flying a beginner kite?
The ideal wind speed for most beginner kites ranges between 8 and 24 km/h (approximately 5 to 15 mph). You can easily identify suitable wind conditions by observing your surroundings: leaves and small twigs will be in constant motion, and lightweight flags will extend fully from their poles. If the wind is too light (under 6 km/h), the kite will struggle to gain altitude; if the wind is too strong (over 30 km/h), the kite may become unstable, dive rapidly, or place excessive strain on the flying line.
How do I untangle a kite line without damaging it?
To untangle a kite line safely, lay the tangled section flat on a smooth surface like grass or a clean floor, and work patiently from the outside of the knot inward. Avoid pulling the ends of the line tightly, as this will only compress the knot and make it harder to undo. Gently loosen the loops using your fingers, and never use sharp metal objects, needles, or excessive force, which can easily fray or weaken the synthetic fibers of the line, leading to a sudden snap during your next flight.
Community discussion
Share your experience or ask a question. Comments are reviewed before publication.