
Installing a bike bottle cage is a straightforward upgrade that keeps hydration within arm’s reach during your rides. To achieve a secure, rattle-free fit, you must align the cage perfectly with the frame’s threaded inserts, use the correct hardware, and apply the appropriate torque. Properly executing this simple task prevents annoying trail noises, protects your frame from structural damage, and ensures your water bottle stays firmly in place over bumpy terrain.
Whether you are cruising along the coastal paths of the Park Connector Network (PCN) or tackling rugged off-road trails, a loose bottle cage can quickly disrupt your ride. In humid tropical climates, sweat and moisture can easily seep into frame mounts, making proper installation and thread preparation essential to prevent long-term corrosion. By following a systematic approach, you can secure your hydration system and protect your bicycle investment.
Preparation and Tools Needed
Before you begin the installation, gathering the correct tools and hardware is essential to avoid damaging your bicycle frame. Most modern bicycles feature standard threaded inserts, known as bottle bosses or rivnuts, pre-installed on the down tube and seat tube. These inserts typically accept standard M5 threaded bolts, which have a thread pitch of 0.8 millimeters. However, some lightweight carbon fiber frames or aerodynamic road bikes may require proprietary, low-profile hardware supplied directly by the manufacturer.
Products mentioned in this guide
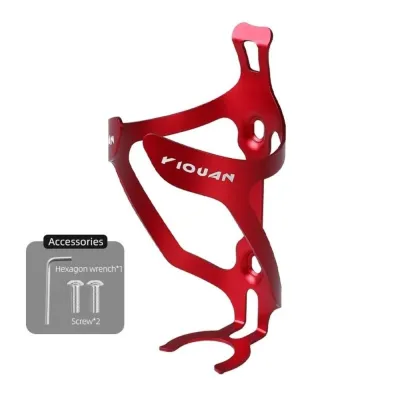
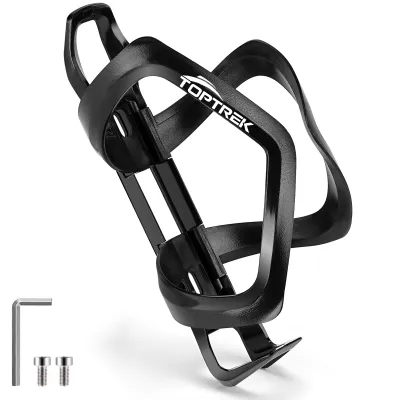
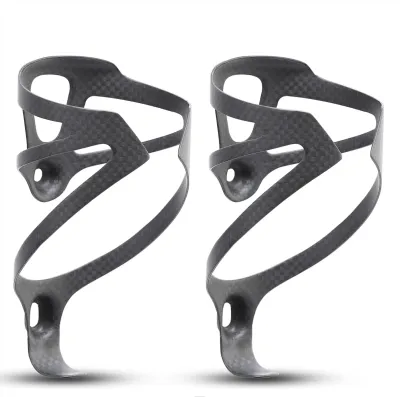
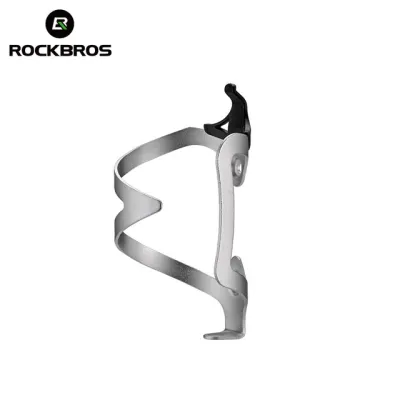
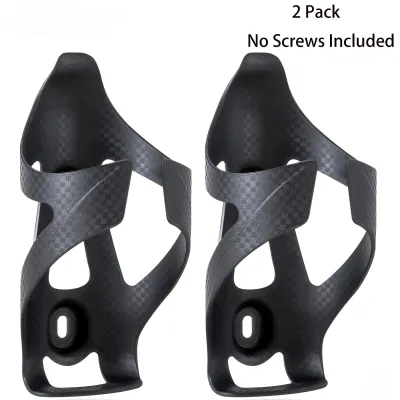
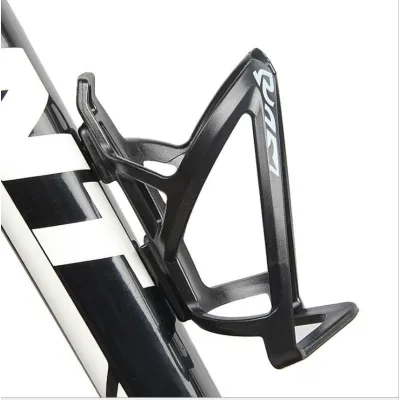
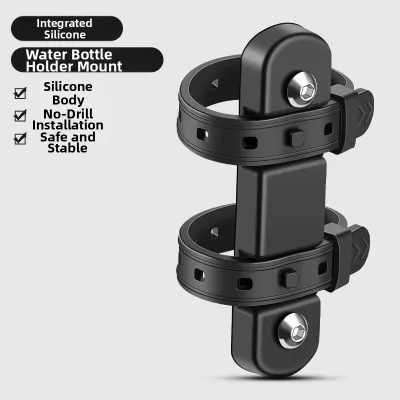
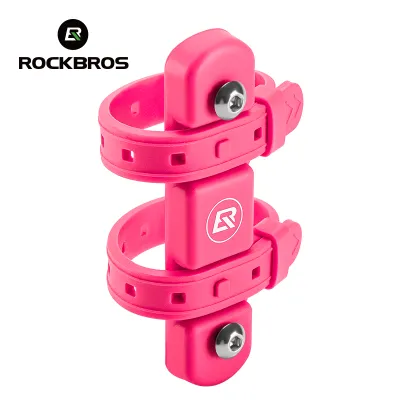
Prices are valid at publication and may change. Please refer to the product page for the latest price.
Using the correct tools prevents stripped bolt heads and damaged frame threads. You will need a set of high-quality hex wrenches (commonly 3mm or 4mm for standard M5 bolts). For carbon fiber or ultra-lightweight aluminum frames, a bicycle-specific torque wrench is highly recommended. Carbon tubes are thin and susceptible to crushing under excessive clamping force, making precise torque application a safety requirement rather than an option.
Preparation also requires cleaning supplies to ensure clean contact surfaces. Keep some isopropyl alcohol (rubbing alcohol) and a clean, lint-free microfiber cloth nearby to degrease the frame mounts. Additionally, you should have appropriate thread preparation materials on hand. Depending on your frame manufacturer’s guidelines, this may include high-quality bicycle grease, anti-seize compound, or a medium-strength threadlocker to keep the bolts from vibrating loose over time.
Step-by-Step Installation Guide
To install your bike bottle cage correctly, start by preparing the mounting area. Position your bicycle securely in a work stand or rest it stable against a wall where it cannot tip over. Locate the threaded bosses on your frame, which are usually covered by plastic blanking plugs if the bike is brand new. Gently remove these plugs and set them aside for future use.

Begin by thoroughly cleaning the frame inserts. Spray a small amount of isopropyl alcohol onto a clean cotton swab or the corner of a microfiber cloth, then clean out any dirt, grit, or manufacturing residue from inside the threaded holes. Clean threads ensure that your bolts turn smoothly and that your torque wrench readings are accurate, preventing artificial resistance from mimicking a fully tightened bolt.
Next, apply a minimal amount of thread preparation to the bolt threads. For metal frames (aluminum, steel, or titanium), applying a tiny dab of bicycle grease or anti-seize compound is highly recommended. This step is crucial in humid environments where salt air and sweat can cause galvanic corrosion, effectively welding the steel bolt to the frame insert over time. If you are working with a carbon fiber frame, consult the manufacturer’s manual; some brands specify installing bolts dry or using a mild threadlocker to prevent loosening without risking damage to the carbon layup.
Align the bottle cage over the frame bosses, making sure it is oriented correctly with the opening facing upward or toward your preferred side for side-loading cages. Insert the first bolt through the mounting slot of the cage and into the frame insert. Always thread the bolt by hand for the first three to four full rotations. Hand-threading allows you to feel the resistance immediately if the bolt is misaligned, preventing cross-threading which can permanently strip the delicate threads of the frame insert. Repeat this process for the second bolt.
Before performing the final tightening, check all physical clearances around the bottle cage. Insert your preferred water bottle into the cage and observe how it fits within the frame triangle. Ensure there is adequate clearance so the bottle does not rub against the top tube, rear shock, front derailleur clamp, or any external cables. On smaller frame sizes, you may need to slide the cage slightly upward or downward within its adjustable mounting slots to optimize clearance and ensure easy bottle access while riding.
Once you are satisfied with the alignment, use your hex wrench or torque wrench to tighten the bolts. Alternate between the top and bottom bolts, turning each a few times to pull the cage down evenly against the frame. Do not tighten one bolt completely while the other is loose, as this can warp the cage or apply uneven stress to the frame inserts. Tighten the bolts strictly to the manufacturer’s specified torque, which typically ranges between 2 and 4 Newton-meters (Nm). Stop immediately if you feel any abnormal resistance or if the threaded insert inside the frame begins to spin.
Troubleshooting Common Mounting Issues
Even with careful installation, you may encounter minor issues like rattling or alignment discrepancies. If your water bottle rattles while riding, the issue is often a loose fit between the bottle and the cage arms. For traditional aluminum or steel cages, you can gently squeeze the cage arms inward by hand to increase the grip on the bottle. If you are using a carbon fiber or plastic cage, which cannot be bent, applying a small strip of adhesive silicone tape or rubber padding to the inside of the cage can dampen vibrations and secure the bottle.
Misaligned frame bosses can make it difficult to mount the cage flat against the frame tube. If the bosses are slightly uneven, forcing the cage down can bend the mounting plate or put undue stress on the bolts. To resolve this, place thin nylon or stainless steel washers between the frame and the cage to act as spacers, leveling out the mounting surface. However, if the misalignment is severe or the spacing is far off the standard 64mm distance, stop the installation and avoid forcing the bolts, as this can damage the frame.
A more serious issue occurs when a frame insert becomes seized, corroded, or stripped. If a bolt becomes stuck during removal or installation, or if the threaded insert (rivnut) begins to spin freely inside the frame tube, do not attempt to force it with heavy tools. Applying excessive force can crack carbon fiber tubes or warp aluminum frames. This is a critical stop condition; halt the process immediately and take your bicycle to a professional bike mechanic who has the specialized riveting tools required to compress or replace the spinning insert safely.
Alternative Mounting Options for Frames Without Bosses
If your bicycle frame lacks standard threaded bosses—which is common on some vintage road bikes, dirt jumpers, or specialized bikepacking rigs—you can still carry hydration securely using alternative mounting systems. One popular solution is a seatpost-mounted bottle cage, which clamps directly to your seatpost or saddle rails. These mounts are highly aerodynamic and keep bottles out of the wind, though you must ensure compatibility with your seatpost shape, as aerodynamic or proprietary carbon seatposts require specific matching adapters.
For bikepacking and long-distance touring, handlebar or fork-mounted bottle cages offer excellent accessibility and extra carrying capacity. Handlebar mounts attach directly to your handlebars or stem, keeping your water bottle within easy reach while riding. Fork-mounted cages can be secured using existing cargo bosses or specialized clamp-on adapters, distributing the weight of your water lower on the front wheel to maintain stable steering dynamics.
Strap-on or clamp-style adapters are highly versatile options that allow you to mount a standard bottle cage almost anywhere on your frame tubes. These adapters use rubber straps, hook-and-loop fasteners, or plastic zip-ties to secure the mount. While convenient, they have lower weight limits than threaded bosses and can slip under heavy vibration on rough paths. To protect your bicycle’s paint or carbon finish from abrasion, always apply a layer of protective frame tape (costing under S$10 at local bike shops) to the frame tube before strapping on the adapter.
Frequently Asked Questions (FAQ)
Can I use standard hardware store bolts instead of specific bike bolts?
While standard hardware store bolts may share the same M5 thread pitch, using them on your bicycle frame carries significant risks. Bicycle-specific bottle cage bolts are designed with low-profile button heads to ensure they do not protrude and catch on the bottom of your water bottle during insertion. Additionally, hardware store bolts are often made of heavier, low-grade steel that is highly prone to rusting, or they may be too long, which can protrude deep into the frame tube and damage internal routing cables, carbon layups, or seatposts.
How do I stop my water bottle from rattling in the cage?
To stop a water bottle from rattling, first verify that the bottle cage bolts are tightened to the correct torque specification. If the bolts are secure, inspect the cage for material fatigue or cracks, especially if it is made of lightweight plastic or carbon fiber. For metal cages, you can gently bend the cage arms inward to restore a snug grip. If the rattling persists, ensure you are using a standard 74mm diameter cycling bottle, as undersized or deformed bottles will not sit securely in standard cages.
Community discussion
Share your experience or ask a question. Comments are reviewed before publication.