
Installing a paddle guard on your kayak or stand-up paddleboard (SUP) paddle is an effective way to protect your gear from premature wear and structural damage. Whether you navigate the shallow coastal waters around Singapore, explore calm reservoirs, or launch from concrete slipways, the outer edge of your paddle blade is constantly exposed to abrasive surfaces. Over time, repeated contact with sand, rocks, and docks can chip the blade’s outer layer, leading to water intrusion or delamination. Applying a dedicated edge guard creates a durable, sacrificial barrier that absorbs these impacts without compromising your paddling performance.
The success of your installation depends heavily on selecting a guard compatible with your paddle’s material and following a precise, step-by-step application process. Modern paddles are constructed from a variety of materials—including carbon fiber, fiberglass, aluminum, and wood—each reacting differently to adhesives and heat. By understanding these material characteristics and preparing the surface correctly, you can achieve a seamless, hydrodynamic fit that looks professional and lasts for seasons to come.
Assessing Your Paddle and Choosing the Right Guard
Before purchasing or installing a guard, evaluate the current condition of your paddle and understand how different blade materials interact with various guard types. The primary function of a paddle guard, also known as an edge guard, is to shield the vulnerable perimeter of the blade from localized impacts and continuous abrasion. While plastic or nylon blades are highly impact-resistant, high-performance composite blades made of carbon fiber or fiberglass are brittle and prone to chipping along their thin edges. If you notice visible wear, minor fraying, or small hairline cracks along the blade rim, installing a guard is highly recommended to halt further degradation.
Products mentioned in this guide
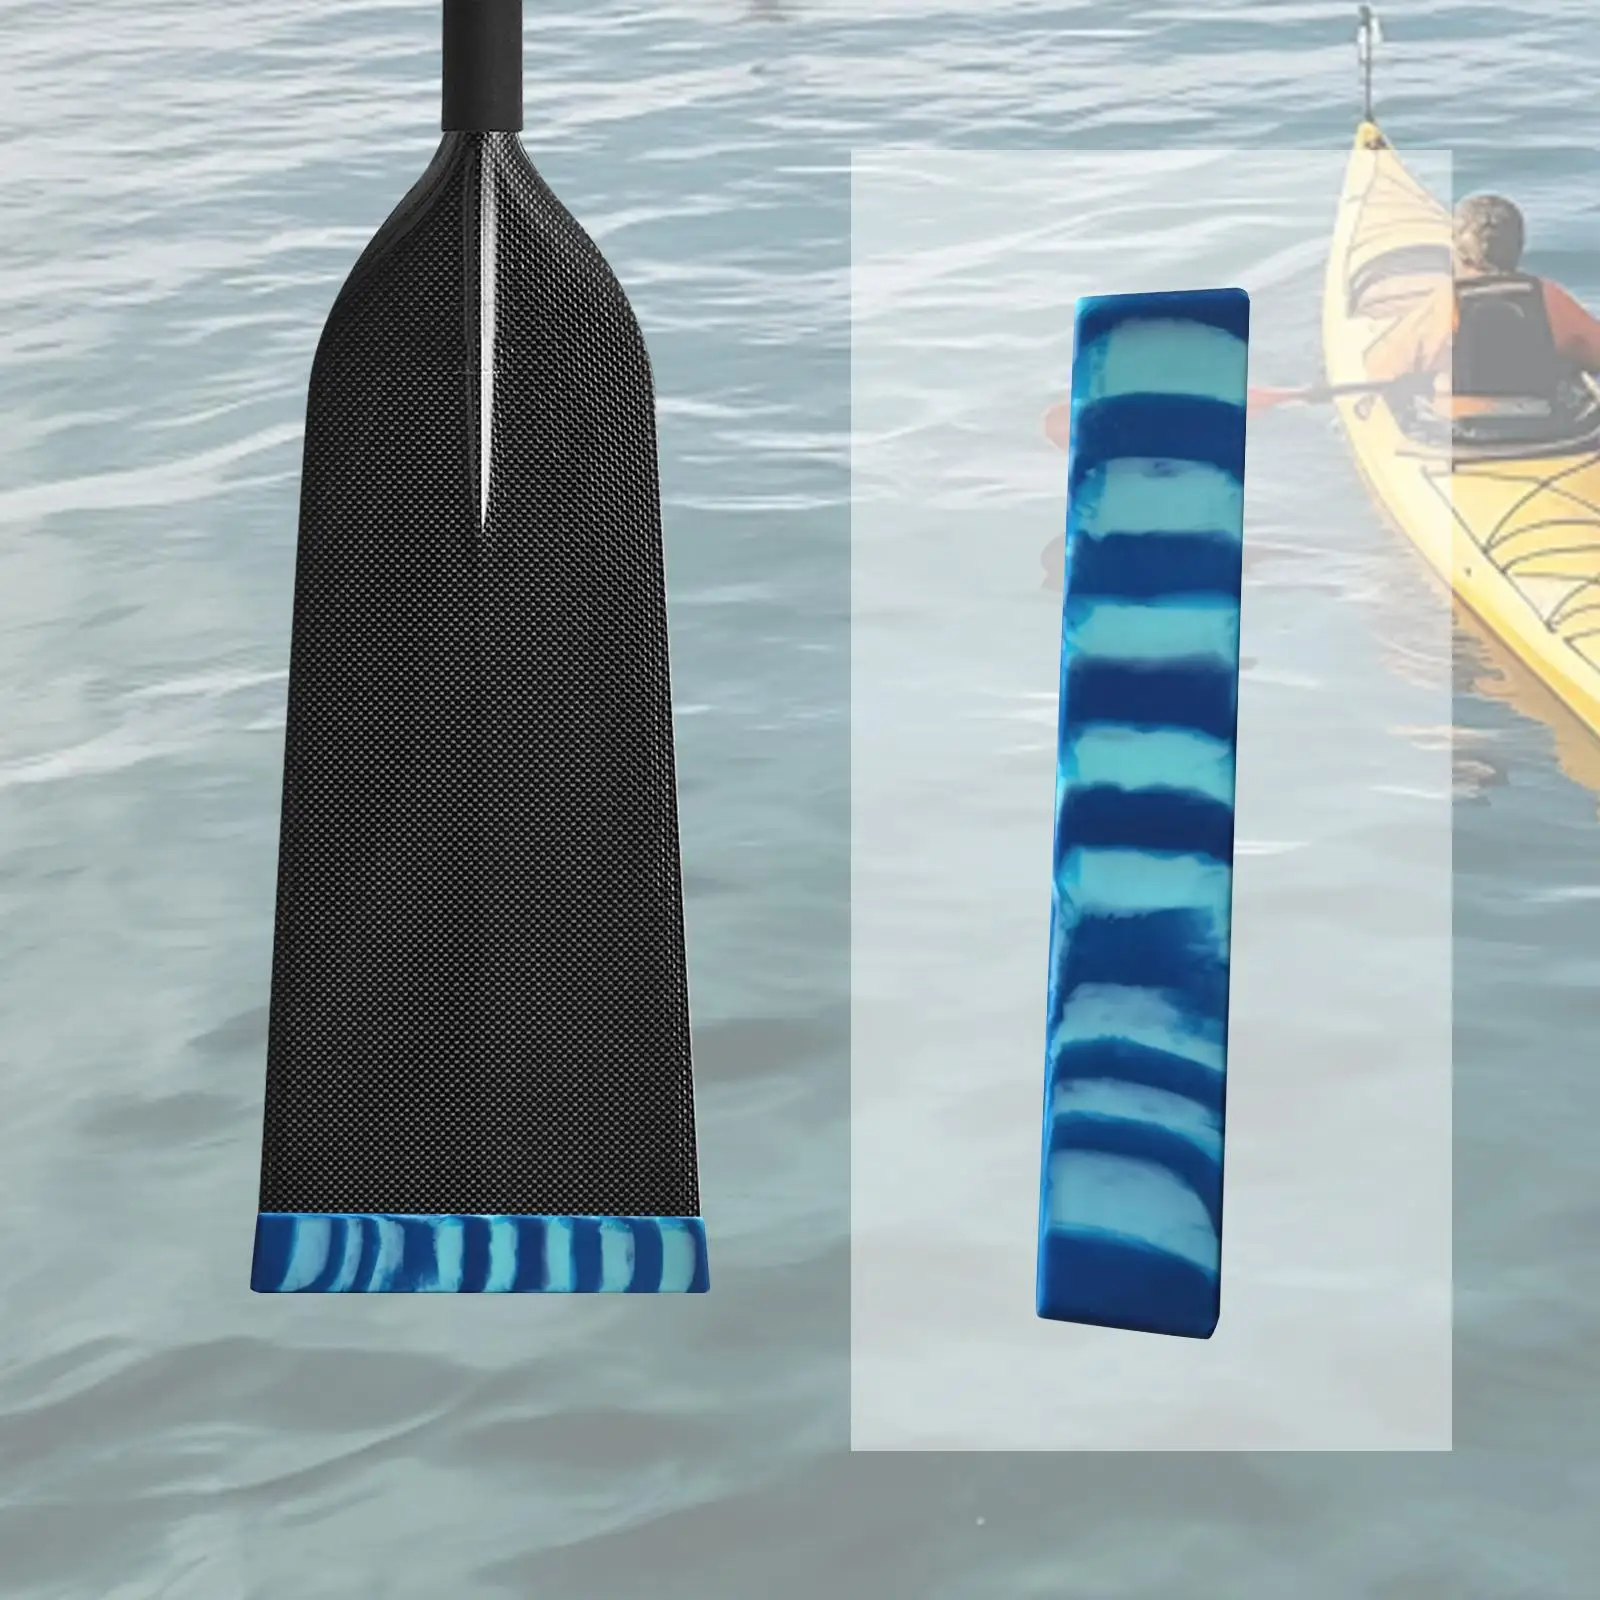
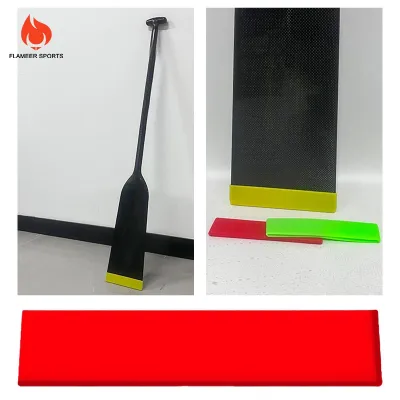
Prices are valid at publication and may change. Please refer to the product page for the latest price.
When matching a guard to your paddle, material compatibility is a critical factor. Carbon fiber and fiberglass composite paddles use epoxy resins that can be sensitive to localized heat, meaning any thermal application must be carefully managed to prevent structural softening. Aluminum paddles feature slick, non-porous surfaces that require meticulous degreasing for adhesives to bond securely. Wooden paddles possess natural oils and flexible finishes that can interfere with standard adhesives, requiring specific surface preparations.
You will generally choose from three main types of paddle guards:
- Adhesive peel-and-stick tape: A highly flexible, heavy-duty tape designed to wrap directly over the blade edge. It conforms easily to complex blade geometries and is suitable for almost all paddle materials.
- U-channel wrap-on guards: Pre-formed rubber or plastic strips with a U-shaped profile that hugs the blade rim. They often feature an internal bead of adhesive or require a separate marine sealant to stay secure.
- Heat-shrink tubing: A plastic sleeve that slides over the blade or shaft and contracts tightly when heated, providing a seamless, highly durable protective layer.
Essential Tools and Materials for a Clean Installation
Having the correct tools organized before you begin is essential for achieving a clean, long-lasting bond. Because many marine adhesives cure quickly and heat-shrink materials require steady, continuous application, pausing mid-process to search for tools can lead to misalignment or trapped air.

For the preparation phase, gather the following items:
- Mild dish soap and fresh water: For washing away salt, mud, and organic residue.
- Isopropyl alcohol (70% or higher): Crucial for stripping away invisible skin oils, manufacturing waxes, and chemical residues without damaging composite resins.
- Clean microfiber cloths: To dry and wipe down the surfaces without leaving lint behind.
- Masking tape: Useful for marking boundaries, protecting adjacent surfaces, or holding the guard in place during dry-fitting.
For the application and finishing phase, prepare:
- A sharp utility knife or heavy-duty scissors: To make clean, square cuts without fraying or tearing the guard material.
- A plastic squeegee or a firm rubbing tool: To apply consistent, heavy pressure and force out trapped air bubbles.
- A heat gun or high-wattage hair dryer: Required specifically for heat-shrink guards to activate the shrinking process.
Safety should always be a priority during installation. Wear cut-resistant gloves when trimming tough rubber or plastic guards with a utility knife, and use protective eyewear if you are working with heat sources or liquid adhesives. Additionally, check your paddle manufacturer’s warranty guidelines before applying any aftermarket products. Some high-end brands have strict policies regarding the application of localized heat or strong chemical adhesives, and failing to follow their recommendations could void your coverage.
Step-by-Step Installation Guide for Different Guard Types
Preparing the Paddle Blade
A successful installation relies entirely on the quality of your surface preparation. Even the strongest marine-grade adhesive will fail prematurely if it is applied over a microscopic layer of salt, sand, or skin oils. Begin by washing the paddle blade thoroughly using a mild soap solution and fresh water, paying close attention to the outer rim where dirt tends to accumulate. Rinse the blade completely with clean water to ensure no soap residue remains.
Once the blade is dry, saturate a clean microfiber cloth with isopropyl alcohol and wipe down the entire edge where the guard will be applied. This step removes any remaining chemical residues, waxes, or oils that could interfere with the adhesive bond. Avoid using denatured alcohol or harsh chemical solvents like acetone, as these can soften the resin matrix of composite paddles or damage plastic blades.
Some guard manufacturers recommend lightly scuffing the edge of the blade with fine-grit sandpaper, such as 400-grit, to create a mechanical key for the adhesive. Only perform this step if the specific guard instructions explicitly require it, and proceed with extreme caution on carbon fiber or fiberglass blades to avoid cutting into the structural fibers. After sanding, perform a final alcohol wipe to remove all fine dust. Allow the blade to dry completely in a clean, dust-free indoor environment before proceeding to the next step.
Installing Adhesive and Wrap-On Guards
Adhesive-backed tape and U-channel wrap-on guards require a steady hand and a patient, incremental approach. Start by measuring the perimeter of your paddle blade’s edge using a flexible measuring tape. Cut the guard material to this length, leaving an extra centimeter of overhang at each end to allow for precise trimming once the guard is fully secured.
Do not peel off the entire adhesive backing at once, as this makes the guard difficult to manage and increases the risk of it sticking to itself or catching dust. Instead, peel back only the first two to three centimeters of the backing paper to expose a small starting tab of adhesive. Align this exposed tab perfectly with the starting point on your blade—typically at the top of the neck or the upper shoulder of the blade.
Press the guard firmly onto the edge, working from the center of the channel outward to the sides to prevent air from becoming trapped. Slowly work your way around the curve of the blade, peeling back the adhesive backing in small increments of five to ten centimeters at a time. Maintain a slight, steady tension on the guard material to help it conform smoothly to the blade’s curves without bunching or wrinkling.
Once the entire guard is in place, use a plastic squeegee or a folded microfiber cloth to apply heavy, even pressure along the entire length of the installation. Rub the guard firmly from the center of the edge outward toward the faces of the blade to ensure a tight, continuous bond. Pay special attention to the tightest curves, as these areas are the most prone to lifting. Trim any excess overhang at the ends with your utility knife for a flush, professional finish.
Installing Heat-Shrink Paddle Guards
Heat-shrink paddle guards provide an exceptionally secure, form-fitting shield, but they require careful thermal management to protect your paddle’s structural integrity. Begin by positioning the heat-shrink tubing or split-tube version evenly along the designated section of the blade edge or shaft. Use small pieces of masking tape to hold the guard in position if it tends to slip before heat is applied.
Set your heat gun or high-wattage hair dryer to a medium temperature setting. Hold the heat source approximately 10 to 15 centimeters away from the guard and keep it in constant motion. Never hold the heat gun in one spot, as localized overheating can quickly burn the shrink material or damage the paddle underneath.
Safety Warning: High-performance paddles made of carbon fiber or fiberglass use epoxy resins that can soften, warp, or delaminate when exposed to excessive heat. Keep the temperature moderate, maintain a safe distance, and stop immediately if the paddle shaft or blade feels too hot to touch with your bare hand. If you notice any softening of the paddle material or a sweet, chemical odor, cease heating immediately and allow the area to cool.
Work systematically from one end of the guard to the other, watching the material contract and conform tightly to the paddle’s contours. Once the guard has shrunk completely and fits snugly without any gaps, turn off the heat source. Allow the paddle to cool and set naturally at room temperature; do not attempt to speed up the process by splashing cold water on it, as rapid thermal contraction can cause uneven shrinking, wrinkles, or structural stress in composite materials.
Avoiding Common Installation Mistakes and Fixing Errors
Even with careful preparation, minor errors can occur during the installation process. Recognizing these issues early allows you to correct them before the adhesive cures fully or before you take your paddle out onto the water.
Trapping air bubbles: If you notice small pockets of air trapped beneath an adhesive guard, do not leave them, as water pressure will eventually force these pockets to expand and peel the guard away. For small bubbles, gently puncture the center of the bubble with a fine sewing pin, then use your squeegee to press the air out through the tiny hole, sealing the adhesive down. For larger bubbles, it is best to carefully lift the guard back to the affected area and re-apply it.
Misalignment: If you notice the guard is drifting off-center as you apply it, stop immediately. If you are using a high-quality adhesive guard, you can usually peel the misaligned section back slowly and gently, provided you do so before applying firm pressure. If the adhesive has already bonded tightly or if the material has stretched, it is safer to cut away the crooked section and replace it with a fresh piece rather than forcing a warped guard into place.
Overheating the blade: During heat-shrink installation, look out for early signs of thermal stress. These include discoloration of the resin, a glossy or bubbly texture on the paddle surface, or a slight flexing of the blade under minimal pressure. If you observe any of these signs, stop heating immediately, move the heat gun further away, or lower the temperature setting.
Poor edge adhesion at the tips: The ends of the guard are subjected to the highest shear forces as the paddle enters and exits the water. If the tips begin to peel or lift, you can secure them by applying a tiny drop of compatible marine-grade adhesive (such as a flexible polyurethane sealant) under the lifting edge. Clamp the tip firmly with masking tape and allow it to cure. Always verify that the adhesive used is compatible with your paddle’s material and does not void the manufacturer’s warranty.
Verifying the Fit and Maintaining Your Paddle Guard
Before declaring the job complete, perform a thorough quality inspection to ensure the guard is fully integrated and ready for the water. Run your eyes along the entire edge, looking for any visible gaps, loose sections, or sharp, jagged edges left over from trimming. Any protruding edges can catch on floating debris or create unnecessary drag during your paddle stroke.
Next, run your fingernail gently along the seam where the guard meets the blade face. If your nail easily catches under the edge, the guard is lifting and needs to be pressed down firmly again or secured with a touch of marine adhesive. A seamless transition is crucial for maintaining the hydrodynamic efficiency of your paddle.
Allow the adhesive to cure completely before exposing the paddle to water. While some adhesives feel tacky immediately, most require a full 24 hours at room temperature to reach their maximum bond strength. Submerging the paddle prematurely can dissolve or weaken the adhesive, leading to rapid peeling.
To maximize the lifespan of both your paddle and its new guard, establish a simple post-paddle maintenance routine. Always rinse your paddle with clean, fresh water after use, especially if you have been paddling in saltwater environments like the coastal waters of Singapore. Store your paddle out of direct sunlight in a cool, dry place, as prolonged UV exposure can degrade both the guard material and the underlying adhesives over time. Finally, make it a habit to inspect the guard for wear, cracks, or peeling before every trip.
Frequently Asked Questions (FAQ)
Can I install a paddle guard on a wooden kayak paddle?
Yes, but wood requires specific preparation. The wooden blade must be fully sealed, varnished, and completely dry before application. Adhesive guards generally work best on wooden paddles, but you must verify that the wood’s finish does not repel the specific adhesive used on the guard. If the varnish is peeling or cracked, sand and re-seal the wood before attempting to install a guard, as moisture trapped under the adhesive will cause the wood to rot.
Will a paddle guard affect my stroke performance or add noticeable weight?
Modern paddle guards are lightweight and designed to be hydrodynamic, meaning they will not noticeably affect your stroke performance or add significant weight. While they add a negligible amount of weight (often less than 50 grams), the protection they offer prevents blade degradation and chipping. This actually preserves the paddle’s original performance and feel over time, as a chipped or frayed blade edge creates far more hydrodynamic drag than a smooth, well-installed guard.
How do I safely remove an old or damaged paddle guard?
To safely remove an old or damaged guard, use a hair dryer to gently warm the adhesive, which softens the bond and makes peeling easier. Slowly peel the guard back at a low, acute angle to avoid pulling up the underlying composite fibers or finish. Once the guard is removed, clean the remaining adhesive residue with isopropyl alcohol or a dedicated marine adhesive remover. Avoid using harsh metal scrapers or wire brushes, as these can easily gouge the paddle surface.
Community discussion
Share your experience or ask a question. Comments are reviewed before publication.