
Installing a rear-facing radar unit on your bicycle is an effective way to improve your situational awareness on the road. To ensure the device functions correctly and remains securely attached during your rides, you must install the mounting bracket properly. A loose or misaligned mount can cause the radar to point in the wrong direction, reducing its detection capabilities, or even result in the device falling off on rough roads.
Securing the mount requires matching the correct rubber adapter to your specific seatpost shape, preparing the mounting surface to prevent slippage, and choosing the right tension bands. While a radar unit provides valuable alerts regarding approaching vehicles, it is an electronic aid and does not replace active rider observation, shoulder checks, or defensive cycling practices.
Preparing Your Bike and Seatpost for Installation
Before attaching any hardware to your bicycle, you must identify the correct components included in your mounting kit. Standard retail packaging typically contains a plastic mounting bracket, several interchangeable rubber inserts or shims, and elastic bands of varying lengths. The rubber inserts are specifically molded to fit different seatpost profiles, including round, aerodynamic, and truncated designs.
Products mentioned in this guide
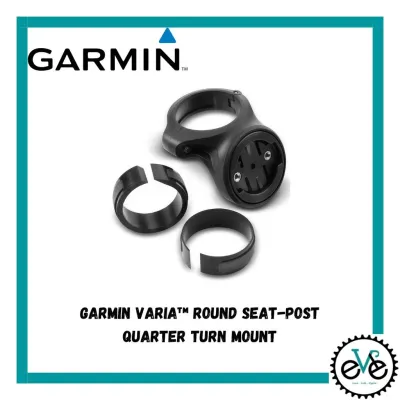
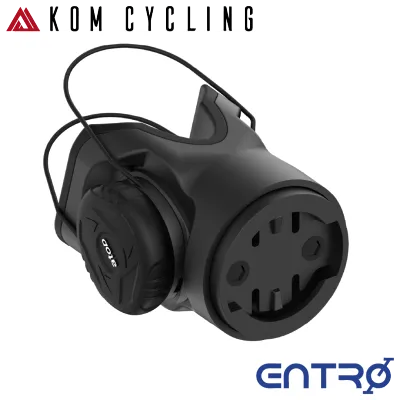
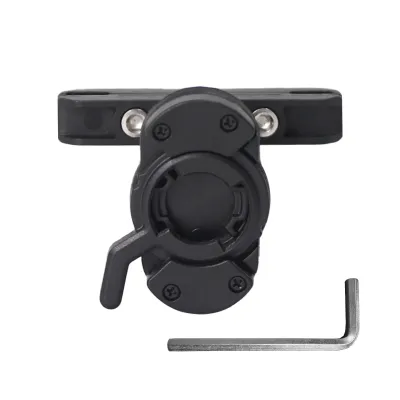
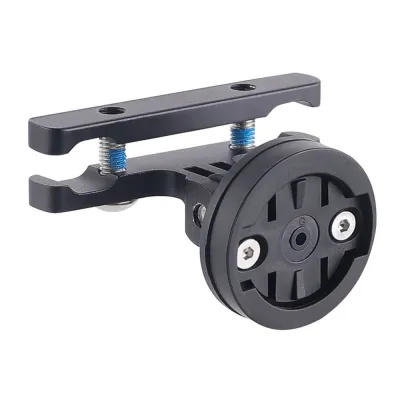
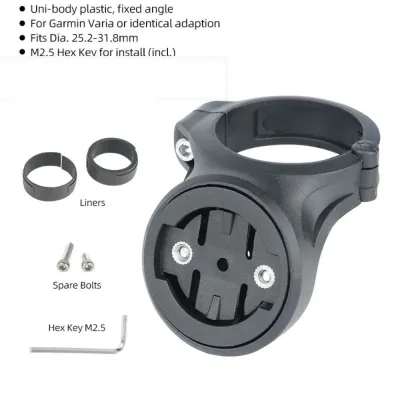
![[SG LOCAL STOCK] Garmin Varia / Magene L508 / Magicshine Tail Light Saddle Mount. GoPro Camera Bike Saddle Mount](https://img.lazcdn.com/g/ff/kf/S5f388446eb3b46b0a17dc7a365ceaae1N.jpg_400x400q80.jpg_.webp)
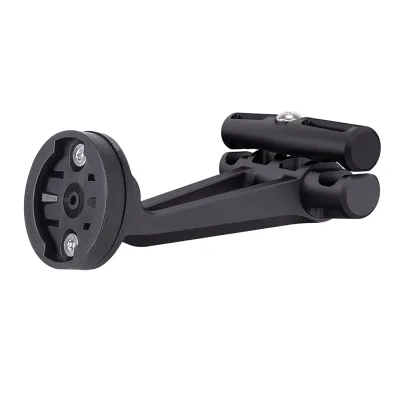
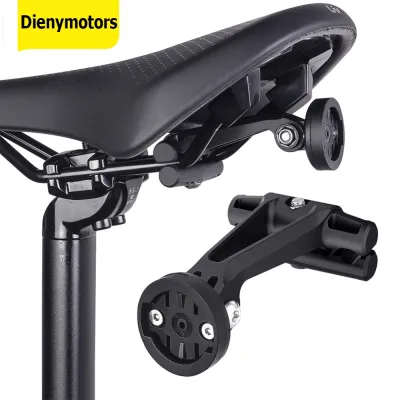
Prices are valid at publication and may change. Please refer to the product page for the latest price.
Clean the target area on your seatpost thoroughly to remove road grime, sweat, grease, and moisture. In humid or wet environments, a thin layer of road film can easily build up on the seatpost, which significantly reduces the friction needed to keep the mount in place. Use a clean microfiber cloth with mild soapy water or a diluted isopropyl alcohol solution to wipe down the post, then dry the surface completely.
Examine the material of your seatpost before applying any clamping force. Aluminum seatposts are highly durable and forgiving, but lightweight carbon fiber seatposts require careful handling to prevent structural damage. Check your bicycle manufacturer’s manual for specific torque limits if you are using an aftermarket bolt-on mount. For standard band-on mounts, consider applying a thin layer of carbon assembly paste to the contact area on a carbon post to increase friction and prevent the rubber shim from sliding down under vibration.
Installing the Mount on Round Seatposts
Round seatposts are the most common profile on road, gravel, and commuter bicycles. To begin the installation, select the rubber shim with a curved, concave back designed to hug a circular tube. Fit this shim into the back of the mounting bracket, ensuring the alignment tabs seat fully into the corresponding slots on the bracket.

Position the assembled mount against the seatpost at a height that ensures an unobstructed path behind your bicycle. The mount must sit high enough to clear the rear tire, even when you are riding over bumps or if your bicycle has rear suspension that compresses. Additionally, verify that the mount does not interfere with saddlebags, saddle rails, or any rear lights you already have installed.
Take one of the shorter elastic bands provided in the kit and hook it onto one side of the mounting bracket. Stretch the band firmly around the seatpost, keeping it flat and untwisted, and secure it to the hook on the opposite side of the bracket. Repeat this process with the second band if your mount utilizes a dual-band design, ensuring the tension is distributed evenly.
When securing the mount on a lightweight carbon seatpost, avoid using third-party metal clamps that tighten with a screw unless they are specifically approved by the seatpost manufacturer. Excessive, uneven pressure from rigid clamps can crush carbon tubes. The elastomeric bands provided by the manufacturer are designed to stretch and hold the mount securely without applying concentrated crushing forces to the seatpost walls.
Installing the Mount on Aero Seatposts
Aerodynamic seatposts feature non-round profiles, such as deep teardrop shapes, flat-backed truncated designs, or proprietary geometric contours. Standard round shims cannot grip these shapes effectively and will cause the mount to twist or slide. To address this, locate the aero-specific rubber adapter in your kit, which typically features a deep V-notch or a specialized wedge shape.
Align the contoured side of the aero adapter flush against the rear edge of your seatpost. It is critical that the adapter sits perfectly centered on the trailing edge of the post. If the adapter is slightly crooked, the radar unit will point off-center, which can significantly reduce its effective detection angle and cause it to miss vehicles approaching from the side.
Because aerodynamic seatposts have a larger circumference than standard round posts, you will need to use the longer elastic bands included in the mounting kit. Hook the band to one side of the bracket, pull it firmly around the deep profile of the seatpost, and secure it to the other side. Ensure the band is tight enough to prevent any lateral movement, but do not stretch it to its absolute physical limit, as this can cause the rubber to degrade or snap prematurely.
Once the mount is secured, perform a physical clearance check. Ensure that the wider profile of the aero mount does not rub against the inside of your thighs while pedaling. Additionally, verify that the mount and the radar unit do not interfere with the operation of rear brake calipers, especially on older road frames with seatstay-mounted rim brakes.
Attaching the Radar and Managing Cables
With the mounting bracket securely in place, you can now attach your radar unit. Align the mounting tabs on the back of the device with the slots on the bracket collar. Insert the device firmly into the mount and rotate it a quarter-turn clockwise until you hear and feel a distinct click, which indicates the locking mechanism has engaged.
If you are using a wired version of the radar designed for integration with an e-bike system, you must manage the power cable carefully. Route the cable along the frame, ensuring it does not hang loose or create loops. A loose cable can easily catch on your spinning rear wheel spokes, the rear derailleur, or your legs while pedaling, which presents a serious safety hazard.
Use integrated frame cable guides, adhesive clips, or low-profile zip ties to secure the cable along the top tube or down the seatstay. Leave a small amount of slack near the seatpost collar to allow for minor saddle height adjustments, but ensure the cable remains taut enough that it cannot sag toward the moving drivetrain components.
Verifying Stability and Radar Alignment
Before heading out on your first ride, you must verify that the physical installation is stable and the radar is aligned correctly. Grasp the mounted bracket with your hand and apply moderate pressure to try and twist it side-to-side or slide it down the seatpost. If the mount moves easily, you must remove it, clean the surfaces again, and reinstall it using a tighter band or a different shim configuration.
Stand a few meters directly behind your bicycle to check the vertical and horizontal alignment of the radar unit. The device must be oriented vertically (or horizontally, depending on your specific model) and point directly backward, parallel to the ground. If the radar tilts downward toward the rear tire or upward toward the sky, its detection beam will not cover the road effectively, leading to delayed or missed vehicle alerts.
Turn on your cycling computer, compatible smartwatch, or smartphone app and pair it with the radar unit. Verify that the connection is stable and that the device is recognized by your head unit. Check for any available firmware updates using the manufacturer’s official software application, as keeping the device updated ensures you benefit from the latest detection algorithms and system improvements.
Troubleshooting Slippage and Clearance Issues
If you experience persistent mount slippage on smooth carbon or polished aluminum seatposts, simple adjustments can resolve the issue. Avoid over-tightening elastic bands beyond their design limits. Instead, remove the mount and apply a small amount of carbon friction paste to the interface between the seatpost and the rubber shim, which increases grip without requiring excessive clamping force.
When physical interference prevents a secure installation—such as a large saddlebag blocking the radar’s line of sight—you must find an alternative positioning strategy. Consider using a smaller saddlebag, relocating the bag, or utilizing an aftermarket saddle-rail mount. These specialized mounts attach directly to the metal rails beneath your saddle, positioning the radar high enough to clear most bags and rear tires.
Some modern aerodynamic road bikes feature highly proprietary, ultra-deep, or offset seatpost designs that standard rubber adapters cannot accommodate. If the provided shims do not sit flush or feel unstable, do not attempt to force the installation with makeshift spacers or tape. Stop and consult a professional bicycle mechanic, or search for third-party mounting solutions engineered specifically for your bicycle model’s unique seatpost geometry.
Frequently Asked Questions (FAQ)
Can I use the Garmin Varia mount on a dropper seatpost?
Mounting a radar unit directly to the moving upper stanchion of a dropper seatpost is generally not recommended. When the dropper post compresses, the mount can slide down and strike the seat collar, which can damage the dropper seals, scratch the stanchion, or cause the radar to collide with the rear tire. If you must use a dropper post, install the mount on the lower, fixed outer tube of the post if there is sufficient clearance, or use a specialized saddle-rail mount that keeps the unit fixed relative to the saddle regardless of the post’s height.
How do I clean the mount and rubber shims safely?
To maintain the grip and longevity of your mounting components, clean the rubber shims and elastic bands periodically using mild dish soap and warm water. Avoid using harsh chemical degreasers, solvents, or petroleum-based lubricants, as these substances can break down the elastomeric properties of the rubber. Regularly inspect the elastic bands for small cracks, dry rot, or loss of elasticity, especially if you ride frequently in hot, humid, or wet coastal climates where environmental exposure can accelerate material degradation.
Community discussion
Share your experience or ask a question. Comments are reviewed before publication.