
To know which bottle cage fits your bicycle frame, you must verify three primary factors: the mounting interface on your frame, the physical clearance within your frame’s front triangle, and the dimensions of the water bottle you plan to carry. While most modern bicycles utilize a standardized mounting system, variations in frame geometry, tube shapes, and suspension designs can quickly complicate what seems like a simple purchase. Taking a few precise measurements before buying prevents the frustration of returning a cage that blocks your suspension, rubs against your legs, or simply does not line up with your frame’s pre-drilled holes.
Staying hydrated is essential during long rides, especially when navigating the warm, humid stretches of Singapore’s Park Connector Network (PCN). A secure, well-fitted bottle cage ensures your water remains easily accessible without rattling loose on bumpy paths or interfering with your pedaling motion.
Check Frame Mount Types and Hole Spacing
The vast majority of modern bicycle frames come equipped with dedicated threaded inserts, known as braze-ons, located on the down tube, seat tube, or occasionally the underside of the down tube. The industry standard spacing between these two threaded holes is 64mm (approximately 2.5 inches) from the center of one hole to the center of the other. You can easily verify this on your own frame using a standard ruler or caliper, or by consulting your bicycle’s technical manual. If your frame features these standard eyelets, almost any standard bottle cage on the market will align perfectly with your mounting points.
Products mentioned in this guide
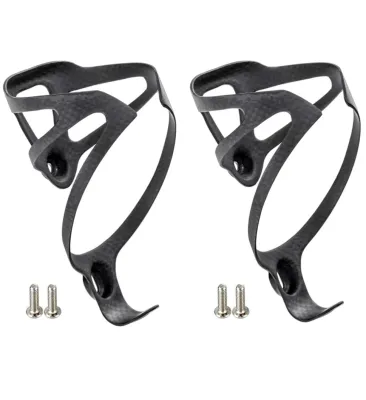
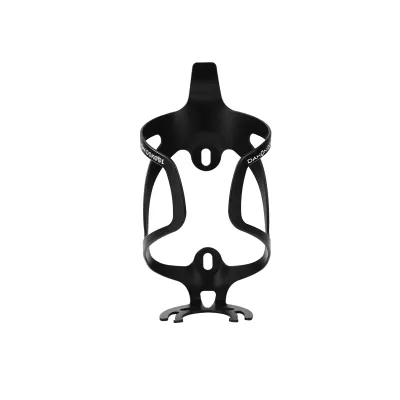
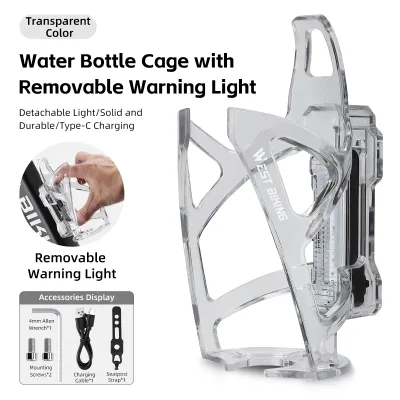
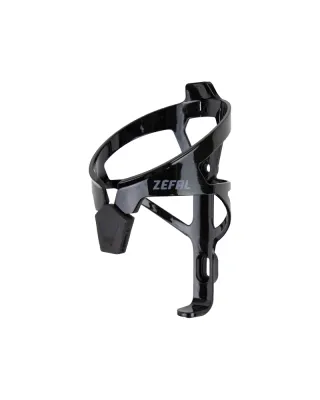
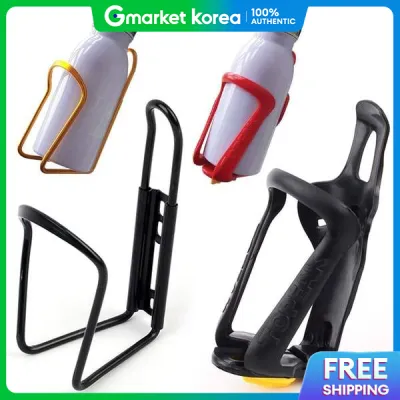
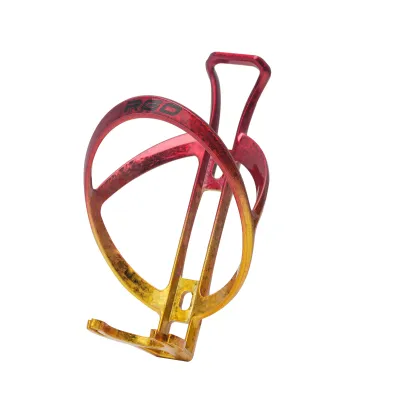
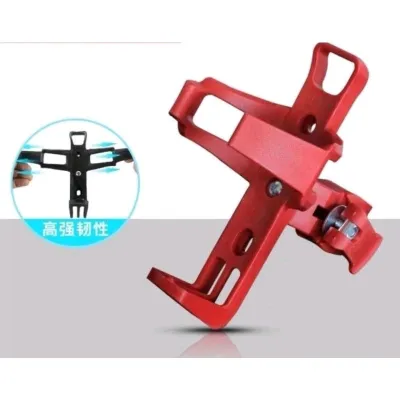
Prices are valid at publication and may change. Please refer to the product page for the latest price.
However, not all bicycles are built with pre-drilled frame mounts. Vintage steel frames, certain dirt jumpers, BMX bikes, and highly compact folding bikes often lack these threaded inserts entirely. If your frame does not have built-in eyelets, you do not have to ride without hydration. You can opt for alternative mounting solutions such as strap-on bottle cage adapters, which use rubberized hook-and-loop straps or plastic zip-ties to secure a mounting base to any frame tube. Alternatively, handlebar mounts, stem mounts, or seatpost clamps allow you to position your bottle cage outside the main frame triangle, keeping your water easily accessible while preserving frame space.
When securing your cage to standard frame mounts, using the correct screw specifications is critical to protecting your frame’s threads. Most bicycle frame eyelets are threaded for standard M5 screws, which typically require a 3mm or 4mm hex key to tighten. Using screws with the wrong thread pitch or forcing a mismatched bolt into the eyelet can permanently strip the threads, requiring expensive repairs or professional re-threading. Always inspect the depth of the threaded insert as well; a screw that is too long can bottom out against the inner wall of the frame tube, preventing the cage from securing tightly and potentially damaging thin-walled carbon or aluminum tubes.
Measure Frame Clearance and Bottle Size Limits
Even if your frame has standard mounting holes, the physical space inside the front triangle dictates what size bottle and cage combination you can actually use. This is particularly true for compact road frames, extra-small gravel frames, and full-suspension mountain bikes where space is highly restricted. To assess your frame’s clearance, measure the distance from the mounting holes to the nearest frame tubes, rear shock absorbers, or cables. You must ensure that when a bottle is fully inserted into the cage, it does not contact the top tube or seat tube, which can scratch your frame’s paint or prevent the bottle from seating securely.

For riders using full-suspension mountain bikes, measuring clearance requires accounting for rear suspension movement. As the rear shock compresses during a ride, the linkage moves, which can significantly reduce the available space within the front triangle. To verify compatibility, let the air out of your rear shock (or compress the coil) to simulate a full bottom-out, then check if the suspension components or linkage come into contact with your bottle cage or an inserted bottle. If there is any overlap, you will need to look for a highly compact cage or relocate the mount to avoid costly structural damage to your suspension components.
The physical dimensions of your water bottle also play a major role in determining compatibility. Standard cycling bottles generally have a diameter of 73mm to 74mm, which matches the inner diameter of standard bottle cages. However, oversized insulated bottles or high-capacity containers may have wider profiles or extended heights that require specialized, adjustable cages. If you ride a smaller frame size, a standard top-loading cage—where you must pull the bottle straight up to remove it—may not leave enough overhead clearance. In these scenarios, a side-loading bottle cage is an excellent alternative, allowing you to slide the bottle out from the left or right side, bypassing the tight clearance of the top tube.
Adapt to Special Frame Designs and Geometries
Modern bicycle designs have evolved far beyond traditional round-tubed triangles, introducing unique geometries that require specialized bottle cage solutions. Full-suspension mountain bikes are perhaps the most challenging, as the rear shock absorber often occupies the exact space where a bottle cage would traditionally sit. To adapt to these tight configurations, look for low-profile cages, side-loading designs, or specialized relocation brackets that shift the mounting position slightly upward, downward, or to the side to clear the shock’s travel path.
Aero road bikes present a different set of challenges due to their highly sculpted, non-round tube profiles. The down tubes on these high-performance machines are often wide, flat, or shaped like truncated aerofoils to minimize wind resistance. Mounting a standard, wide-profile bottle cage on an aerodynamic tube can disrupt airflow and look visually mismatched. To address this, some manufacturers design proprietary aerodynamic bottle cages that integrate seamlessly with the frame’s specific tube shapes, while others offer adjustable mounting plates that let you tuck the cage as low as possible to keep it shielded from the wind.
Small-wheel commuter bikes and folding bikes, which are incredibly popular for navigating urban transit systems and storing in compact apartments, often have highly restricted or non-existent front triangles. Because these bikes must fold down into a compact package, a traditional bottle cage mounted inside the frame can interfere with the folding hinge or prevent the bike from locking together properly. For folding designs, look for quick-release bottle cage mounts that allow you to detach the entire cage with a simple click before folding the bike, or utilize stem-mounted fabric feedbags that hold your bottle securely on the handlebars without affecting the fold.
Follow Material and Installation Safety Limits
Installing a bottle cage might seem like a straightforward task, but ignoring material limits and installation safety can lead to expensive damage, particularly on high-end carbon fiber frames. Carbon fiber is incredibly strong under riding loads but highly sensitive to crushing forces. When mounting a cage to a carbon frame, always use a calibrated torque wrench and strictly adhere to the manufacturer’s specified torque limits, which typically range between 2 and 3 Newton-meters (Nm). Over-tightening the bolts can easily crack the carbon layup around the threaded inserts, permanently ruining the frame.
Preventing corrosion is another critical step that is often overlooked, especially in hot, humid tropical climates where sweat and road spray constantly pelt the frame. When steel or titanium bolts are threaded directly into aluminum or carbon frames, galvanic corrosion can occur over time, effectively fusing the bolt to the frame. To prevent this, always apply a thin layer of bicycle grease or an anti-seize compound to the bolt threads before installation. If you are worried about bolts vibrating loose on rough gravel paths or bumpy PCN routes, a mild, removable blue threadlocker can be used instead, providing both vibration resistance and a barrier against moisture.
The material of the bottle cage itself should match your riding style, budget, and durability requirements. Plastic and composite cages are highly affordable, resilient, and offer excellent flexibility, making them great for daily commuting and casual riding. Aluminum cages are classic, highly durable, and allow you to gently bend the metal wings to adjust the gripping tension on your bottle. For weight-conscious road cyclists or those looking for the ultimate in sleek design, carbon fiber cages offer maximum weight savings and a secure hold, though they generally come at a higher price point, often ranging from S$15 to S$40 or more for premium options.
Use a Pre-Purchase Compatibility Checklist
Before finalizing your purchase at a local bike shop or an online marketplace, run through this quick checklist to ensure a perfect fit:
- Measure the hole spacing: Confirm your frame's eyelets are spaced at the standard 64mm distance.
- Check the bolt size: Verify your frame uses standard M5 screws and that the bolt length does not exceed the depth of the threaded insert.
- Assess vertical clearance: Ensure there is enough vertical space between your frame tubes to accommodate both the cage and your preferred bottle height.
- Evaluate the entry angle: Determine if a standard top-loading cage will work, or if your compact frame geometry requires a side-loading cage.
- Inspect suspension path: For full-suspension mountain bikes, verify that the rear shock or linkage will not collide with the bottle or cage under full compression.
- Select the right tools: Prepare a torque wrench for carbon frames, along with appropriate grease or threadlocker to protect the threads.
Frequently Asked Questions (FAQ)
Can I drill new mounting holes into my bicycle frame?
No, you should never attempt to drill new mounting holes into any bicycle frame. Drilling into aluminum, steel, or carbon fiber tubes severely compromises the structural integrity of the frame, creating weak points that can lead to sudden, catastrophic frame failure while riding. Additionally, drilling into your frame will immediately void any manufacturer warranty. If your bike lacks mounting eyelets, use safe, non-invasive alternatives such as strap-on adapters, handlebar mounts, or seatpost clamps to secure your bottle cage.
Why does my water bottle keep popping out of the cage?
Bottles typically eject from cages due to insufficient cage tension, mismatched bottle diameters, or riding on exceptionally rough terrain. If you are using a traditional aluminum cage, you can often restore tension by gently squeezing the metal sides closer together with your hands to increase the grip. For plastic or carbon fiber cages that cannot be bent, check if your bottle’s diameter is slightly smaller than the standard 74mm, or consider upgrading to a high-tension cage specifically designed for rough gravel or mountain biking.
Are all bottle cage screws the same size?
The vast majority of modern bicycle frames use standard M5 screws with a 0.8mm thread pitch for bottle cage mounts. However, the length of these screws can vary significantly, typically ranging from 12mm to 16mm. It is crucial to use a screw that is long enough to fully engage the threads of the frame insert, but short enough that it does not bottom out against the inner tube wall or interfere with internal routing cables that may run inside the frame.
Community discussion
Share your experience or ask a question. Comments are reviewed before publication.