
To measure and fit a golf buggy seat cover correctly, you must take precise measurements of the seat base and backrest, select a material suited to your playing conditions, and secure the attachment straps evenly to prevent slipping. A well-fitted cover protects the original upholstery from wear, enhances riding comfort during long rounds, and keeps the seats cool under the sun. In tropical environments where sudden downpours and high humidity are common, a secure, breathable cover is essential for maintaining your buggy’s condition and ensuring a comfortable ride.
Taking the time to measure your seats accurately prevents the common issues of bunching, sliding, and premature wear on the cover seams. Whether you choose a custom-fit option designed for your specific buggy model or a highly adjustable universal cover, proper installation is the key to achieving a neat, professional look. This comprehensive guide walks you through the entire process, from gathering the necessary tools to troubleshooting common fitting issues.
Tools and Materials Needed for the Job
Before you begin measuring or installing your new golf buggy seat cover, gathering the right tools ensures the process goes smoothly and prevents accidental damage to your buggy’s upholstery. You do not need specialized mechanical tools, but having a few basic items on hand makes the job much easier.
Products mentioned in this guide
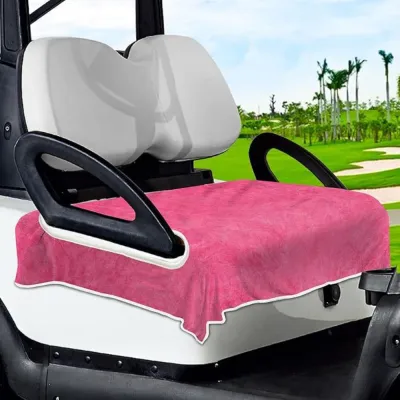
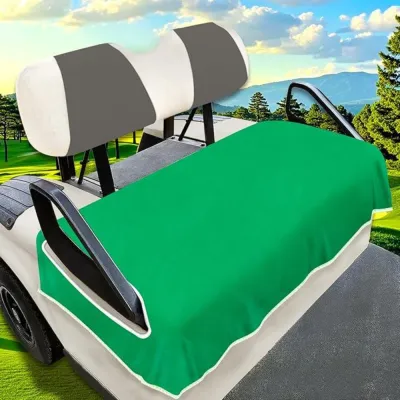


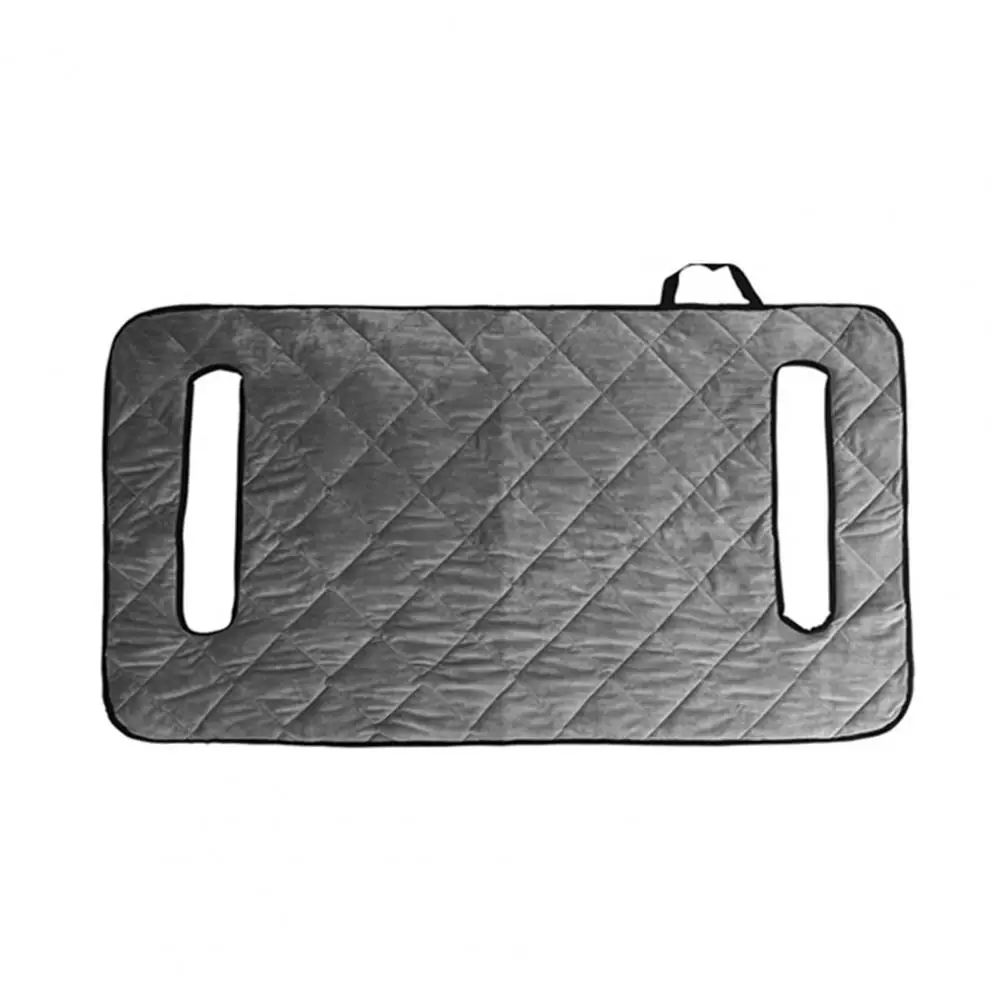
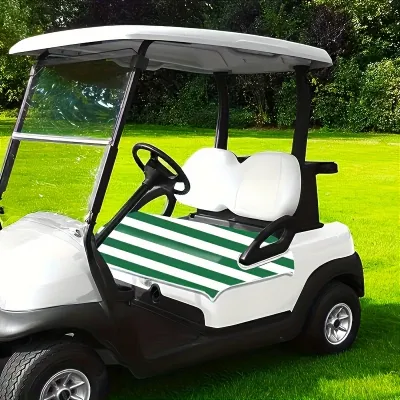
Prices are valid at publication and may change. Please refer to the product page for the latest price.
A flexible measuring tape, such as a tailor’s tape, is essential for capturing the curved contours of the seat cushions. Rigid metal measuring tapes do not bend easily around rounded corners, which can lead to inaccurate dimensions.
You also need mild cleaning supplies, including a bucket of warm water, mild dish soap, and a clean microfiber cloth. Cleaning the original seats before installation prevents trapped dirt from acting like sandpaper against the vinyl when you sit and move on the cover.
Finally, a plastic trim removal tool or a similar non-marring flat tool can be incredibly helpful. This tool allows you to tuck elastic edges and access hidden clips under the seat frame without scratching the plastic trim or tearing the fabric. Keep a notepad and pen nearby to record your measurements immediately.
How to Measure Your Golf Buggy Seats Accurately
To ensure a snug fit, you must measure both the seat base and the backrest cushions individually. Golf buggy seats vary significantly in shape, thickness, and contour depending on the manufacturer and the model year, so relying on visual estimates often results in a poor fit.

Start with the seat base, which is the cushion you sit on. Measure the width at the widest point, typically from the outer left edge to the outer right edge. Next, measure the depth from the front edge of the cushion to the very back crease where it meets the backrest. Finally, measure the thickness of the cushion by checking the vertical side profile; this measurement is crucial because many covers have a maximum pocket depth they can accommodate.
Move on to the backrest cushion and repeat the process. Measure the width across the widest section and the height from the bottom edge to the very top. Note the thickness of the backrest from front to back. If your backrest has built-in lumbar support, contoured bolsters, or a split-back design, measure the deepest part of the contour to ensure the cover has enough material to sit flush against the cushion.
Pay close attention to any obstructions or integrated features on your buggy. Identify the placement of armrests, grab handles, folding hinges, or integrated headrests. Measure the distance from these components to the nearest seat edge. Some seat covers feature pre-cut holes or hook-and-loop slits to accommodate these features, while other designs require you to temporarily remove the armrests during installation.
Record all of your measurements clearly in both centimeters and inches. Having both units of measurement handy makes it much easier to compare your dimensions against various manufacturer sizing charts, as sizing standards can vary by brand.
Choosing the Right Seat Cover Based on Your Measurements
Once you have your measurements, you can decide between a custom-fit cover and a universal-fit option. Custom-fit covers are tailored to the exact specifications of specific buggy models, offering a glove-like appearance but requiring precise model verification. Universal covers rely on elastic hems and adjustable straps to fit a range of sizes, making them a versatile and cost-effective choice.
Compare your recorded measurements against the manufacturer’s size guide. Look for the maximum and minimum dimensions each cover size can accommodate. If your measurements fall at the very limit of a size range, consider choosing the larger size if the cover has adjustable tension straps, or the smaller size if the fabric is highly elastic.
Evaluate the material options based on your typical playing conditions and climate. In warm, humid regions, breathability is a priority. Mesh fabrics allow air to circulate freely, keeping the seats cool under the afternoon sun and helping sweat evaporate quickly.
If you frequently play in wet weather or want protection against sudden tropical showers, look for neoprene or water-resistant canvas covers. Neoprene offers a comfortable, stretchy fit that conforms well to seat contours, while canvas provides excellent durability against heavy wear. Towel-style covers are highly absorbent and easy to remove for quick washing, making them convenient for casual use, though they offer less protection against heavy rain.
Always verify the compatibility labels on the product packaging. Ensure the cover’s strap and clip alignment matches your buggy’s seat configuration. For example, some buggies require covers that allow access to under-seat battery compartments or charging ports without needing complete removal of the cover.
Step-by-Step Guide to Installing the Seat Cover
Installing your golf buggy seat cover correctly ensures it stays in place during sharp turns and frequent mounting or dismounting. Follow these steps to achieve a tight, wrinkle-free finish.
First, prepare the seat surface. Clean the original vinyl or leather cushions thoroughly using your mild soap solution and microfiber cloth to remove dirt, body oils, and sunscreen residue. Allow the seats to dry completely in a shaded, well-ventilated area. Installing a cover over a damp seat can trap moisture, leading to mold, mildew, and unpleasant odors over time.
Next, align the cover with the seat. Drape the cover over the cushion, aligning the seams of the cover with the corners and edges of the seat. If the cover has designated cutouts for armrests, hinges, or seat belts, position these openings carefully around the components before securing any straps.
Secure the attachment points underneath the seat. If your buggy has a flip-up seat base, lift it to access the underside easily. Feed the straps, hooks, or elastic cords under the seat frame according to the product instructions. Connect the buckles or hooks, ensuring the straps do not pinch or interfere with any electrical wiring, brake cables, or mechanical linkages located beneath the seat.
Adjust the fabric tension systematically to eliminate wrinkles. Work from the center of the cushion outward to the edges, smoothing the fabric with your hands. Tighten the straps incrementally and evenly in a cross-pattern, rather than pulling one side completely tight first. This balanced tension keeps the cover centered and prevents the seams from straining.
Use your plastic trim tool to tuck any excess elastic or fabric neatly under the seat trim or plastic guards. This final adjustment gives the installation a clean, professional appearance and prevents loose edges from catching on clothing or gear.
Troubleshooting Common Fitting Issues
Even with careful measurement, you may encounter minor fitting issues after installation. Most of these problems can be resolved with quick adjustments to the tension or positioning of the cover.
If the seat base cover slips or slides when you get in and out of the buggy, the under-seat straps are likely loose or unevenly tensioned. Release the buckles, re-center the cover, and tighten the straps firmly. If the slipping persists, check if the manufacturer recommends using a non-slip mesh pad or grip liner between the original vinyl seat and the cover to increase friction.
Wrinkles in the backrest cover usually indicate uneven vertical or horizontal tension. To smooth them out, release the lower anchors or straps and pull the fabric firmly from the top of the backrest down toward the seat joint. Re-secure the bottom straps while maintaining this downward tension. For contoured seats, adjusting the side straps can help pull the fabric flush against the lumbar support.
Loose fabric around armrests or headrests can look untidy and catch on equipment. Check if your cover features built-in adjustment toggles, drawstrings, or hook-and-loop fasteners near these openings. Cinch these adjustments tightly to gather the excess fabric. If your cover does not have these features, you can tuck the excess material neatly beneath the armrest collar using your plastic tool.
Maintenance and Care for Your New Seat Covers
Proper maintenance prolongs the lifespan of your seat covers, keeping them looking fresh and protecting your buggy’s original upholstery for years to come.
Always check the manufacturer’s care label for specific washing, drying, and temperature limits. Most fabric, mesh, and towel-style covers can be hand-washed or machine-washed on a gentle cycle with mild detergent. Avoid using bleach, fabric softeners, or harsh chemical solvents, as these can degrade water-resistant coatings and weaken elastic fibers.
Air-dry your seat covers completely before reinstalling them. Avoid using high-heat tumble dryers unless the care label explicitly permits it, as excessive heat can shrink the fabric or damage the elastic straps. Hanging the covers in a shaded, well-ventilated area is the safest way to dry them.
Establish a routine cleaning habit. Wipe down the covers regularly with a damp cloth to remove dust, grass clippings, and sweat after your rounds. This simple step prevents dirt from embedding deep into the fabric fibers.
Periodically inspect the straps, plastic buckles, and seams for signs of wear, fraying, or UV damage. Re-tighten any straps that have loosened over time due to regular use and the vibrations of driving over uneven fairways.
Frequently Asked Questions (FAQ)
Can I use a standard car seat cover on a golf buggy?
Standard car seat covers are generally not suitable for golf buggies due to significant differences in seat shape, proportions, and mounting systems. Car seats are much taller, feature integrated headrests with different dimensions, and are designed with side-impact airbag seams. In contrast, golf buggy seats are typically wider, flatter, and often consist of a single bench-style cushion or low-profile bucket seats. Additionally, car seat covers lack the specific strap configurations and cutouts required to clear buggy armrests, folding hinges, and under-seat battery compartments, which can result in a loose, unsafe fit.
How do I clean the original seats before installing new covers?
To clean the original vinyl or leather seats safely, mix a few drops of mild dish soap or specialized vinyl cleaner with warm water. Wipe down the entire surface using a soft microfiber cloth, paying close attention to the seams where dirt, sweat, and sunscreen residue tend to accumulate. Avoid using harsh chemical solvents, bleach, or abrasive scrubbing brushes, as these can dry out and crack the vinyl. Dry the seats thoroughly with a clean towel and allow them to air-dry completely in a well-ventilated area before installing the new cover to prevent trapping moisture.
Community discussion
Share your experience or ask a question. Comments are reviewed before publication.