
Strengthening your wrists and forearms at home does not require bulky gym machines or complex setups. A rubber resistance bar offers a portable and highly effective way to target these smaller muscle groups, improve grip strength, and support joint health. Whether you are looking to build functional strength for daily activities, enhance your performance in sports like tennis or climbing, or manage chronic tendon discomfort, mastering the correct technique is essential. By performing these exercises with controlled, deliberate movements, you can safely stimulate muscle growth and tendon adaptation right from your living room.
Preparing for Your Home Flexbar Routine
Before beginning any resistance training, selecting the appropriate equipment is the first step toward a safe and productive workout. Rubber resistance bars are typically color-coded by manufacturers to represent different levels of resistance, ranging from extra-light to heavy. For beginners or those recovering from mild strain, starting with the lowest resistance level is highly recommended. This allows your tendons and smaller wrist muscles to adapt to the unique twisting forces without being overloaded. You can verify if a bar is suitable by attempting a basic twist; if you cannot maintain a steady grip or if your wrist buckles, the resistance is too high.
Setting up your home workout space requires minimal room, making it highly compatible with compact living environments like HDB flats. You only need enough clearance to fully extend your arms in front of you and to the sides without contacting walls, furniture, or household items. A clear area of about one to two square meters is more than sufficient. Working in a well-ventilated room or under a ceiling fan helps keep your hands dry, which is crucial for maintaining a secure grip on the rubber surface during twisting motions.
Products mentioned in this guide
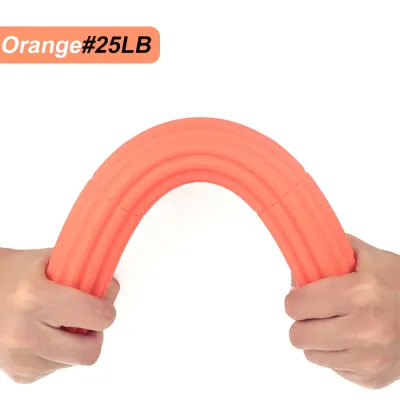

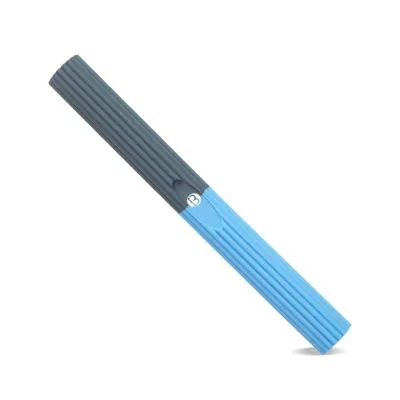
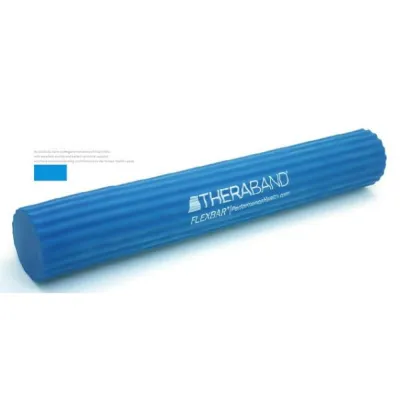
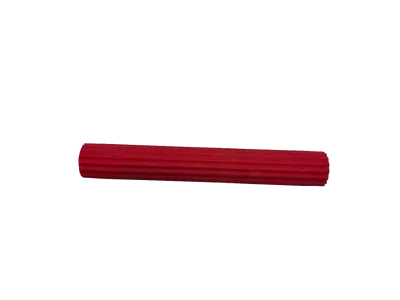
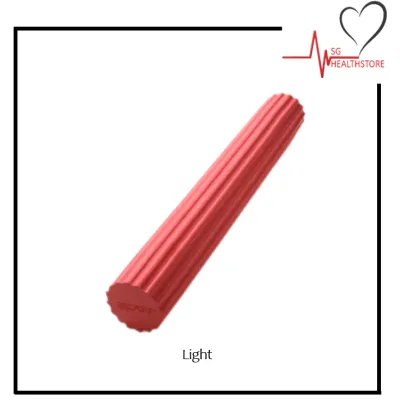

Prices are valid at publication and may change. Please refer to the product page for the latest price.
Preparing your joints with a brief warm-up is essential to increase blood flow and joint lubrication before introducing resistance. Begin by gently rotating your wrists in clockwise and counter-clockwise circles for about thirty seconds in each direction. Follow this by extending one arm straight out with your palm facing forward, using your opposite hand to gently pull your fingers back toward your body to stretch the forearm flexors. Switch your hand position so your palm faces downward and gently press the back of your hand to stretch the extensors, holding each stretch for fifteen to twenty seconds without bouncing.
Core Flexbar Exercises for Forearm and Wrist
The versatility of a rubber resistance bar lies in how simple adjustments to your grip and twisting direction shift the mechanical load between different muscle groups. By changing which hand initiates the twist and which hand resists, you can target either the wrist extensors on the top of your forearm or the flexors on the underside. To perform these movements safely, always maintain a neutral spine, keep your shoulders relaxed and pulled down away from your ears, and stand or sit with a stable, balanced posture.

The Tyler Twist
The Tyler Twist is a foundational exercise designed primarily to target the forearm extensors, which are the muscles on the outer side of your forearm. To begin, hold the resistance bar vertically in front of your body with your target hand gripping the bottom end of the bar. Your wrist should be in a neutral, straight position. Next, reach across with your non-target hand and grasp the top end of the bar, orienting your palm facing away from you.
Once your hands are securely positioned, perform the twisting motion by rotating the top hand, twisting the bar to create tension. While maintaining this twist, bring both arms straight out in front of your body, positioning the bar horizontally. Your target hand, which is still holding the bottom end, should now be holding the twist in a fully flexed position.
The most critical phase of this exercise is the controlled release, known as the eccentric phase. Slowly allow the target wrist to untwist against the resistance of the bar, taking approximately four to five seconds to return to a neutral position. This slow, deliberate eccentric movement is what stimulates tendon repair and builds strength. Perform three sets of ten to fifteen repetitions, ensuring you do not rush through the release.
To maintain proper form, check that your target wrist remains stable and does not wobble or snap back during the release. Keep your elbows tucked close to your sides rather than flaring them outward, which can transfer the load to your shoulders. Your torso should remain completely still throughout the movement; avoid twisting your body or leaning forward to force the rotation.
The Reverse Tyler Twist
The Reverse Tyler Twist modifies the hand placement and twisting direction to isolate the forearm flexors, located on the inner side of your forearm. This variation is particularly useful for addressing muscle imbalances where the flexors are weaker than the extensors, or when targeting the inner elbow area. To set up, hold the bar horizontally in front of you with your target hand gripping one end, palm facing upward.
Grasp the opposite end of the bar with your non-target hand, palm facing downward. Initiate the movement by twisting the bar with your non-target hand, rotating it forward while keeping your target hand steady. Once the bar is fully twisted, slowly bring your target wrist into a fully extended position to hold the tension.
From this position, begin the controlled eccentric release by slowly allowing your target wrist to bend forward, resisting the bar’s natural urge to snap back. Take a full four to five seconds to complete this release, focusing on the deep engagement of the inner forearm muscles. The slow return to the starting position is key to building structural resilience in the flexor tendons.
This variation is highly preferred when you need to balance the strength of your forearm muscles after performing standard twists, or when a professional has identified a specific need to strengthen the wrist flexors. Ensure your grip remains firm but not excessively tight, as over-gripping can lead to premature hand fatigue and detract from the targeted wrist movement.
Wrist Flexion and Extension
If you want to isolate your wrist muscles without the complex twisting mechanics, you can perform direct flexion and extension movements. To execute these, anchor one end of the bar securely against your thigh or a stable table surface using your non-working hand. Grip the free end of the bar with your working hand, ensuring your forearm is fully supported by your leg or the table, leaving only your wrist free to move.
For wrist extension, position your working hand with the palm facing downward. Slowly bend your wrist upward, lifting the end of the bar against its natural resistance, hold for a brief second at the top, and then lower it back down over a count of three seconds. For wrist flexion, flip your forearm so your palm faces upward, and slowly curl your wrist toward your body, resisting the downward pull of the bar as you return to the starting position.
Maintain a steady, rhythmic breathing pattern throughout these movements, exhaling as you exert force against the bar and inhaling during the controlled release. Avoid any sudden, jerky movements or letting the bar snap your wrist back into place, as this sudden loss of control can strain the delicate ligaments of the wrist joint.
Common Mistakes and Safety Boundaries
When exercising at home without a trainer, self-monitoring is your most important tool for preventing injury. It is vital to distinguish between normal muscle fatigue—which feels like a dull, warm ache in the muscle belly—and sharp, localized joint pain. If you experience any sudden, sharp, or pinching sensations in your wrist or elbow joints, stop the exercise immediately.
Several common execution mistakes can compromise the effectiveness of your routine and increase the risk of strain. Using momentum to twist the bar, rather than relying on slow muscle control, reduces the strengthening benefits and places sudden shock on your tendons. Gripping the bar with excessive force can also lead to hand cramping and strain the small muscles of the fingers. Additionally, flaring your elbows outward or shrugging your shoulders shifts the workload away from your forearms and can cause neck discomfort.
Always establish clear stop conditions for your home routine. If you experience persistent pain that does not subside after resting, or if you notice swelling, numbness, or tingling in your fingers, discontinue use. If you are recovering from an unassessed injury or surgery, do not attempt these exercises without first consulting a qualified physiotherapist or medical professional to ensure your joints are ready for resistance training.
Tracking Progress and Adjusting Resistance
Progressing your home routine should be based on objective, observable signs of increased strength rather than a set timeline. You are ready to consider moving to a higher resistance bar when you can complete three sets of fifteen repetitions of an exercise with perfect form, zero joint discomfort, and minimal muscle fatigue. Upgrading too quickly can disrupt your progress, so it is always safer to stay at a lower resistance longer than to rush to a heavier bar.
A balanced weekly routine typically involves performing these exercises two to three times per week, allowing at least forty-eight hours of recovery between sessions. Tendons have a slower blood supply than muscles and require more time to repair and adapt to resistance training. Skipping rest days can lead to overuse injuries, which will ultimately set back your fitness goals.
To ensure your rubber resistance bar remains safe and effective for long-term use, proper care and storage are essential. Over time, exposure to sweat, body oils, and environmental factors can cause the rubber material to degrade, dry out, or become sticky. Store your bar in a cool, dry place away from direct sunlight, heating vents, or damp areas.
Frequently Asked Questions (FAQ)
Can I use a Flexbar if I currently have acute wrist or elbow pain?
No, you should not begin or continue resistance exercises if you are experiencing acute, sharp, or inflammatory pain in your wrist or elbow. Acute pain often indicates active tissue irritation or inflammation, which can be worsened by the twisting and bending forces of a resistance bar. It is essential to obtain a professional diagnosis from a healthcare provider or physiotherapist to identify the underlying cause of the pain before starting any self-directed exercise program. Once the acute inflammation has subsided and a professional has cleared you for rehabilitation, you can gradually introduce light resistance exercises.
How do I clean and maintain my Flexbar after home workouts?
To keep your resistance bar clean and maintain its grip, wipe it down after each use with a damp cloth and a small amount of mild dish soap. Avoid using harsh chemical cleaners, alcohol-based sanitizers, or abrasive scrubs, as these substances can break down the rubber compound, causing it to crack, lose its elasticity, or become sticky. After wiping, dry the bar thoroughly with a clean towel and allow it to air dry completely before storing it. Keep the bar stored in a drawer or closet away from direct sunlight and extreme temperatures to prevent UV degradation.
Community discussion
Share your experience or ask a question. Comments are reviewed before publication.