
Riding with a smartphone is essential for navigating park connectors, tracking cycling metrics, or staying connected. To install a bicycle phone holder so it remains completely secure across different handlebar types, you must match the clamp to your bar’s exact diameter, choose an optimal mounting location that preserves hand clearance, and apply correct torque. Slippage, rotation, and vibration are easily managed by preparing the handlebar surface, using high-friction rubber shims, and performing rigorous safety checks before setting off.
Pre-Installation Checks: Matching Your Bicycle Phone Holder to the Handlebar
Handlebars are not uniform; they taper from the center stem outward. Common clamp diameters include 25.4 mm (found on older road and city bikes), 31.8 mm (the modern standard for road, gravel, and many hybrid bikes), and 35 mm (common on modern mountain bikes). Before purchasing or installing a bicycle phone holder, you must determine your handlebar’s diameter at the exact point you plan to mount it.
To measure your handlebar diameter accurately, use a set of digital or vernier calipers clamped around the bar. If you do not have calipers, wrap a strip of paper or a flexible tape measure around the handlebar to find the circumference in millimeters, then divide that number by 3.14159 (pi) to calculate the diameter. Always measure the specific mounting spot, as riser and drop bars often taper significantly as they move away from the stem.
Products mentioned in this guide
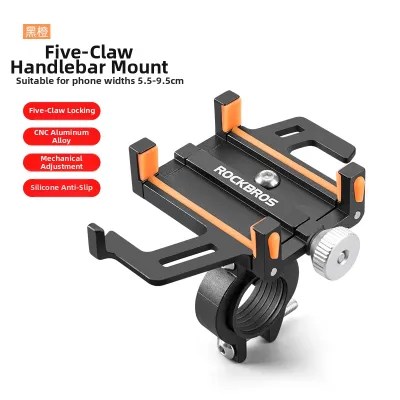
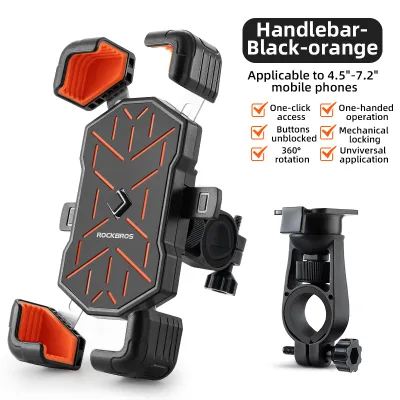
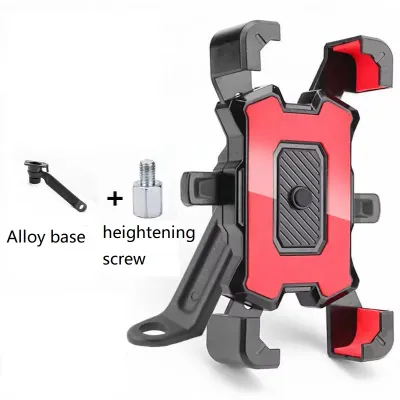
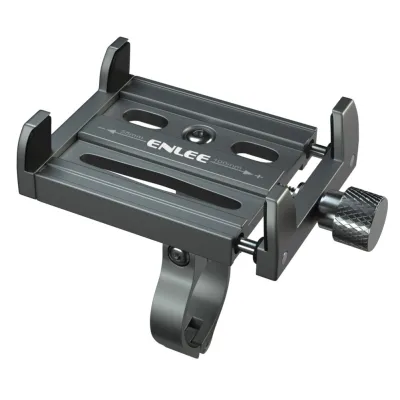
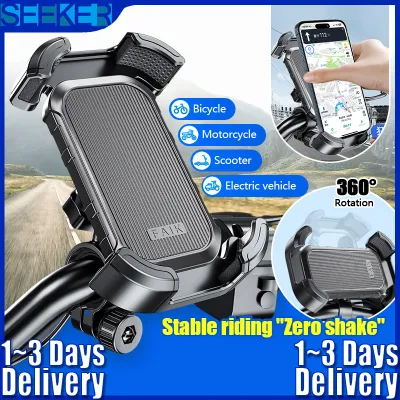
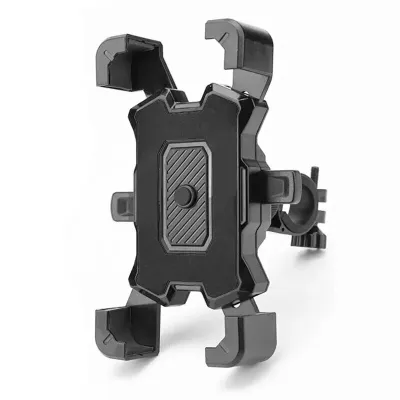
![[SG Ready Stock] GUB G-81 Mobile Phone Holder G81 Bicycle Bike Electric Scooter Motorcycle Phone Holders](https://img.lazcdn.com/g/p/82a416f0ed5cb32f4f621be9e20be181.jpg_400x400q80.jpg_.webp)
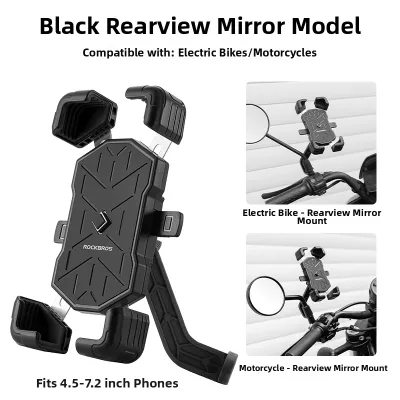
Prices are valid at publication and may change. Please refer to the product page for the latest price.
Once you have this measurement, verify that your bicycle phone holder’s clamping range accommodates your handlebar size. Most premium mounts support a wide range of diameters by utilizing interchangeable plastic or rubber shims. If your handlebar is 31.8 mm and the mount only supports up to 25.4 mm, attempting to force the clamp open will stress the material and lead to sudden structural failure during a ride.
Before starting the installation, gather the necessary tools to ensure a smooth process. You will generally need the correct size of hex keys (commonly 3 mm, 4 mm, or 5 mm Allen keys), a clean microfiber cloth, isopropyl alcohol (rubbing alcohol) for surface preparation, and the rubber shims provided by the manufacturer. If you are installing the mount on carbon fiber handlebars, a calibrated torque wrench is an absolute necessity to prevent crushing the delicate composite material.
Carbon fiber handlebars require meticulous handling because they are highly susceptible to damage from localized clamping forces. Overtightening a metal clamp on carbon fiber can cause micro-cracks that compromise the structural integrity of the bars, potentially leading to a catastrophic snap while riding. Always check both the handlebar manufacturer’s maximum torque rating (typically printed near the stem or available in the manual, often between 3 Nm and 5 Nm) and the phone mount’s specifications before applying pressure.
Finding the Best Mounting Position for Your Handlebar Type
Flat and Riser Bars
Flat and riser handlebars are standard on mountain, hybrid, and commuter bikes, offering a wide, straight area for mounting accessories. However, this space quickly becomes crowded with brake levers, gear shifters, bells, front lights, and cycle computers. You must carefully plan your layout to ensure the phone remains highly visible without blocking access to critical controls.

Center-mounting—placing the bicycle phone holder directly over or immediately adjacent to the stem—is the most stable and balanced option. This position keeps the phone protected within the profile of the front wheel and stem, reducing the risk of impact during a fall. Off-center mounting, which positions the phone closer to the grips, is useful if your stem area is crowded, but it places the device in a more vulnerable position and can slightly alter your steering balance.
Maintain clear wrist and knuckle clearance when positioning the mount. When you shift gears, pull the brake levers, or stand up to pedal, your hands must have completely unobstructed movement. Ensure that the phone or the mounting arm does not interfere with your grip or make contact with your fingers during rapid braking maneuvers.
Pay close attention to cable routing. The phone and its mount should not pinch, bend, or rub against the brake hoses or gear cables that exit the handlebars. Ensure that when you turn the handlebars fully to the left and right, the cables move freely without catching on the phone holder.
Drop Bars
Drop handlebars, common on road and gravel bikes, present unique spatial challenges due to their curved design and multiple hand positions. Riders constantly transition between the flat tops, the brake hoods, and the lower drops. Your mounting position must accommodate these shifts without restricting your grip or aerodynamics.
The optimal mounting location on drop bars is the flat top section immediately adjacent to the stem. This area is the thickest part of the handlebar, providing a robust, stable clamping surface. Placing the phone here keeps it centered in your field of vision, making it easy to glance down at navigation maps while maintaining a safe riding posture.
Never attempt to mount a bicycle phone holder on the curved transitions, the drops, or too close to the brake hoods. Doing so severely restricts your hand placement options, blocks access to the brake and shift levers, and can interfere with your control of the bicycle. Additionally, mounting a phone in these areas exposes it to wind resistance and increases the likelihood of knee contact when riding out of the saddle.
Because space on the tops of drop bars is highly limited due to bar tape and computer mounts, look for a bicycle phone holder with a compact clamp footprint. Alternatively, consider an out-front mount that attaches directly to the stem faceplate bolts, which frees up valuable handlebar space and positions the phone further forward for improved readability.
Step-by-Step Installation for a Rock-Solid Fit
Step 1: Surface Preparation Cleanliness is the foundation of a slip-free installation. Spray a small amount of isopropyl alcohol onto a clean microfiber cloth and thoroughly wipe down the chosen section of your handlebar. This step removes sweat, road grime, grease, and manufacturing oils that naturally reduce friction. Allow the alcohol to evaporate completely, leaving a bone-dry, clean surface.
Step 2: Shim Placement Select the appropriate rubber or plastic shims provided with your bicycle phone holder. Shims serve two purposes: they adapt the clamp to smaller handlebar diameters and act as a high-friction barrier that dampens road vibrations. Wrap the shim around the cleaned handlebar section, ensuring it sits flat without overlapping or twisting, as overlapping can cause uneven clamping pressure.
Step 3: Threading and Alignment Open the mount’s clamp and place it directly over the rubber shim. Align the mount so that it sits at your preferred angle and is centered relative to the bike’s stem. Insert the mounting bolts by hand and turn them clockwise for two to three full rotations; starting the threads by hand prevents cross-threading, which can easily strip the threads on lightweight aluminum or composite clamps.
Step 4: Tightening Technique If your mount utilizes a dual-bolt clamp system, tighten the bolts incrementally and alternatingly. Turn the top bolt one full turn, then the bottom bolt one full turn, repeating this pattern until both are snug. This alternating technique ensures that clamping pressure is distributed perfectly evenly across the handlebar and prevents the clamp from cocking to one side. Use a torque wrench to tighten the bolts to the manufacturer’s specified torque rating, taking extra care not to exceed the limits of carbon fiber bars.
Step 5: Device Attachment Securely attach your phone to the mount using its specific locking mechanism. If you are using a proprietary twist-lock or magnetic-mechanical system, press the phone firmly onto the mount and rotate it until you hear a distinct, reassuring click indicating the lock has fully engaged. For universal claw or spring-loaded mounts, expand the arms, insert your phone, and let the mechanism clamp down, verifying that the rubber corners do not pinch your phone’s side buttons.
Step 6: Angle Adjustment Sit on your bicycle in your normal riding posture and evaluate the screen’s angle. Loosen the ball joint or pivot screw slightly to adjust the tilt, eliminating glare from the sun and ensuring the screen is easily readable at a glance. Once satisfied, tighten the pivot screw or locking collar securely to lock the angle in place, preventing the phone from drooping when encountering road vibrations.
How to Stop Your Phone Mount from Slipping or Rotating
Slippage and rotation are the most common complaints among cyclists, especially when riding over rough terrain, gravel, or uneven pavements. These issues are typically caused by high-frequency road vibrations, using the wrong size or material of shims, or trying to clamp onto highly polished, low-friction handlebar finishes. Understanding how to combat these forces ensures your phone stays exactly where you put it.
If your bicycle phone holder continues to rotate despite being tightened, the solution lies in increasing surface friction. Remove the mount and wrap a single layer of high-quality silicone grip tape or self-amalgamating rubber tape around the handlebar where the clamp sits. This tape bonds to itself and creates a textured, rubberized surface that provides immense grip, preventing even heavy smartphones from rotating on smooth aluminum or carbon bars.
Achieving the perfect tightness requires balancing security with material safety. Always refer to the manufacturer’s torque specifications; most high-quality mounts require between 2 Nm and 4 Nm of torque. Never overtighten plastic clamps, as excessive force will cause the plastic to stress-crack over time, leading to sudden failure. If you do not have a torque wrench, tighten the bolt until the clamp cannot be rotated on the handlebar using moderate hand pressure, then stop.
To prevent mounting bolts from gradually loosening due to road vibrations, apply a single, tiny drop of medium-strength blue threadlocker (such as Loctite 242) to the metal bolt threads before installation. However, you must exercise extreme caution: keep threadlocker completely away from any plastic parts, plastic housings, or internal locking mechanisms. The chemical solvents in threadlockers will rapidly degrade polycarbonate and other plastics, causing them to become brittle and crack under load.
If the mount’s ball joint or tilt mechanism droops over bumps, the internal friction surfaces may be contaminated or worn. Disassemble the joint, clean the ball and socket thoroughly with isopropyl alcohol to remove any grease or sweat, and reassemble. If your phone is exceptionally heavy or you ride on aggressive off-road trails, simple friction-based ball joints may not suffice; in these scenarios, upgrading to a mount with interlocking mechanical teeth or a fixed-angle hinge is highly recommended.
Final Safety Checks Before You Ride
Before setting off on any ride, performing a series of quick, systematic safety checks can prevent expensive device damage and ensure your personal safety. Never assume that a newly installed mount is ready for the road without verifying its stability under simulated riding conditions.
Begin with the “shake test.” Hold your bicycle’s handlebars firmly and vigorously shake the front end of the bike side-to-side and up-and-down. Next, use your hand to firmly tap the phone from the sides and top. The phone and the bicycle phone holder must remain completely stationary relative to the handlebars, with absolutely no rattling, play, or movement in the joints.
Next, mount your bicycle safely—either by placing it on a stationary trainer or leaning against a wall—and assume your standard riding posture. Look down at the phone screen to verify that it is fully visible and that you can read navigation maps without straining or shifting your body. Ensure that the phone does not obstruct your view of the road ahead or any of your bike’s safety gear, such as a front light or bell.
Carefully inspect all cables, hoses, and wires. Turn the handlebars slowly from lock to lock, ensuring that the phone mount does not pinch, stretch, or rub against brake hoses, gear cables, or electronic shifting wires. Any interference with these cables can affect your braking performance or cause unexpected gear shifts, posing a severe safety hazard.
Finally, conduct a brief test ride in a safe, controlled, low-traffic environment, such as a quiet residential street or a flat park path. Ride over minor bumps, practice shifting gears, and apply the brakes to confirm that the mount remains rock-solid and the screen is easily readable. If you notice any movement, creaking, or rotation, stop immediately in a safe location and adjust the clamping torque before continuing onto busy public roads.
Frequently Asked Questions (FAQ)
Can I mount a phone holder on carbon fiber handlebars?
Yes, you can safely mount a bicycle phone holder on carbon fiber handlebars, but you must take specific precautions to avoid crushing the composite material. Always use a calibrated torque wrench and strictly adhere to the handlebar manufacturer’s maximum torque limit, which is typically between 3 Nm and 5 Nm. To maximize grip without over-tightening, apply a thin layer of carbon assembly paste (friction paste) to the handlebar surface before installing the protective rubber shim. The microscopic grit in the paste increases friction, allowing the clamp to hold securely at a much lower torque setting.
Why does my phone mount keep rotating on bumpy roads?
Rotation on bumpy roads is usually caused by a lack of friction between the clamp and the handlebar surface, often due to missing, worn, or low-quality rubber shims. It can also occur if the handlebar diameter is slightly smaller than the clamp’s minimum range, or if the internal ball joint has loosened. To resolve this, clean the handlebar and clamp thoroughly with isopropyl alcohol, install a fresh, high-friction rubber shim, and tighten the mounting bolts to the recommended torque. If the issue persists, consider wrapping the bar in silicone grip tape or upgrading to a mount with a mechanical locking ring.
Is it safe to use a universal silicone strap mount instead of a hard clamp?
While universal silicone strap mounts are lightweight, inexpensive, and easy to transfer between bicycles, they are generally less secure and durable than hard mechanical clamps. In tropical climates like Singapore’s, constant exposure to high humidity, intense UV rays, and sudden downpours accelerates the degradation of silicone, causing it to stretch, crack, and eventually snap without warning. Silicone straps also allow the phone to vibrate significantly, which can damage internal optical image stabilizers in modern smartphone cameras. For long-term reliability, high-speed riding, or rough terrain, a hard clamp with a positive locking mechanism is a far safer choice.
Community discussion
Share your experience or ask a question. Comments are reviewed before publication.