
A suspension trainer is a highly versatile tool for building strength, stability, and mobility using your own body weight. However, because the straps are inherently unstable, proper setup and foundational technique are critical to prevent injury and get the most out of your workouts. This guide walks you through selecting a secure anchor point, adjusting your equipment, and mastering the essential movements needed to start training safely at home or in the gym.
Choosing and Inspecting Your Anchor Point
Before you even touch the handles, your primary focus must be on safety and structural integrity. Suspension training relies entirely on a single point of contact holding your full body weight at various angles. This means any failure in the equipment or the mounting structure can lead to an immediate fall.
Begin with a thorough visual inspection of your suspension trainer before every single session. Lay the straps out flat and run your hands along the webbing to check for any signs of wear, such as fraying, small cuts, or loose stitching. Inspect the metal carabiners, buckles, and adjustment mechanisms for cracks, deformation, or rust. If you notice any damage, however minor, do not use the equipment.
Products mentioned in this guide

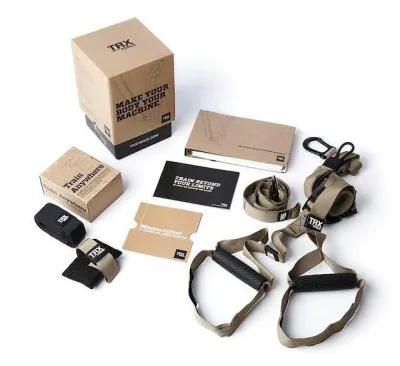
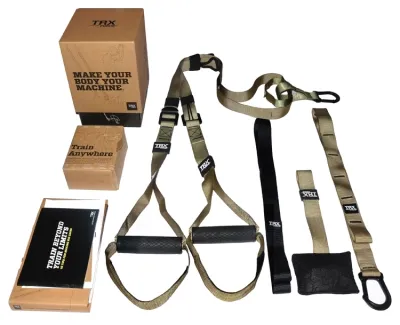
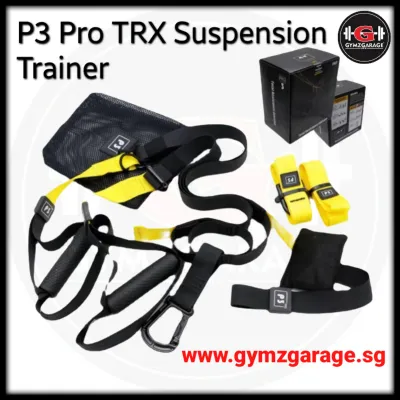
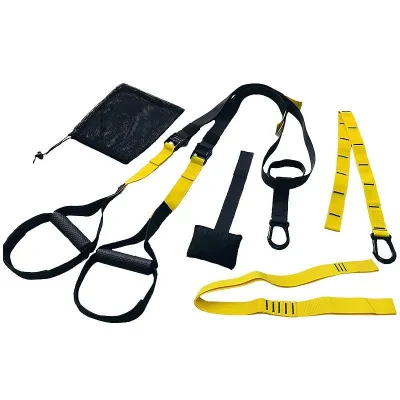
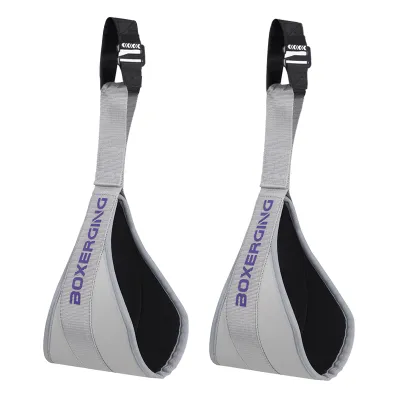
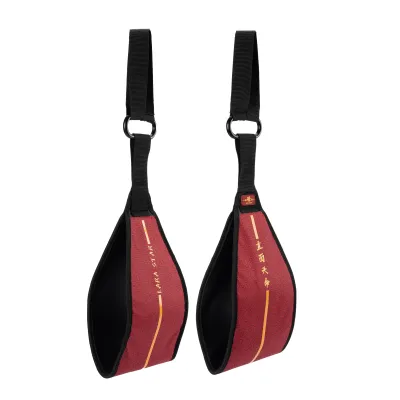
Prices are valid at publication and may change. Please refer to the product page for the latest price.
Next, evaluate the anchor structure itself. If you are training at home, particularly in a typical apartment, you must identify a load-bearing structure that can easily support your weight. Concrete walls, structural pillars, or heavy-duty ceiling beams are highly suitable. If you are using an outdoor fitness corner or a gym rig, ensure the bar or post is completely rigid and anchored to the ground. Always refer to the manufacturer’s guidelines regarding weight limits and mounting height, which typically suggest an anchor point height of seven to nine feet (approximately 2.1 to 2.7 meters) off the ground.
You must establish clear stop conditions during your setup. If you hear creaking, cracking, or feel any shifting in the anchor structure when you apply initial tension, stop immediately. Never anchor to drywall, thin wooden partitions, or decorative fixtures. If the carabiner slips or the adjustment buckles fail to hold the webbing securely under light pressure, discontinue the workout until the hardware is replaced.
Adjusting the Straps for Proper Body Positioning
Once your anchor is secure, mastering strap adjustment is key to maintaining proper body alignment and controlling the intensity of your exercises. Suspension trainers feature cam buckles that allow you to quickly lengthen or shorten the straps. To adjust them, press down on the buckle lever to release the grip on the webbing, then pull the strap to your desired length before releasing the lever to lock it in place.

Most trainers also feature an equalizer loop at the top. This loop acts as a safety mechanism; if you lose your grip on one handle, the loop prevents the other strap from slipping completely through. To ensure your straps are symmetrical, pull both handles down together to check that they align evenly at the same height before starting an exercise.
As a general guideline, strap lengths are categorized into three main settings based on handle height. For pulling exercises like rows, shorten the straps fully so the handles sit high. For pushing exercises like chest presses, adjust the straps to mid-length, roughly at mid-torso height. For lower-body movements or floor-based exercises where your feet or hands are in the cradles, lengthen the straps so the bottom of the foot cradles hang about eight to twelve inches (20 to 30 centimeters) off the floor.
The design of a suspension trainer allows you to scale the load instantly without changing the strap length. By adjusting your body angle relative to the anchor point, you change the percentage of your body weight you are lifting. Stepping closer to the anchor point increases the angle and makes pulling exercises harder, while stepping further away makes them easier. For pushing exercises, stepping forward increases the difficulty, while stepping backward reduces the load.
Foundational Movements to Master First
For beginners, the goal of suspension training is to build core stability and master basic movement patterns before attempting complex variations. Start with these four foundational exercises to develop full-body strength and control.
The Suspension Row (Pulling Movement)
The suspension row is a highly effective exercise for developing upper-back strength and improving posture. To set up, shorten the straps fully. Stand facing the anchor point, grip the handles with your palms facing each other, and step your feet forward toward the anchor to create a slight backward lean. Keep your arms fully extended, but do not lock your elbows.
Initiate the movement by squeezing your shoulder blades together and driving your elbows back, pulling your chest up toward the handles. Keep your body in a rigid plank from your head to your heels, ensuring your hips do not sag or your lower back does not arch. Your wrists should remain neutral, and your shoulders should stay down, away from your ears.
If you find it difficult to complete the movement with proper form, step your feet back away from the anchor point to reduce the body angle. This regression lightens the load, allowing you to focus on clean scapular retraction and controlled movement rather than straining your lower back.
The Suspension Chest Press (Pushing Movement)
The suspension chest press targets the chest, shoulders, and triceps while demanding significant core stability to prevent rotation. Adjust the straps to mid-length and stand facing away from the anchor point. Hold the handles with an overhand grip, extend your arms in front of you, and step your feet back to create a forward lean.
To prevent the straps from rubbing uncomfortably against your arms, raise your hands slightly so the straps clear your shoulders and forearms throughout the movement. Lower your chest toward your hands by bending your elbows to a 90-degree angle, keeping your body in a rigid, straight line. Avoid letting your hips sag forward or your lower back arch as you lower down.
Press through your hands to return to the starting position, focusing on keeping your core engaged. If the exercise feels too intense or you struggle to maintain a stable plank, step your feet forward to decrease your lean angle, which immediately reduces the resistance.
The Suspension Squat (Lower Body Movement)
The suspension squat uses the straps to support your balance, allowing you to focus on proper hip-hinge mechanics and squat depth. Adjust the straps to mid-length. Stand facing the anchor point, hold the handles with your elbows slightly bent, and place your feet shoulder-width apart.
Lower your hips back and down as if sitting into a chair, keeping your torso upright and your chest lifted. Maintain light, consistent tension on the straps, but avoid pulling yourself up with your arms; your legs should do the majority of the work. Ensure your knees track in line with your toes and do not cave inward.
Drive through your heels to return to the standing position. Limit your depth to what your individual mobility allows, and stop immediately if you experience any discomfort in your knees or lower back. The suspension trainer should assist your movement, not force you into painful ranges of motion.
The Suspension Plank (Core Stability)
The suspension plank is an advanced core exercise that challenges your pelvic control and shoulder stability. Adjust the straps so the foot cradles hang about mid-calf height. Sit facing the trainer, place your feet into the cradles, and roll over onto your stomach so you are facing away from the anchor point.
Place your forearms or hands on the floor directly under your shoulders. Lift your knees off the ground to find a straight-line plank position. Keep your core tightly braced, pulling your belly button toward your spine to prevent your lower back from sagging. Avoid piking your hips upward, which shifts the load away from your core.
Focus on holding this position statically for short, controlled intervals, such as 15 to 20 seconds, while maintaining steady breathing. Do not rush to add movement or long durations; quality of alignment is far more important than time spent in a compromised position.
Common Beginner Mistakes and How to Avoid Them
Because suspension training relies on unstable straps, minor form errors can quickly lead to joint strain or reduced exercise effectiveness. One of the most common mistakes is allowing the hips to sag or the lower back to arch during pushing and core movements. This usually happens when the core is disengaged or the exercise angle is too steep. Always prioritize a rigid, active plank position from head to toe.
Another frequent error is allowing the straps to go completely slack at the top or bottom of a movement. If the straps lose tension, you lose the stabilizing benefits of the trainer and risk sudden, jerky movements that can strain your joints. Keep continuous, light tension on the straps throughout every repetition. Additionally, avoid letting the straps rub aggressively against your arms or shoulders, which indicates poor hand positioning and can cause skin irritation.
Many beginners also tend to rush their repetitions, using momentum to swing through the exercises. This defeats the purpose of suspension training, which relies on controlled muscle tension to build stability. Perform each movement with a slow, deliberate tempo—typically two seconds to lower and two seconds to lift—and pause briefly at the peak of contraction.
Finally, remember that equipment cannot replace proper training and physical judgment. If you cannot maintain a straight body line or if your joints begin to ache, recognize that the current variation is too advanced. Immediately regress the exercise by adjusting your body angle or stepping further from the anchor point.
Frequently Asked Questions (FAQ)
Can I use a suspension trainer on a standard interior door?
Yes, you can use a suspension trainer on a standard interior door, provided you follow strict safety protocols. First, ensure the door frame is solid and the hinges are secure. You must always set up the trainer so that you are pulling the door closed toward the frame, rather than pulling it open against the latch. Always use the dedicated door anchor accessory that comes with your trainer; never wrap the main straps directly over the top edge of the door, as this can damage the webbing and the door itself. If the door creaks excessively, shifts in its frame, or shows any signs of structural stress, stop using it immediately.
How often should a beginner train with a suspension trainer?
For beginners, training two to three times per week is generally sufficient to build strength and stability while allowing for adequate muscle recovery. Because suspension training places high demands on your stabilizing muscles, joints, and tendons, you need at least 48 hours of rest between full-body sessions. You can easily balance these workouts with light cardiovascular training or mobility work on your off days. Always listen to your body’s feedback; if you experience persistent joint soreness or tendon discomfort, reduce your training frequency and focus on gentler mobility exercises.
Community discussion
Share your experience or ask a question. Comments are reviewed before publication.