
Achieving optimal lower-body mobility is a cornerstone of athletic performance and daily comfort, yet the calf muscles are frequently among the tightest and most neglected areas of the body. Tight calves can restrict ankle range of motion, alter your gait, and contribute to issues further up the kinetic chain, such as knee strain or lower back discomfort. While traditional wall stretches or step drops are common, they rely heavily on your body weight and balance, making it difficult to isolate the target muscles safely and precisely.
Using a calf stretcher strap offers a controlled, non-weight-bearing alternative that allows you to target the lower leg with precision. By manually adjusting the tension, you can customize the stretch to your current mobility level, ensuring a safe progression toward your flexibility goals. To get the most out of this versatile tool, you must understand the underlying anatomy of the calf, prepare your body correctly, and execute each stretch with flawless technique.
Preparing Your Muscles and Equipment for Safe Stretching
To stretch safely, you must first understand the primary muscle groups you are targeting. The calf is composed of two main muscles: the gastrocnemius and the soleus. The gastrocnemius is the larger, visible muscle on the upper calf that crosses both the knee joint and the ankle joint. The soleus lies beneath the gastrocnemius and only crosses the ankle joint. Because of these distinct anatomical pathways, isolating each muscle requires specific joint angles, which a calf stretcher strap is uniquely designed to facilitate.
Products mentioned in this guide
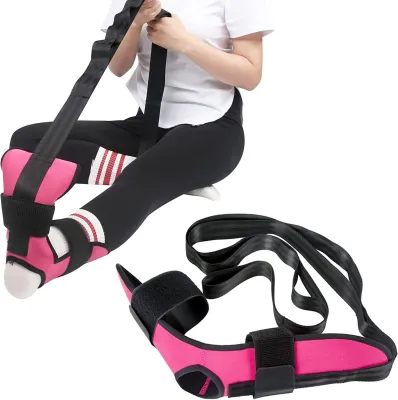
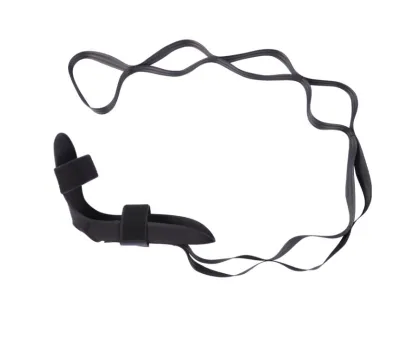
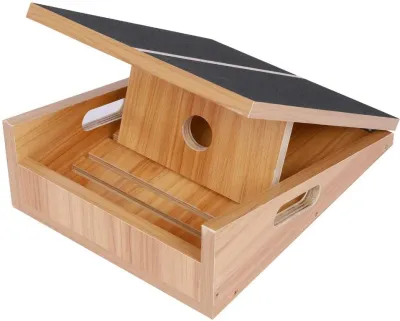
![[Metaverse] Portable Professional Wooden Slant Board Adjustable Foot Incline Board Calf Ankle Stretcher Home Gym](https://img.lazcdn.com/g/p/15635aceeefb6abcdbcf4c041f5f1a56.jpg_400x400q80.jpg_.webp)
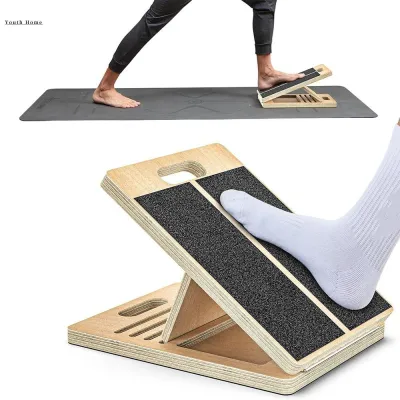
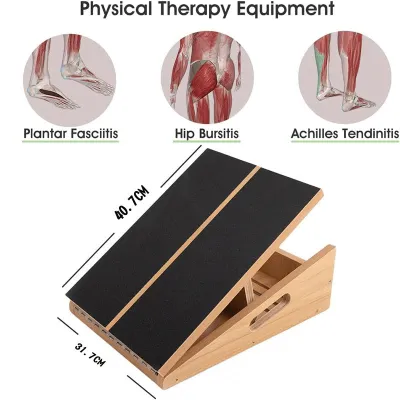
Prices are valid at publication and may change. Please refer to the product page for the latest price.
Before applying any static tension to these muscles, a dynamic warm-up is essential to prepare the tissues. Cold muscle fibers are less elastic and more susceptible to microscopic tearing when stretched. Even in Singapore’s naturally warm and humid climate, where muscles might feel superficially warm, you should perform five to ten minutes of low-intensity movement. Activities like brisk walking, gentle ankle circles, and bodyweight heel raises help increase your core body temperature, stimulate blood flow, and promote the release of synovial fluid to lubricate the ankle joints.
Equally important is a quick safety inspection of your equipment before every session. Examine your stretching strap for any signs of wear, such as loose stitching, fraying edges, or weakened loops. If your strap utilizes buckles or metal rings, ensure they are secure and free of cracks. Always perform your stretches on a stable, non-slip surface, such as a high-grip yoga mat, to prevent your body or the strap from slipping mid-stretch. Avoid slippery tiled floors common in Singapore homes unless you have a high-traction mat. While you can use the strap barefoot for better tactile feedback, wearing supportive athletic shoes can distribute the strap’s pressure more evenly across the ball of your foot and prevent discomfort. Be sure to check the manufacturer’s instructions for your specific strap to verify its weight limits and recommended footwear compatibility.
Step-by-Step Techniques for Seated and Standing Calf Stretches
The Seated Straight-Leg Calf Stretch
The seated straight-leg calf stretch is the foundational movement for targeting the gastrocnemius muscle. Because this muscle crosses the knee joint, keeping the leg straight is critical to putting the muscle under tension.

To begin, sit upright on your exercise mat with both legs extended straight in front of you. Sit tall, engaging your core to maintain a neutral spine, and avoid slouching or rounding your lower back. Place the center loop or pad of the calf stretcher strap securely around the ball of your target foot, ensuring it covers the metatarsal area just below your toes rather than slipping down into the arch of your foot.
Hold the strap handles or loops firmly with both hands, keeping your shoulders relaxed and down. Slowly and gently pull the strap toward your torso, drawing your toes back toward your shin in a movement known as dorsiflexion. Keep your heel resting on the floor and your knee extended straight, but avoid aggressively locking the joint. You should feel a distinct, comfortable stretch in the upper portion of your calf.
As you hold the stretch, focus on your breathing. Inhale deeply through your nose, and as you exhale slowly through your mouth, allow your calf muscle to relax, gently taking up any slack in the strap to deepen the stretch. Hold this position for 20 to 30 seconds, performing 2 to 3 sets per leg.
If the stretch feels too intense, simply ease your grip and allow your foot to move slightly forward. You can easily adjust the intensity by shifting your hands to different loops on the strap, allowing you to customize the resistance without forcing your ankle joint beyond its natural, pain-free range of motion.
The Standing Calf Stretch Variation
While the seated stretch is highly effective, the standing variation offers a different angle of pull and allows you to target the deeper soleus muscle more effectively.
To set up the standing stretch, stand upright with your feet hip-width apart. Place your target foot slightly forward and loop the calf stretcher strap securely around the ball of that front foot. Hold the strap handles or loops firmly in your hands, keeping your posture tall and your shoulders relaxed.
Keep your front heel firmly planted on the ground. Gently pull upward and backward on the strap, drawing your toes upward to flex the ankle. To target the gastrocnemius in this position, keep your front leg straight as you pull.
To shift the focus to the deeper soleus muscle, slightly bend your front knee while maintaining the upward tension on the strap. Bending the knee shortens the gastrocnemius, which reduces its tension and allows the stretch to penetrate deeper into the soleus and the lower portion of the Achilles tendon. The strap is highly beneficial here, as it helps you maintain the precise ankle angle while your knee is bent.
Because standing on one leg while pulling a strap can challenge your balance, safety is paramount. Always perform this variation next to a sturdy wall, counter, or heavy piece of furniture. Use your free hand to hold onto the support to maintain stability and prevent falls, ensuring you can focus entirely on the stretch rather than on balancing.
Common Form Mistakes to Avoid for Safe and Effective Stretching
Bouncing or Ballistic Stretching
One of the most common errors is bouncing or pulsing while holding the strap. This ballistic movement triggers the body’s stretch reflex, an involuntary muscle contraction designed to protect the muscle from tearing. When the muscle contracts against a rapid pull, it increases the risk of strain and micro-tears. To build long-term flexibility, always use slow, controlled, static holds that allow the muscle fibers and nervous system to relax.
Over-Pulling the Strap
Many individuals mistakenly believe that a stretch must be painful to be effective. Pulling the strap too aggressively forces the ankle into extreme dorsiflexion, which can strain the calf muscles, irritate the Achilles tendon, or cause joint impingement. You should aim for a sensation of mild to moderate tension. If you experience sharp, stabbing, or burning pain, this is a clear signal from your body to ease off the tension immediately.
Rounding the Lower Back or Slouching
During seated stretches, it is easy to slouch or round your lower back as you reach forward. This poor posture places excessive stress on your lumbar spine and can stretch or compress the sciatic nerve. Sciatic nerve irritation can cause radiating discomfort down the back of your leg, which is often mistaken for calf tightness. Keep your chest lifted, your shoulders back, and hinge forward slightly from your hips to isolate the stretch to your lower leg.
Joint Misalignment
Pay close attention to the alignment of your foot and ankle. As you pull the strap, your foot may naturally want to turn inward (inversion) or outward (eversion) to bypass the tightest areas of the muscle. Allowing this misalignment places uneven torque on your ankle and knee joints, potentially leading to ligament strain. Ensure your toes point straight up toward the ceiling throughout the entire stretch, distributing the tension evenly across the calf complex.
How to Build a Progressive Routine for Long-Term Flexibility Gains
Frequency and Volume
Improving flexibility is a gradual process that requires regular stimulus. For optimal results, aim to perform your calf stretching routine 3 to 5 times per week. During each session, perform 2 to 4 sets of each stretch per leg. Holding each stretch for 20 to 30 seconds provides sufficient time for the muscle spindles to adapt and allow the tissue to lengthen.
Progression Strategies
As your flexibility improves over several weeks, you can safely progress your routine. Instead of pulling harder, focus on gradually extending your hold times up to 45 or 60 seconds per set. You can also slowly adjust your grip on the strap loops to pull your foot into a slightly deeper angle of dorsiflexion, but only if you can maintain proper alignment and a pain-free state.
Timing Your Stretches
The timing of your stretching routine can influence its effectiveness. Post-workout stretching is highly beneficial because your muscles are already warm and highly pliable from exercise, which maximizes the lengthening effect and aids in recovery. If you prefer standalone mobility sessions, ensure you perform a thorough dynamic warm-up beforehand. Avoid performing deep, prolonged static stretches immediately before high-intensity explosive activities like running or jumping, as this can temporarily reduce muscle power and stability.
Signs to Stop or Modify
Always prioritize safety and listen to your body’s signals. A safe stretch should feel like a dull, broad pull across the muscle belly. If you experience sharp, localized pain in the back of your heel, the arch of your foot, or deep within the ankle joint, stop stretching immediately. These sensations can indicate acute inflammation or strain. Rest the area, and if the pain persists, consult a qualified medical professional before resuming your stretching routine.
Frequently Asked Questions (FAQ)
Can I use a calf stretcher strap if I have plantar fasciitis or Achilles tendonitis?
If you are managing an active injury or a chronic condition like plantar fasciitis or Achilles tendonitis, you must consult a healthcare professional, physical therapist, or sports physician before using a calf stretcher strap. While gentle stretching is a common component of rehabilitation programs, improper technique, excessive tension, or stretching during the acute phase of an injury can aggravate inflammation and cause further micro-tearing of the tissues. A professional can assess your condition and provide specific modifications, such as limiting the range of motion or adjusting the angle of the stretch, to ensure safe and effective healing. Always prioritize their personalized guidance over general fitness advice.
How long does it take to see noticeable flexibility improvements?
The timeframe for seeing improvements in your calf flexibility depends on several individual factors, including your baseline mobility, age, consistency, and daily habits. Generally, with a consistent routine performed 3 to 5 times per week, you may begin to experience a reduction in muscle tightness and improved ankle range of motion within two to four weeks. Achieving lasting, structural changes in the length of the muscle-tendon unit typically requires six to twelve weeks of regular, progressive stretching. Patience and consistency are essential, as forcing quick progress by over-stretching will only lead to injury and set your progress back.
Community discussion
Share your experience or ask a question. Comments are reviewed before publication.