
Personalizing your golf balls with a dedicated golf ball stamp is a highly effective way to identify your ball on the course, prevent play-it-as-it-lies disputes, and express your personal style. Under the Rules of Golf, specifically Rule 6.3a, players are responsible for playing the correct ball throughout the round and should put an identifying mark on it. While many golfers use permanent markers, hand-drawn lines often fade quickly or look messy. A high-quality stamp provides a clean, uniform, and professional logo or monogram that stands up to the rigors of play.
Stamping a golf ball is not quite as simple as stamping a flat piece of paper. Because a golf ball is a spherical object covered in hundreds of tiny dimples, and its outer cover is made of non-porous materials like surlyn or urethane, standard stamping techniques will fail. Without the proper preparation, ink, and physical technique, your custom mark will slide, smudge, or pool into illegible blobs. By understanding the science of the materials and mastering a few simple mechanical steps, you can achieve a flawless, sharp impression every single time.
Essential Tools and Materials for Stamping Golf Balls
To achieve clean, professional-looking marks, you must gather the correct equipment before you begin. Using makeshift tools or incorrect inks will inevitably lead to frustration and ruined golf balls. Ensure you have the following items prepared on your workspace:
Products mentioned in this guide
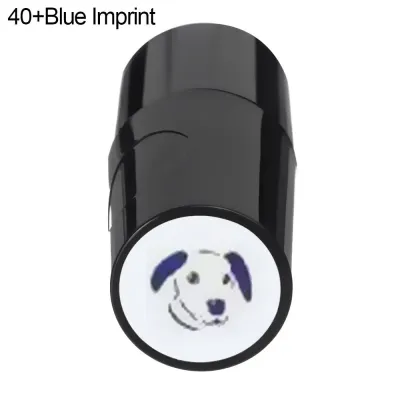
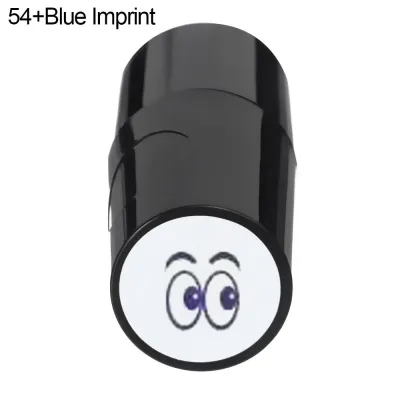
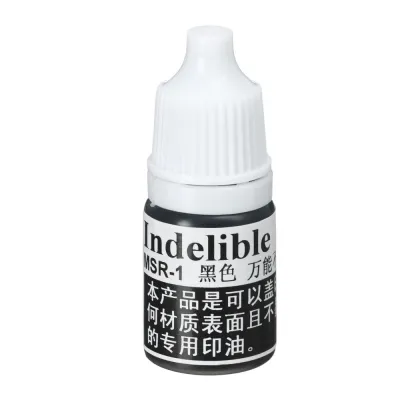
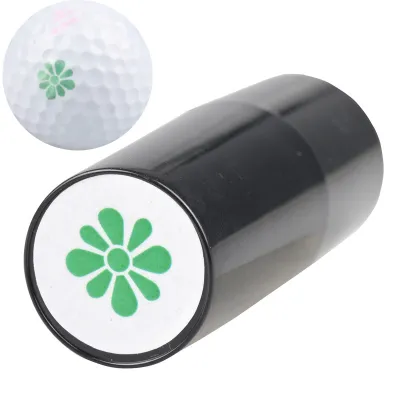
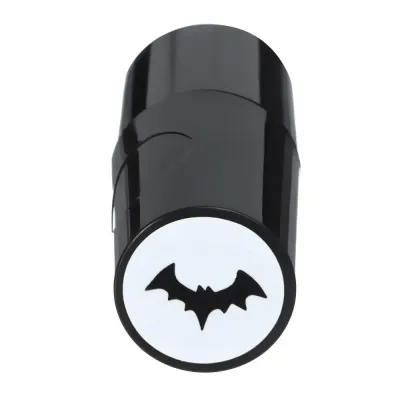
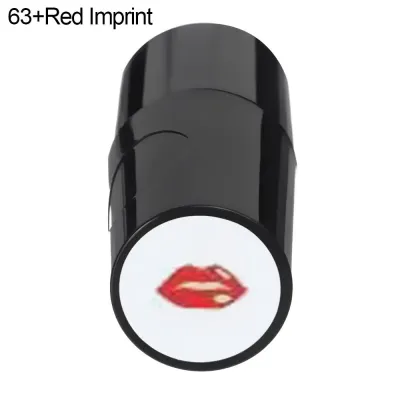
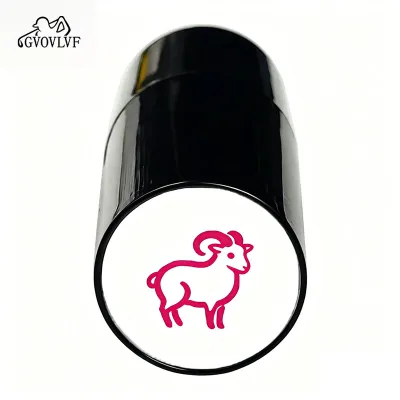
Prices are valid at publication and may change. Please refer to the product page for the latest price.
- The Golf Ball Stamp: You can choose between custom-made stamps featuring your initials, a unique logo, or pre-made alignment stamps designed to help you line up putts. These stamps typically feature a flexible rubber or polymer die that can conform slightly to the ball's curved surface. Some models are self-inking, while others require a separate ink pad.
- Specialized Golf Ball Ink: Standard office ink is water-based and will not bond with the synthetic cover of a golf ball. You must use a specialized, solvent-based, quick-drying ink formulated specifically for non-porous plastics. This ink is designed to dry rapidly through evaporation and resist water, grass stains, and the high-velocity impact of a golf club.
- An Alignment Jig or Holding Tool: Keeping a spherical object perfectly still during stamping is incredibly challenging. An alignment jig or a dedicated plastic ball cradle holds the ball securely in place. This prevents the ball from rolling or rotating mid-stamp, which is the primary cause of blurred or doubled impressions.
- Rubbing Alcohol and a Microfiber Cloth: Surface preparation is the most overlooked step in the stamping process. You will need 70% or 99% isopropyl rubbing alcohol and a clean, lint-free microfiber cloth. This combination effectively strips away factory coatings, dirt, and natural skin oils without leaving behind paper fibers that could clog the stamp die.
- A Stable Workspace: Always work on a flat, solid, and well-lit surface. A sturdy desk or table allows you to apply even downward pressure. Good lighting is essential for aligning your stamp precisely over the ball's dimples and checking the quality of your ink coverage.
Step-by-Step Guide to Using a Golf Ball Stamp
Following a systematic process ensures that your stamp transfers perfectly to the ball without bleeding or blurring. Take your time with each step, especially when preparing the surfaces.

Preparing the Ball and the Stamp
Begin by prepping the golf ball. Grab your microfiber cloth, saturate a small section with isopropyl rubbing alcohol, and thoroughly wipe the area of the ball where you plan to apply the stamp. Factory-fresh golf balls often carry a micro-thin layer of chemical release agent or wax from the manufacturing molds, while used balls accumulate dirt, moisture, and natural oils from your hands. These residues form a barrier that prevents permanent ink from bonding directly to the ball’s cover. After wiping, let the ball air dry completely, which should take about 30 to 60 seconds. Avoid touching the cleaned area with your bare fingers once it is dry.
Next, prepare your stamp. If you are using a self-inking stamp, make sure the internal pad is sufficiently moist but not flooded. For manual stamps, gently tap the stamp face onto the specialized ink pad. The goal is to achieve a thin, uniform layer of ink across the raised design. Avoid pressing the stamp deeply into the ink pad, as over-saturation will cause excess ink to pool in the recessed areas of the die. This pooled ink will transfer as a thick, illegible blob rather than a crisp, clear design.
Aligning and Applying the Impression
Secure the dry golf ball in your alignment jig or holding tool. If your stamp kit did not come with a holder, you can use a small plastic bottle cap or a roll of tape as a makeshift cradle to keep the ball from rolling on your desk. Position the cradle directly in front of you on your flat workspace.
Hold the stamp firmly and position it directly above the target area of the ball. Look down from directly above to align the design. Because golf balls have dimples, try to position the stamp so that the main details of your design rest evenly across the dimple patterns. This minimizes the risk of ink failing to reach the deeper recesses of the dimples.
Lower the stamp onto the ball in a straight, vertical motion. Apply firm, even downward pressure. The critical rule of golf ball stamping is to never rock, twist, wiggle, or shift the stamp while it is in contact with the ball. Because the ball is curved, you may feel an urge to roll the stamp from side to side to cover the surface. Resist this temptation, as any lateral movement will smear the wet ink across the non-porous cover, creating a ruined, blurry impression. Hold the stamp steady under even pressure for three to five seconds to allow the ink to transfer fully.
Lifting and Curing the Ink
Once the transfer period is complete, lift the stamp straight up in one swift, vertical motion. Any diagonal dragging or hesitation can pull the wet ink across the ball’s surface, ruining the clean lines of your design. Inspect the impression immediately; if done correctly, it should look sharp and well-defined.
Do not touch the stamped area or test it with your finger. Place the ball carefully back in the holder or on a clean drying rack to cure. While some high-performance golf ball inks claim to dry in seconds, curing times vary significantly based on the specific ink formula and ambient humidity.
In a highly humid environment, such as Singapore’s tropical climate, solvent evaporation is naturally slower. While the ink may feel dry to a light touch after a few minutes, it is highly recommended to let the stamped balls cure in a cool, dry, air-conditioned room for at least 30 to 60 minutes before handling them. For the absolute best durability, allow the ink to cure for a full 24 hours before putting the balls into play. This extended curing window allows the ink solvents to evaporate completely, ensuring a permanent bond that can withstand club impacts, wet grass, and abrasive sand traps.
Common Stamping Mistakes and How to Avoid Smudges
Achieving a perfect stamp often requires a bit of practice. Understanding the common pitfalls can help you avoid wasting ink and ruining your golf balls.
- Over-Inking the Stamp: When too much ink is applied to the die, it overflows the design lines and pools inside the ball's dimples. This results in a thick, illegible smear instead of a crisp logo. To prevent this, always tap the stamp lightly on the ink pad, and perform a test stamp on a scrap piece of paper or cardboard before applying it to the ball.
- Rocking or Twisting the Stamp: Shifting your weight or rotating the stamp during application causes a "double vision" or ghosting effect. Keep your wrist locked and press straight down. The flexible rubber or polymer die is designed to conform slightly to the ball's curve without requiring a rocking motion.
- Skipping the Surface Prep: Skipping the alcohol wipe is the primary reason stamps smudge or wear off after just a few holes. Even if a ball looks clean, invisible factory coatings and finger oils will prevent the solvent-based ink from adhering properly. Always perform the quick rubbing alcohol wipe first.
- Rushing the Dry Time: Touching the ink too early to check if it is dry will smear the design. Be patient and let the chemical curing process finish naturally. If you are stamping multiple balls, set up an organized assembly line where each ball can sit undisturbed in a safe drying area.
How to Clean and Maintain Your Golf Ball Stamp
To ensure consistent, high-quality impressions over hundreds of rounds, regular maintenance of your stamping equipment is essential. Hardened ink buildup will eventually clog the fine details of your stamp, leading to blurry marks.
After each stamping session, gently clean the stamp die. Use a specialized stamp cleaner or a soft-bristled toothbrush dipped in a mild mixture of dish soap and warm water to scrub away any residual ink from the crevices. Avoid using harsh industrial solvents, boiling water, or abrasive scrubbers, as these can melt, warp, or degrade the rubber or polymer face of the stamp.
Store your stamp and ink pads in a cool, dry place away from direct sunlight. High temperatures and UV exposure can dry out ink cartridges prematurely and cause rubber stamps to crack or lose their flexibility. Keep the stamp cap tightly secured when not in use to prevent the ink from evaporating.
Recognize when it is time to re-ink your pad or replace the ink cartridge. If your stamped impressions begin to look faint, patchy, or uneven despite applying correct pressure, the ink reservoir is running low. Always use the specific ink formula recommended by your stamp’s manufacturer. Mixing different ink bases, such as oil-based and solvent-based inks, can chemically ruin the stamp pad and prevent proper curing on the golf ball.
Frequently Asked Questions (FAQ)
Can I use standard office stamp ink on golf balls?
No, standard office stamp ink is water-based and designed for porous surfaces like paper. Because golf ball covers are made of non-porous plastics like surlyn or urethane, standard office ink will not dry, will smear instantly upon contact, and will wash off the moment the ball encounters wet grass or dew on the golf course. Always use specialized, solvent-based quick-dry golf ball ink.
Does stamping a golf ball affect its flight or conform to rules?
No, applying a thin layer of ink via a stamp does not alter the weight, balance, or aerodynamics of a golf ball. Under the Rules of Golf established by the USGA and R&A, players are permitted—and encouraged—to put an identifying mark on their ball. As long as the stamp does not physically alter the ball’s surface texture, such as carving into the cover, it is fully legal for both casual rounds and competitive tournament play.
How can I remove a smudged or mistaken stamp?
If you make a mistake, act quickly. Freshly applied or wet ink can be wiped away easily using a microfiber cloth saturated with rubbing alcohol or acetone (nail polish remover). If the ink has already cured, apply a small amount of acetone directly to the mark, let it sit for a few seconds to break down the solvent, and then scrub firmly with a clean cloth. Always wash the ball with water afterward to remove any chemical residue before attempting to re-stamp.
Community discussion
Share your experience or ask a question. Comments are reviewed before publication.