
Using a hand exercise ball is one of the most accessible ways to build grip strength, improve finger dexterity, and support long-term hand health. However, achieving these benefits requires more than just mindlessly crushing a piece of rubber while watching television. To get the most out of your training without causing strain, you must focus on controlled, deliberate movements, select the appropriate resistance level, and structure your routine with adequate recovery. Whether you are looking to improve your lifting capacity in the gym, recover from long hours of typing at an office desk, or maintain joint mobility as you age, a structured approach ensures safe and steady progress.
Understanding the Benefits for Grip and Hand Health
Grip strength is a fundamental indicator of overall upper-body strength and functional fitness. The muscles responsible for moving your fingers and wrists are located primarily in your forearm, connected by long tendons that run through your wrist. When you train with a hand exercise ball, you actively engage these forearm flexors and extensors, which directly translates to improved lifting capacity during heavy gym exercises like deadlifts or pull-ups. Beyond athletic performance, robust grip strength plays a vital role in daily task efficiency—from carrying heavy grocery bags across a housing estate to opening stubborn vacuum-sealed jars.
Furthermore, hand exercise balls serve as excellent low-impact tools for active recovery and therapy. Unlike heavy steel grip strengtheners that place high mechanical stress on the joints, soft silicone or foam therapy balls allow for gentle, progressive compression. This squeezing action acts as a mechanical pump, promoting local blood circulation and joint fluid movement. Increased blood flow delivers essential oxygen and nutrients to the tendons and ligaments of the hand, which helps reduce morning stiffness and maintains joint mobility, particularly for those managing chronic conditions like arthritis.
Products mentioned in this guide
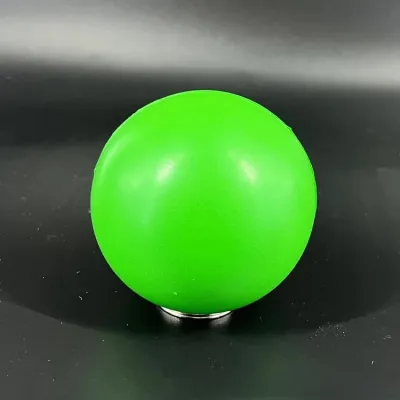
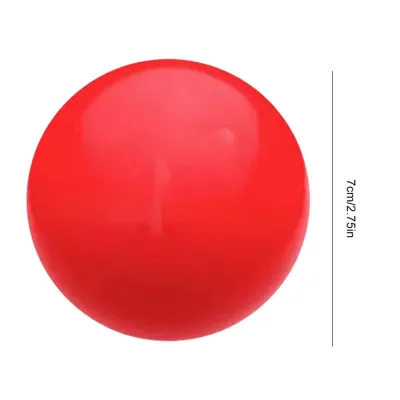
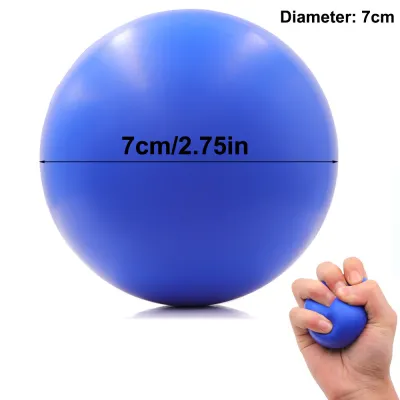
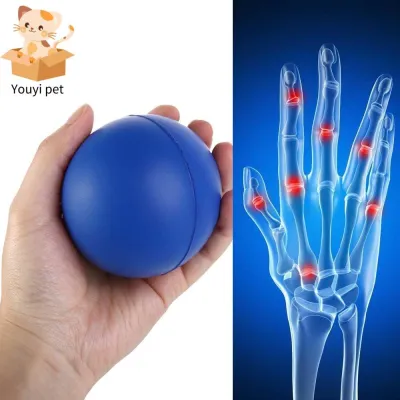
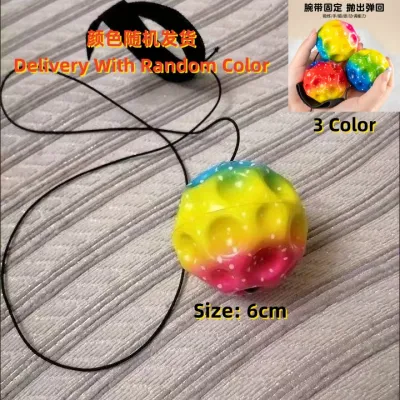
Prices are valid at publication and may change. Please refer to the product page for the latest price.
Another major advantage of the hand exercise ball is its high portability and low spatial footprint. In compact living environments or busy office settings, setting up large fitness equipment is impractical. A hand exercise ball fits easily into a desk drawer, handbag, or pocket. This allows you to perform micro-workouts or stress-relief sessions during brief work breaks, turning sedentary desk time into an opportunity for active physical maintenance.
Selecting the Right Resistance Level for Your Goals
To prevent injury and ensure consistent progress, you must match the firmness of your hand exercise ball to your specific physical condition and training goals. These training tools generally span a spectrum of resistance levels, typically color-coded from extra-soft to extra-firm. Soft or therapy-grade balls are designed for rehabilitation, gentle warm-ups, and active recovery. Medium-resistance fitness balls are ideal for general hand health, stress relief, and endurance training. Firm or extra-firm balls are reserved for dedicated grip hypertrophy and building raw crushing strength.

To determine if a ball is appropriate for your current capability, perform a simple self-test. Hold the ball in your palm and attempt a full squeeze. The ideal training resistance should allow you to compress the ball completely with moderate, controlled effort, while providing a noticeable, springy pushback at the peak of the contraction. If you cannot close your hand fully, or if your fingers begin to tremble violently within the first two or three repetitions, the resistance is too high. Conversely, if you can squeeze the ball flat with zero effort, it will not provide enough mechanical tension to stimulate muscle growth or endurance.
If you are recovering from minor joint stiffness, long periods of inactivity, or repetitive strain from typing, always start with a softer resistance. Squeezing a ball that is too firm can compress the delicate nerves and tendons in your carpal tunnel, leading to inflammation. Move to firmer options only when you can comfortably complete high-repetition sets without any joint discomfort. Always check the manufacturer’s product label or specifications for the exact resistance rating (often measured in kilograms or pounds of force required to compress the ball), rather than relying solely on visual size or material assumptions, as different brands use different color-coding systems.
Step-by-Step Squeezing Techniques for Maximum Effectiveness
Executing your exercises with proper form is critical to target the correct muscle groups and protect your joints. Simply crushing the ball as fast as possible creates momentum, which shifts the workload away from your forearm muscles and places unnecessary friction on your finger tendons. To maximize the effectiveness of your hand exercise ball, focus on a slow, controlled tempo and a full range of motion.
The Standard Full-Grip Squeeze
The standard full-grip squeeze is the foundational movement for overall grip strength and forearm development. To set up your posture correctly, sit or stand with your shoulders relaxed and your spine neutral. Keep your wrist in a straight, neutral position—avoid bending it upward, downward, or to the side. Rest your elbow comfortably at a 90-degree angle close to your torso; this prevents you from compensating with your shoulder, chest, or neck muscles.
To execute the movement, place the hand exercise ball in the center of your palm. Wrap all four fingers and your thumb securely around it. Slowly squeeze the ball, concentrating on pulling your fingertips toward the base of your palm. Once you reach maximum compression, hold this peak contraction for 2 to 3 seconds. This isometric hold is highly effective for building tendon resilience.
After the hold, do not simply let go. Slowly release the squeeze over a count of 2 to 3 seconds to return to the starting position. This controlled eccentric phase keeps the muscles under tension longer, which is key for muscle development. A common error to avoid is bending your wrist inward (flexion) as you squeeze. Keep your wrist completely locked and straight throughout the entire movement, ensuring that only your hand and forearm muscles are performing the work.
Targeted Finger and Thumb Isolations
While the full-grip squeeze builds overall crushing power, targeted isolation exercises help address muscle imbalances between individual digits and improve fine motor control. Our dominant fingers (typically the thumb, index, and middle fingers) naturally do most of the work during daily activities, leaving the ring and pinky fingers relatively weak.
To perform a thumb opposition squeeze, place the ball in your palm and press your thumb firmly into the center of the ball while keeping your other fingers relaxed. Hold for 2 seconds, then slowly release. Next, transition to two-finger pinches. Hold the ball between your thumb and index finger, and squeeze them together. Repeat this pinching motion by rotating through your other digits: thumb to middle finger, thumb to ring finger, and finally, thumb to pinky finger.
Because individual fingers are controlled by smaller muscle groups and supported by thinner tendons, isolation movements place a higher concentrated load on single joints. Therefore, always use a softer hand exercise ball for finger isolations than you would for a full-grip squeeze. Squeezing a very firm ball with just your pinky or ring finger can easily strain the collateral ligaments of the knuckles.
Structuring Your Rep Ranges and Weekly Routines
To see lasting improvements in your hand health and grip strength, you must structure your training sessions with clear parameters, just as you would with any other fitness routine. Your target rep ranges should align directly with your primary training goals:
- For Endurance, Joint Mobility, and Active Recovery: Use a lighter, softer ball and aim for higher rep ranges, such as 15 to 20 repetitions per set. Focus on a smooth, continuous rhythm to maximize blood flow and clear out metabolic waste from the joints.
- For Raw Strength and Muscle Hypertrophy: Use a firmer ball that challenges you within a lower rep range, specifically 8 to 12 repetitions per set. Ensure that the final few repetitions of each set are challenging to complete while still maintaining perfect form.
For beginners, a highly effective starting routine consists of 2 to 3 sets per hand, performed 3 times a week. It is crucial to allow at least 48 hours of recovery between dedicated grip training sessions. The muscles and tendons in your hands and forearms are small and can easily become inflamed if they are worked daily without rest.
Always train both hands equally, even if you are naturally right-handed or left-handed. Maintaining structural symmetry prevents unilateral muscle imbalances that can alter your wrist alignment and lead to chronic issues like tennis elbow or carpal tunnel syndrome over time.
You can easily integrate these exercises into your existing schedule. Use a soft ball for a 5-minute warm-up session before heavy gym workouts to prepare your wrists and fingers for heavy lifting. Alternatively, keep the ball on your office desk and perform a single set of gentle squeezes during short breaks to relieve muscle tension from prolonged keyboard use.
Safety Rules: Preventing Strain and Recognizing Overuse
Because we use our hands constantly throughout the day, overusing a hand exercise ball can quickly lead to repetitive strain injuries if safety guidelines are ignored. It is vital to distinguish between normal muscle fatigue and potentially harmful joint or tendon pain.
Normal muscle fatigue presents as a dull, warm ache in the fleshy belly of your forearm. This is a healthy sign that your muscles are working and adapting. In contrast, joint or tendon pain is typically sharp, localized, and felt near the knuckles, the base of the thumb, or the wrist joint. If you experience any sharp pain, clicking or locking in your finger joints, or a tingling, numb sensation radiating down your forearm or into your fingers, stop using the ball immediately. These are clear signs of tendon inflammation or nerve compression.
A common mistake is overtraining the grip muscles. Because these muscles are relatively small, they require more recovery time relative to their size than larger muscle groups like the quadriceps or chest. Do not squeeze the ball continuously for hours while working or studying. Treat your hand training with the same discipline as a gym workout: perform your sets, then put the tool away to let your tissues recover.
If you are using a hand exercise ball for post-injury rehabilitation, post-surgery recovery, or to manage a diagnosed medical condition, do not self-prescribe a routine. Always consult a physiotherapist or a qualified medical professional to receive a customized protocol tailored to your specific recovery timeline.
Evaluating Progress and Knowing When to Upgrade
As your hand muscles and tendons adapt to the mechanical stress of training, your current hand exercise ball will eventually cease to provide enough stimulus for further adaptation. To avoid plateaus, you must monitor your progress and apply the principle of progressive overload.
You will know it is time to upgrade when you observe specific milestones. If your current ball feels incredibly easy to compress, and you can easily complete 3 sets of 15 to 20 reps without feeling any muscle fatigue in your forearm, your muscles have adapted. Another sign is that holding the peak contraction for 3 seconds no longer requires any conscious effort.
To progress, you have several options. The most straightforward method is to transition to a denser, firmer ball with a higher resistance rating. If you do not wish to purchase a new ball immediately, you can increase the difficulty of your current tool by extending the peak contraction hold time to 5 or 10 seconds, or by slowing down the release phase to a full 5 seconds. Remember that grip strength progress takes time; consistency and gradual progression are far more effective than trying to force results by squeezing a ball that is too stiff for your current capability.
Community discussion
Share your experience or ask a question. Comments are reviewed before publication.