
A push-up board is a versatile home fitness tool designed to guide your hand placement using a color-coded grid. By inserting heavy-duty handles into specific slots, you alter the angle of your wrists, elbows, and shoulders. This mechanical shift redistributes your body weight, allowing you to isolate and target the chest, shoulders, triceps, and back muscles more effectively than standard flat-ground push-ups. Using the board correctly requires matching the color paths to your target muscles, verifying that the handles are securely locked, and maintaining a rigid, braced core throughout every repetition.
Understanding Your Push-Up Board's Color-Coded System
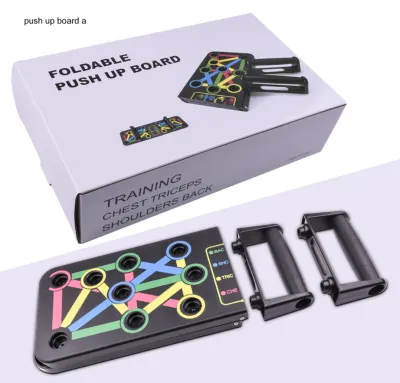
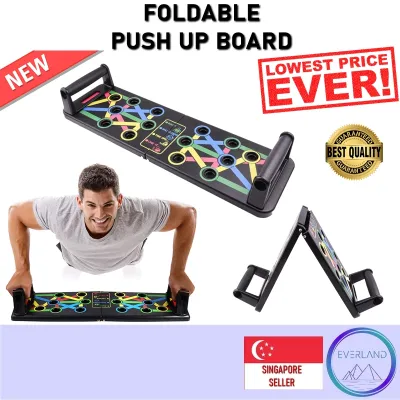
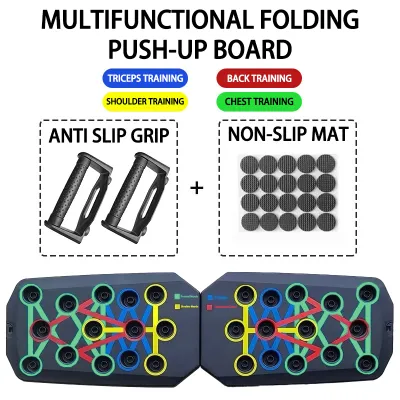
Most push-up boards utilize a standardized color scheme to guide your workouts, though you should always verify the layout with your specific product manual. Typically, blue lines indicate chest-targeting positions, red lines focus on the shoulders, yellow lines isolate the triceps, and green lines engage the back muscles. These paths are strategically angled to place your joints in the optimal position for mechanical leverage.
Before starting your workout, place the board on a flat, stable, and non-slip surface. In compact living spaces, such as a typical Singapore HDB apartment, choosing a hard floor like tile or vinyl is often better than placing the board on a loose rug or yoga mat that might slide. Ensure the area around you is clear of furniture so you can extend your legs fully without obstruction.
Products mentioned in this guide
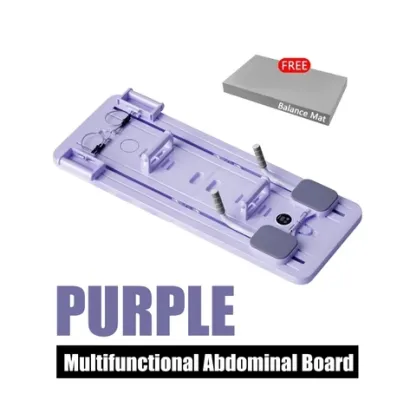
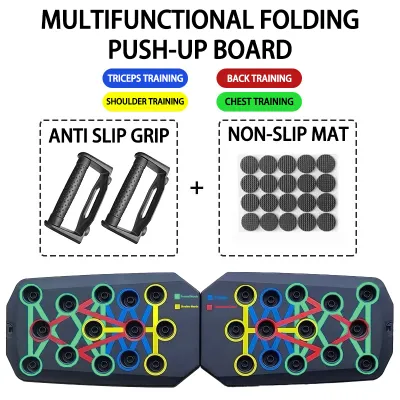
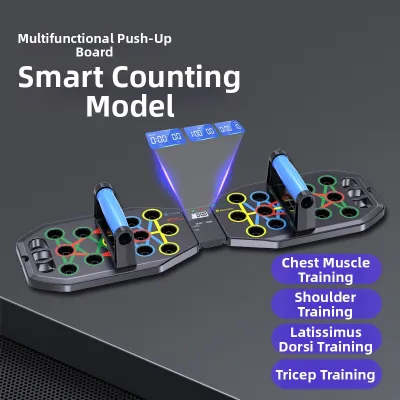
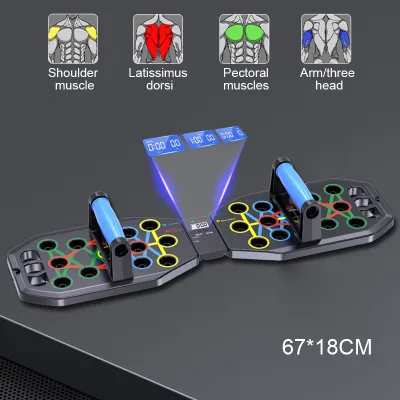
Prices are valid at publication and may change. Please refer to the product page for the latest price.
Safety must be your first priority before placing your full body weight on the equipment. Inspect the board for any cracks or structural wear, and check that the non-slip rubber pads on the bottom of the board are clean and intact. Insert the handles into your chosen slots and press down firmly to ensure they are fully seated. Give them a quick lateral wiggle; if there is excessive play or if the board bows significantly, adjust the placement or place the board on a flatter surface before proceeding.
Step-by-Step Guide to Targeting Each Muscle Group
Changing the handle positions on a push-up board alters the angle of resistance and shifts the primary load between different muscle groups. While a standard push-up distributes force across the entire upper body, these targeted slots allow you to emphasize specific muscle fibers by changing the width and angle of your grip.

Before transitioning into any specific movement, establish a solid foundation. Begin by kneeling behind the board, placing your hands firmly on the handles, and extending your legs backward one at a time. Your feet should be hip-width apart, your glutes squeezed, and your abdominal muscles braced as if preparing for an impact.
Always double-check that the handles are completely flush with the board’s surface before lifting your knees off the ground. A partially inserted handle can slip out mid-repetition, leading to sudden joint strain or a fall. Once secure, you can proceed with the specific alignments detailed below.
Targeting the Chest
To focus the workload on your pectoral muscles, locate the blue slots on your board, which are typically positioned along the outer edges. These slots place your hands in a wide-grip configuration, which maximizes the horizontal adduction of the shoulder joint—the primary function of the chest muscles.
As you lower your body, keep your elbows angled at approximately 45 degrees relative to your torso. Avoid flaring your elbows out to a 90-degree angle, as this puts immense stress on the anterior shoulder capsule and can lead to joint irritation over time. Keep your shoulders pulled down and back, away from your ears, to keep the tension focused on the chest.
Maintain a strict line of sight about 30 centimeters in front of the board to keep your neck neutral. Lower your chest slowly until it is just a few centimeters above the board, feeling a deep stretch across your pectorals. Pause briefly at the bottom, then press through the heels of your hands to return to the starting position without locking out your elbows.
Targeting the Shoulders
The red slots on the board are designed to target the deltoids, particularly the anterior (front) and medial (side) heads. These slots generally position the handles closer together or at an upward, diagonal angle that coaxes your body into a slight forward lean.
To engage the shoulders safely, you must shift your center of gravity slightly forward over the handles. As you descend, your elbows should tuck slightly backward rather than flaring outward. This path keeps the shoulder joint in a safe, biomechanically sound track, reducing the risk of subacromial impingement.
Because the shoulder joint is highly mobile and susceptible to strain, pay close attention to how your body responds to this angle. If you experience any sharp, pinching, or localized pain in the rotator cuff area, stop the movement immediately. You can adjust to a wider slot or reduce the depth of your push-up to keep the movement pain-free.
Targeting the Triceps
To isolate the triceps brachii on the back of your arms, insert the handles into the yellow slots. These slots are typically arranged in a narrow, parallel, or close-grip configuration near the center of the board.
When performing close-grip push-ups, your elbows must remain tightly tucked against your ribcage throughout the entire movement. Allowing your elbows to flare outward during a narrow push-up transfers the load back to the chest and places unnecessary lateral stress on your elbow joints.
Keep your torso highly rigid and vertical relative to the movement path. This alignment ensures that the extension of the elbow joint is the primary driver of the exercise, forcing the triceps to bear the brunt of your body weight. If you find it difficult to maintain this form, or if you feel discomfort in your wrists or elbows, shorten your range of motion or drop to your knees to build foundational strength first.
Targeting the Back and Core
The green slots on a push-up board are designed to engage the back muscles, specifically the latissimus dorsi and the stabilizers of the upper back. These slots often place the handles at a wide, inverted angle that forces you to pull your shoulder blades together as you move.
To activate your lats during the exercise, focus on pulling your shoulder blades down and squeezing them together as you lower your body. During the upward pushing phase, imagine pushing the floor away from you while keeping your upper back wide and engaged. This active stabilization turns the push-up into a highly effective posture-correcting exercise.
Your core must remain braced like a solid plank of wood from your head to your heels. This continuous isometric contraction engages the rectus abdominis, obliques, and lower back, protecting your spine from sagging.
However, it is important to understand the physical limitations of a push-up board. Because push-ups are fundamentally a pushing movement, they cannot fully replace dedicated pulling exercises like pull-ups, chin-ups, or rows for back hypertrophy. Use the green slots to build stabilization and endurance, but complement them with pulling movements for a balanced physique.
Proper Form and Common Mistakes to Avoid
Maintaining proper form is essential to get the most out of your push-up board and prevent acute or chronic injuries. The most common error is a breakdown in spinal alignment, characterized by sagging hips or piking the buttocks high into the air. Both mistakes take the tension off the target muscles and place excessive shear force on the lumbar spine. Keep your glutes and core tightly squeezed to maintain a straight line from your head to your ankles.
Another critical aspect is wrist alignment. Traditional floor push-ups force your wrists into a harsh 90-degree angle, which can cause discomfort or pain over time. The primary ergonomic benefit of a push-up board is that the elevated handles allow you to maintain a neutral, straight wrist position. Grip the handles firmly with your wrists stacked directly under your forearms, preventing them from bending forward or backward during the movement.
Control your breathing to power your repetitions and stabilize your core. Inhale slowly through your nose as you lower your body, allowing your lungs to fill and your core to brace. Exhale forcefully through your mouth as you push back up to the starting position. Avoid rushing through your sets; a controlled tempo of two seconds down, a brief pause, and one second up maximizes muscle tension and ensures you are not relying on momentum.
Adapting the Workout for Your Space and Fitness Level
A push-up board can be adapted to suit any fitness level, from absolute beginners to advanced athletes. If performing a full push-up on the board is too challenging, you can easily regress the exercise. The simplest modification is to perform the movements from your knees, ensuring your hips remain extended and your body forms a straight line from your head to your knees. Alternatively, you can elevate the board on a sturdy, non-slip bench or low table to perform incline push-ups, which reduces the percentage of your body weight you have to lift.
For those looking to progress and increase the intensity, several options are available. You can wear a weighted vest to add resistance, or slow down the eccentric lowering phase of the movement to four or five seconds to increase time under tension. If your push-up board features built-in anchor points, you can loop resistance bands under the board and over your back to add progressive resistance at the top of the movement.
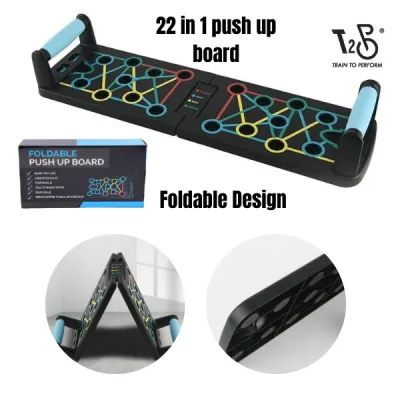
In compact living environments, such as Singapore apartments, equipment storage is a key consideration. Many modern push-up boards feature a foldable design or modular components that can be disassembled in seconds. After your workout, wipe down the board and handles with a damp cloth to remove sweat, let them air dry, and store them flat under a bed, inside a wardrobe, or in a utility closet to keep your living space clutter-free.
Frequently Asked Questions (FAQ)
Can I use a push-up board every day?
Using a push-up board every day is generally not recommended because your muscles need time to repair and rebuild. Overtraining the chest, shoulders, and triceps without adequate rest can lead to joint inflammation, particularly in the rotator cuff and elbows. For optimal results and safety, aim to use the board two to three times a week, alternating your pushing workouts with dedicated pulling or lower-body training days to allow at least 48 hours of recovery for each muscle group.
Is a push-up board better than doing push-ups on the floor?
A push-up board offers distinct advantages, particularly in terms of wrist comfort and targeted muscle engagement. The elevated handles keep your wrists in a neutral, straight alignment, reducing joint strain compared to the flat-handed position required on the floor. Additionally, the pre-set slots take the guesswork out of hand placement. However, floor push-ups offer more flexibility for micro-adjustments to suit your unique shoulder width and do not require any equipment setup.
What should I do if the handles feel loose during use?
If you notice any wobbling, slipping, or instability in the handles, stop your exercise immediately to prevent injury. Do not attempt to complete your set. Remove the handles and inspect the slots for any accumulated dust, dirt, or debris that might be preventing a secure fit. Wipe the slots and the handle pegs with a dry cloth. If the plastic pegs or locking mechanisms show signs of cracking, wear, or structural damage, discontinue use and contact the manufacturer for replacement parts.
Community discussion
Share your experience or ask a question. Comments are reviewed before publication.