
Using an elastic resistance band for post-run recovery is one of the most effective ways to restore lower body mobility, relieve muscle tightness, and prevent common running injuries. When you run on hard concrete paths, asphalt roads, or park connectors, your lower body absorbs repetitive impact that leaves muscles like your calves, hamstrings, and quadriceps tight and contracted. A TheraBand provides a versatile, adjustable tool to assist your stretching routine, allowing you to deepen your stretches safely without straining your back or neck to reach your feet. By using the band’s elastic tension, you can target specific muscle groups with controlled, progressive resistance that matches your body’s daily flexibility levels.
Integrating this simple tool into your post-run routine helps transition your muscles from a state of high tension to a relaxed, recovery-ready state. Unlike rigid straps, the elastic nature of a latex or latex-free resistance band mimics the natural elasticity of your muscles, providing a smoother, more forgiving stretch. This guide outlines how to prepare your recovery space, execute targeted lower body stretches, and safely integrate these movements into your weekly training schedule to keep your legs feeling fresh and injury-free.
Preparing for Your TheraBand Recovery Session
Before beginning your recovery session, selecting the correct band resistance is crucial for safety and effectiveness. For post-run stretching and mobility work, you should always opt for a light to medium resistance band, which typically corresponds to yellow, red, or green color-coding in standard elastic bands. Heavy or extra-heavy bands are designed for strength building and can apply too much sudden force to warm, fatigued muscles, increasing the risk of overstretching or strain. A lighter band allows you to gently guide your limbs through their natural range of motion while maintaining complete control over the tension.
Products mentioned in this guide
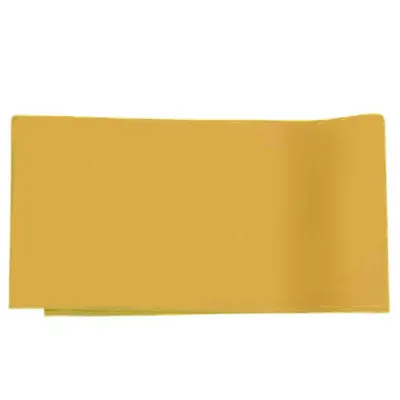
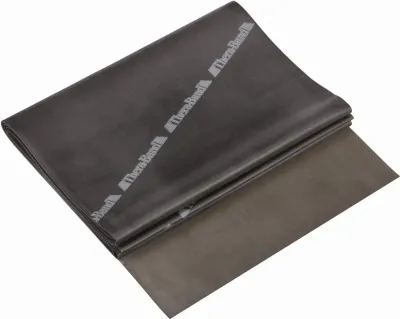
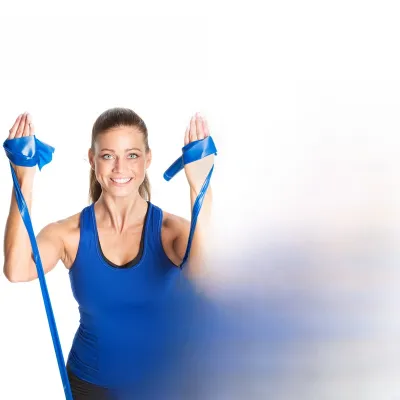
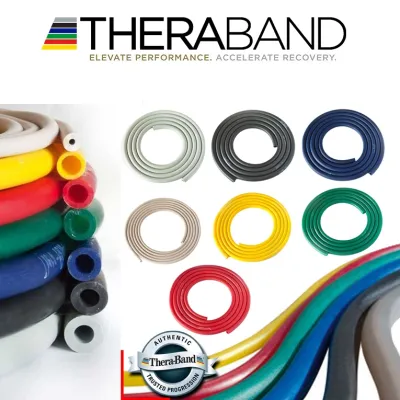
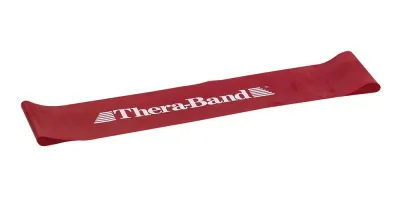
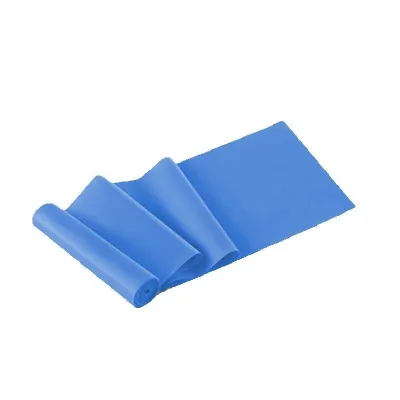
Prices are valid at publication and may change. Please refer to the product page for the latest price.
Always inspect your band thoroughly before applying any tension to it. Over time, exposure to sweat, humidity, and friction can cause micro-tears, discoloration, or dry rot along the edges of the latex or synthetic material. Hold the band up to the light and stretch it gently in small sections to check for tiny rips or weak spots that could snap under full tension. If you notice any structural compromises, replace the band immediately to avoid sudden snapping during an exercise.
Set up your recovery space on a flat, non-slip surface, such as a high-grip yoga mat laid out on a clean floor. If your home has smooth tile or polished wood flooring, a mat is essential to prevent your supporting limbs from slipping during deep stretches. For exercises that require an anchor, identify a heavy, immovable piece of furniture or use a certified door anchor accessory. When using a door anchor, always position it so that you are pulling the door closed against the frame rather than pulling it open, ensuring the latch remains securely locked throughout your routine.
Step-by-Step Lower Body TheraBand Exercises
Performing post-run stretches with an elastic band requires a focus on controlled, gradual tension rather than forcing your joints to their absolute limits. Your muscles are highly compliant immediately after a run due to increased blood flow, but they are also fatigued, making them susceptible to micro-tears if stretched too aggressively. As you move through each exercise, focus on smooth transitions and steady, deep breathing to help signal your nervous system to relax.

To accommodate different limb lengths and varying levels of daily flexibility, adjust your grip on the band rather than forcing your body into uncomfortable angles. You can wrap the ends of the band loosely around your hands to secure your grip without squeezing too tightly, which can cause tension in your forearms and shoulders. Keep your upper body, neck, and shoulders relaxed on the floor or ground during supine movements, letting the band do the work of supporting the weight of your legs.
Calves and Achilles Release
To target the lower leg, sit on your mat with your legs extended straight in front of you. Loop the center of the TheraBand securely around the ball of your right foot, ensuring the band is flat and wide so it does not roll up or slip off your toes. Hold one end of the band in each hand, keeping your spine tall and your shoulders relaxed.
Gently pull the ends of the band toward your torso to flex your foot, drawing your toes toward your shin until you feel a deep stretch in your calf and Achilles tendon. To target the larger gastrocnemius muscle, keep your knee completely straight as you pull. To shift the stretch deeper into the lower soleus muscle and the Achilles tendon, slightly bend your knee while maintaining the upward pull on the ball of your foot. Hold this position while breathing deeply, then slowly release the tension and repeat on the left leg.
Hamstrings and Glutes
Relieving tension in the posterior chain is essential for runners, as the hamstrings and glutes absorb a massive amount of impact with every stride. Lie flat on your back on your mat, looping the band around the arch of your right foot. Keep your left leg flat on the ground with your foot flexed to help stabilize your pelvis and protect your lower back from arching.
Slowly raise your right leg toward the ceiling, using the band to support the weight of your leg as you lift. Keep your knee straight but not locked, and stop lifting as soon as you feel a moderate stretch along the back of your thigh. If your lower back begins to lift off the floor or your opposite leg starts to rise, lower your stretching leg slightly until your spine returns to a neutral, grounded position. Hold the stretch with steady breathing, then gently lower the leg and switch sides.
Hip Flexors and Quadriceps
The repetitive forward stride of running can leave the front of your hips and thighs incredibly tight. To stretch your quadriceps and hip flexors, lie prone on your stomach on your mat. Loop the band around your right ankle, then bring both ends of the band over your right shoulder, holding them securely with your hands.
Gently pull the band forward over your shoulder to draw your right heel toward your glutes. To protect your lower back from hyperextending, actively engage your core muscles and press your pubic bone down into the mat, creating a slight posterior pelvic tilt. This pelvic alignment isolates the stretch in the front of your thigh and hip rather than compressing your lumbar spine. If lying on your stomach is uncomfortable, you can perform this stretch standing up, using a wall for balance while holding the band behind your back to assist the knee bend.
IT Band and Outer Hips
The iliotibial (IT) band itself is a thick, fibrous band of connective tissue that cannot be stretched out like a muscle; instead, you must target the surrounding musculature, such as the gluteus medius and tensor fasciae latae, to relieve lateral hip tightness. To perform a gentle cross-body stretch, lie on your back and raise your right leg straight up with the band looped around your foot, just as you did for the hamstring stretch.
Keeping your hips grounded on the mat, slowly guide your right leg across the midline of your body toward the left side by a few inches. You do not need to touch the floor; a small lateral movement of ten to fifteen degrees is usually enough to feel a deep release along the outer hip and thigh. For active mobilization, you can also tie the band in a loop around your mid-thighs and perform slow, controlled clamshells while lying on your side, which helps activate and stabilize the lateral hip stabilizers after a long run.
Safety, Form Checks, and When to Stop
When using resistance bands for recovery, learning to distinguish between a productive stretching sensation and potentially harmful pain is vital. A safe, effective stretch should feel like a dull, warm, or slightly tight sensation in the belly of the muscle, which gradually dissipates as you hold the position and breathe. If you experience any sharp, pinching, shooting, or localized joint pain, stop the movement immediately, as these are clear indicators of nerve compression or joint strain.
Avoid any bouncing, pulsing, or ballistic movements while your limbs are under band tension. Bouncing can trigger the stretch reflex, a protective mechanism that causes the muscle to contract rather than relax, which defeats the purpose of recovery and can lead to micro-tears in the muscle fibers. Keep all movements slow, smooth, and static, allowing the muscle fibers to gradually adapt to the elongated state.
If you experience persistent swelling, throbbing pain, or a sensation of instability in your knees, ankles, or hips after running, do not attempt to stretch through the discomfort. These symptoms may indicate an acute injury, such as a sprain or tendinitis, where applying external tension can worsen the damage. In these cases, bypass your stretching routine, rest the affected limb, and consult a qualified physiotherapist or medical professional for a personalized assessment.
Integrating TheraBand Work into Your Weekly Routine
To get the most out of your TheraBand recovery routine, timing is everything. The ideal window for static stretching is immediately after your run, once you have completed a brief five-minute walking cool-down and your heart rate has returned to a baseline level. Your muscles are still warm and highly receptive to stretching at this point, which helps restore their resting length before they begin to cool and stiffen. Alternatively, you can dedicate fifteen to twenty minutes on your scheduled active recovery days to perform a thorough, full-body band routine.
Adjust the volume and intensity of your band work based on your weekly training load and how your body feels. After a high-intensity speed session or a grueling long run, keep the stretch tension very light and focus primarily on gentle mobility and breathing. On lighter training days, you can slightly increase the depth of your stretches to work on improving your overall range of motion.
Remember that band work is just one component of a comprehensive recovery strategy. For optimal muscle repair and performance, combine your stretching routine with foundational recovery practices, including proper hydration to flush out metabolic waste, balanced nutrition to rebuild muscle tissue, and high-quality sleep to facilitate systemic healing.
Frequently Asked Questions (FAQ)
Can I use a TheraBand if I have a known knee or ankle injury?
If you have an active, diagnosed knee or ankle injury, you must consult your healthcare provider or physiotherapist before using a TheraBand on the affected joint. General post-run recovery stretching is designed for healthy, fatigued muscles and differs significantly from targeted clinical rehabilitation protocols. Applying resistance or stretching an inflamed, unstable, or healing ligament can delay recovery or exacerbate the injury.
How long should I hold each stretch with the band?
For effective post-run static stretching, aim to hold each stretch for twenty to thirty seconds per side. Avoid holding your breath during this time; instead, practice slow, deep diaphragmatic breathing, inhaling through your nose and exhaling fully through your mouth. This breathing pattern helps activate your parasympathetic nervous system, signaling your muscles to release tension and relax into the stretch.
Community discussion
Share your experience or ask a question. Comments are reviewed before publication.