
Using a yoga massage ball is an exceptionally effective way to perform self-myofascial release, a technique designed to alleviate muscle tightness, improve joint range of motion, and support overall physical recovery. By using your own body weight to press a firm, targeted sphere into specific soft tissues, you can address localized tension that standard stretching might miss. This practice is highly customizable, allowing you to control the exact location and intensity of the pressure.
However, achieving the best results from a yoga massage ball requires more than simply rolling around on the floor. Proper technique, precise positioning, and an understanding of your body’s anatomical boundaries are essential to prevent injury and ensure a productive session. Whether you are addressing desk-bound shoulder stiffness or post-run calf tightness, learning how to safely navigate different muscle groups will transform your self-care routine.
Preparing for Self-Myofascial Release
Before you begin applying pressure to your muscles, setting up a safe and stable environment is crucial. Always select a flat, non-slip surface to perform your exercises. A high-grip yoga mat placed on a hard floor is highly recommended, as it prevents the massage ball from slipping or shooting out from under your body during a movement. Rolling on a slippery surface or an overly soft mattress can compromise your stability and reduce the effectiveness of the pressure.
Products mentioned in this guide
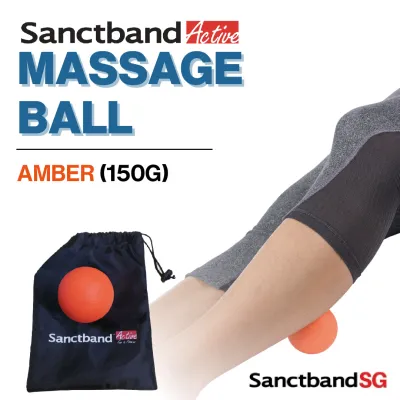
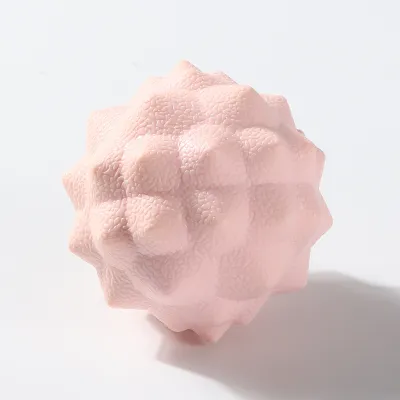
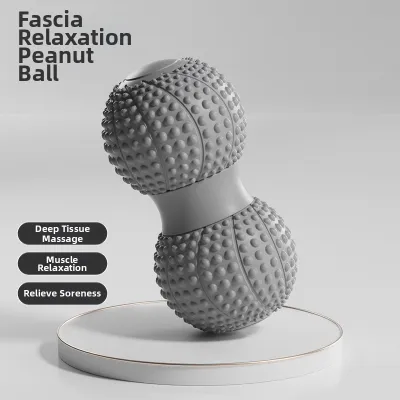
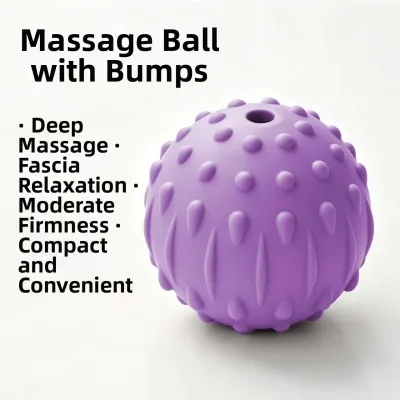
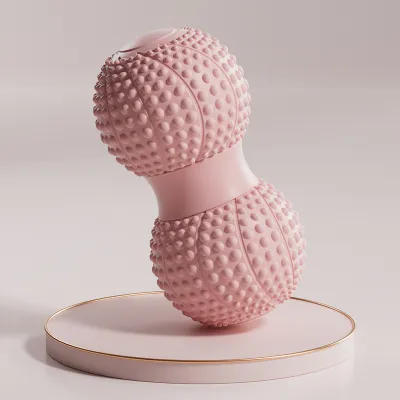
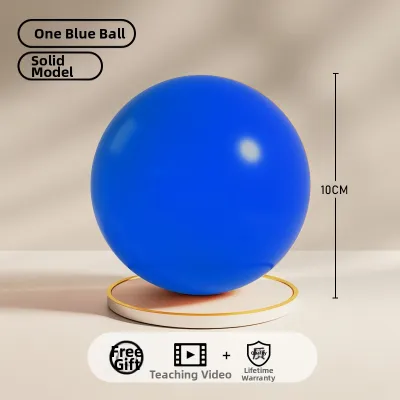
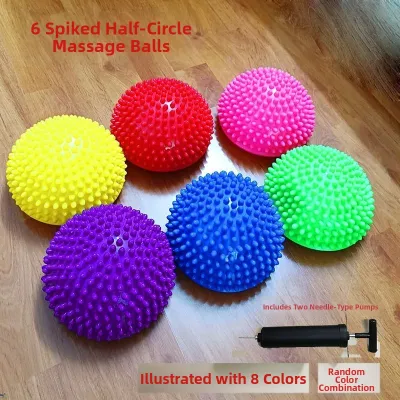
Prices are valid at publication and may change. Please refer to the product page for the latest price.
Next, take a moment to inspect your yoga massage ball. Look closely for any signs of surface wear, deep cracks, embedded dirt, or structural softening. A damaged ball can apply uneven pressure, while embedded debris can scratch your skin or cause localized irritation. Ensuring your equipment is clean and structurally sound is a simple yet vital step in maintaining a safe practice.
Finally, establish a comfortable starting posture and focus on your breathing. Deep, slow diaphragmatic breathing helps signal your nervous system to relax, which prevents muscle guarding—a natural tendency where muscles tense up to resist pressure. If you hold your breath or brace your body, the ball cannot penetrate the deeper tissue layers, making the session less effective and increasing the risk of bruising.
Step-by-Step Techniques for Key Muscle Groups
To get the most out of your self-myofascial release sessions, it is helpful to understand the two primary rolling techniques: active rolling and static pressure. Active rolling involves slowly moving your body over the ball to sweep across the length of a muscle group, helping to promote blood flow and identify areas of tension. Static pressure, or trigger point release, involves positioning the ball directly on a tight spot and holding still, allowing the tissue to gradually soften under steady pressure.

Regardless of the muscle group you are targeting, maintaining proper body alignment is essential to protect your spine and joints. Always use your hands, feet, or a wall to support and distribute your body weight. Never collapse your entire weight onto the ball without control, and always keep your core lightly engaged to stabilize your posture throughout each exercise.
Releasing Tension in the Upper and Mid Back
The upper and mid back, particularly the area around the shoulder blades, is a common repository for daily stress and postural tension. To target this region safely, place the yoga massage ball between your shoulder blade and your spine. You can perform this exercise lying on your back on a yoga mat for deeper pressure, or stand and lean against a wall for a more gentle, easily controlled sensation.
Once the ball is in position, cross your arms over your chest as if giving yourself a hug. This movement pulls your shoulder blades outward, exposing the underlying rhomboids and middle trapezius muscles. Use slow, controlled micro-movements to roll the ball up and down or side to side. Always keep the ball on the soft muscle tissue and strictly avoid rolling directly over the spinal vertebrae or the bony edges of the shoulder blades.
While rolling, pay close attention to your body’s signals. If you experience sharp, shooting pain, numbness, tingling radiating down your arms, or sudden dizziness, stop the exercise immediately. These sensations indicate that you are compressing a nerve or restricting blood flow, which requires immediate pressure release and a reassessment of your positioning.
Targeting the Glutes and Hips
The gluteal muscles and deep hip rotators often become tight from prolonged sitting or intense lower-body workouts. To target this area using a seated floor technique, sit on your yoga mat with your knees bent and feet flat on the floor. Place the massage ball under one glute, then cross the ankle of that same side over the opposite knee. This figure-four position opens up the hip joint and exposes the deeper piriformis muscle.
Gently lean your body weight toward the side with the ball, using your hands and supporting foot to control the depth of the pressure. If this seated position feels too intense, you can transition to a supine technique. Lie flat on your back, place the ball under your glute, and keep both feet on the floor while using your hands to lift and guide your hips over the ball.
Adjusting your leverage is key to managing the intensity of this release. By pushing down through your supporting foot and hands, you can instantly offload weight from the ball. Conversely, relaxing your hips down onto the ball increases the pressure. Always work within your personal tolerance level, ensuring the sensation remains productive rather than painful.
Relieving Tightness in the Feet and Calves
Your feet and calves endure significant stress during daily movement, making them prime candidates for targeted release. To perform a seated foot roll, sit upright in a sturdy chair and place the yoga massage ball under the arch of your foot. Slowly roll the ball forward and backward, applying gradual downward pressure from the heel to the base of your toes. This movement helps stretch and release the plantar fascia, which can become tight and stiff.
For the calves, sit on the floor with your legs extended straight in front of you. Place the ball under the meaty part of your lower leg, avoiding the area directly behind the knee. To increase the pressure, you can cross your opposite leg over the target leg. Gently roll your leg from side to side in a cross-friction motion, or slide your hips forward and back to roll along the length of the calf muscle.
It is vital to recognize the boundary between relieving muscle fatigue and aggravating sensitive structures. Avoid rolling directly over the Achilles tendon or the delicate space behind the knee, as these areas are highly sensitive and prone to irritation. If you feel any sharp pulling or throbbing, reduce the pressure immediately or stop the exercise.
Addressing the Chest and Shoulders
Forward-leaning postures from desk work or driving can cause the chest and front shoulder muscles to become short and tight. To address this, stand facing a wall and place the yoga massage ball on your upper chest, just below your collarbone. Lean your body weight forward to press the ball against the wall, targeting the pectoralis major and minor muscles.
Use small, slow circular motions or gentle side-to-side sweeps to explore the area. To add an active stretch, you can slowly raise and lower the arm on the targeted side while keeping pressure on the ball. This “pin and stretch” technique helps restore mobility to the shoulder joint and chest wall.
When working on the chest, safety and precision are paramount. Avoid placing direct pressure on sensitive breast tissue, the collarbone itself, or the bony front of the shoulder joint. Keep the ball positioned on the soft muscle tissue of the upper chest to ensure a safe and effective release.
Adjusting Pressure and Managing Discomfort
Understanding how to interpret the sensations you feel during self-myofascial release is essential for a safe practice. You should aim for a “good hurt” threshold—a sensation of dull, aching pressure that feels intense but manageable, and gradually dissipates as you hold the position. This indicates that the muscle tissue is responding positively to the pressure and beginning to relax.
In contrast, sharp, shooting, hot, or stabbing pain is a clear warning sign. This type of discomfort suggests you are pressing on a nerve, a joint capsule, a bone, or an acutely injured muscle. If you experience this, or if you notice signs of nerve compression like tingling or numbness, stop the movement immediately and move the ball to a different area.
If floor-based exercises feel too intense, remember that you can easily modify your body weight distribution. Transitioning to a wall-based exercise is the easiest way to reduce pressure, as it allows you to control exactly how much force you apply by leaning. On the floor, you can use yoga blocks, your hands, or your non-targeted limbs to support your weight and offload pressure from the ball.
While self-myofascial release is an excellent tool for daily maintenance, it is not a cure-all. If you experience chronic, persistent pain, swelling, or restricted mobility that does not improve with gentle rolling, avoid aggressive self-treatment. Consult a physical therapist or a qualified medical professional to receive a proper assessment and a personalized recovery plan.
Post-Roll Recovery and Equipment Care
What you do after your rolling session is just as important as the rolling itself. Once you finish, perform a few gentle, active stretches for the muscle groups you just targeted. Because the massage ball temporarily increases tissue mobility and blood flow, following up with light stretching helps reinforce this new range of motion and keeps the muscles elongated.
Proper hygiene and equipment care will ensure your yoga massage ball remains safe and functional for years to come. After each use, wipe down the ball to remove sweat, oils, and dirt. Always follow the manufacturer’s material-specific cleaning guidelines. For instance, silicone and solid rubber balls can typically be washed with mild soap and warm water, whereas cork massage balls should only be wiped with a dry or slightly damp cloth to prevent water absorption.
Finally, store your massage ball in a cool, dry place away from direct sunlight and extreme temperatures. Leaving your ball in a hot car or exposed to harsh sunlight can cause materials like rubber and silicone to dry out, crack, or lose their structural integrity, rendering them unsafe for future use.
Frequently Asked Questions (FAQ)
How long should I spend on each muscle group?
As a general guideline, spend about 30 to 90 seconds on each specific muscle group or trigger point during a session. Spending too much time on a single spot can lead to localized bruising, inflammation, or nerve irritation. It is always better to listen to your body’s feedback rather than watching a clock; if a spot feels highly sensitive, move on to another area and return to it later once the tissue has had time to rest.
Can I use a yoga massage ball directly on joints or bones?
No, you should never use a yoga massage ball directly on joints, bones, or your spine. These balls are designed exclusively for soft tissue, such as muscles and fascia. Applying heavy, concentrated pressure to bony structures can cause painful bruising, joint inflammation, or even structural damage. Always keep the ball on the fleshy, muscular portions of your body and steer clear of areas like the kneecaps, elbows, collarbones, and vertebrae.
Community discussion
Share your experience or ask a question. Comments are reviewed before publication.