
To use an ab roller correctly without straining your lower back, you must maintain a hollow-body position throughout the movement and strictly limit your rollout distance to match your current core strength. The moment your hips sag or your lower back arches, the load shifts from your abdominal muscles to your lumbar spine, increasing the risk of strain. Mastering this challenging tool requires shifting your focus from how far you can roll to how well you can stabilize your pelvis.
By prioritizing spinal alignment over extension distance, you protect your lower back while maximizing tension on the rectus abdominis and obliques. This guide breaks down the biomechanics of the movement, provides a step-by-step execution plan, and offers practical modifications for home workouts.
Why the Ab Roller Strains Your Lower Back
The primary reason the ab roller causes lower back discomfort is a biomechanical failure known as anterior pelvic tilt. During the rollout phase, gravity and the weight of your torso pull your hips toward the floor. If your deep core muscles—specifically the rectus abdominis, obliques, and transverse abdominis—are not strong enough to resist this downward pull, your pelvis tilts forward. This tilt forces your lumbar spine into hyperextension, compressing the spinal discs and straining the surrounding lower back muscles.
Products mentioned in this guide
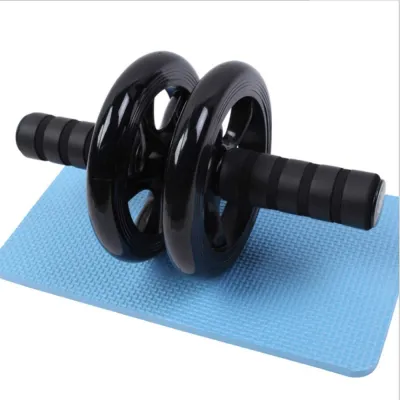
![🇸🇬 [READY STOCK] Abdominal Wheel- Ab Exercise Roller and Fitness Wheel with Easy Grip Handles for Core Training and Abdominal Workout](https://img.lazcdn.com/g/p/722ce4d262fd8f002456b14efe06d20a.jpg_400x400q80.jpg_.webp)
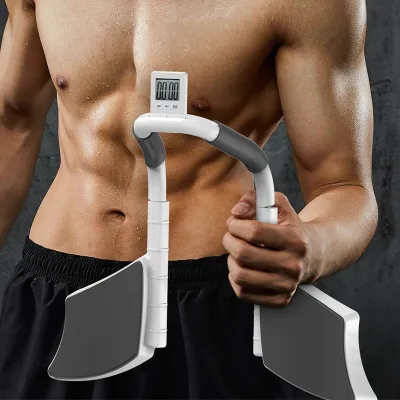

![SG[READY STOCK]2024 Upgrade the new multi-functional Abs roller abdominal wheel automatic rebound abdominal training auxiliary exercise trainer](https://img.lazcdn.com/g/p/fa22f5ae15029e01850c23d27782a151.jpg_400x400q80.jpg_.webp)
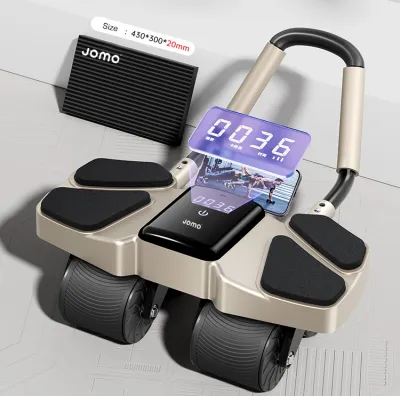
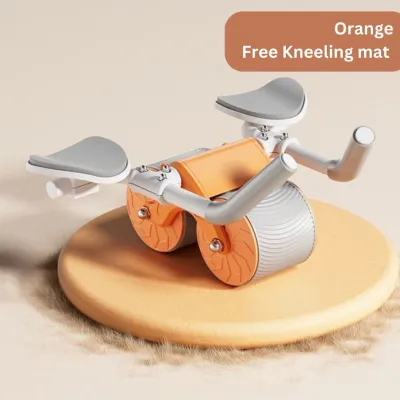
Prices are valid at publication and may change. Please refer to the product page for the latest price.
Another common mistake is relying on the wrong muscle groups to execute the movement. Many users initiate the return phase by pulling with their hip flexors or pushing down heavily with their arms, rather than contracting their abdominal wall. When the hip flexors dominate, they pull directly on the lumbar spine, exacerbating the arch in your lower back and causing a pinching sensation.
Finally, over-extension is a frequent culprit. Rolling out too far before your core is conditioned to handle the leverage forces your body to seek stability elsewhere. Without sufficient core strength to maintain a neutral spine at full extension, the lower back muscles must contract excessively to keep you from collapsing, leading to acute strain or lingering soreness.
Pre-Roll Checklist: Setting Up Your Posture
Before the wheel even touches the floor, establishing the correct starting posture is essential for protecting your spine. This setup ensures that your core is pre-activated and ready to bear the load of your body weight.

- Achieve a Posterior Pelvic Tilt: Kneel on the floor and tuck your tailbone underneath you, pulling your belly button toward your spine. This movement flattens your lower back and rounds your upper back slightly, creating a resilient "hollow body" shape.
- Engage the Lats: Place your hands on the roller handles. Squeeze your armpits tightly as if you are trying to hold a sheet of paper under each arm. This activates the latissimus dorsi muscles, which stabilize your shoulders and support your upper body.
- Keep Arms Straight but Not Locked: Extend your arms fully but maintain a micro-bend in your elbows. Locking your joints transfers the physical stress directly to your elbows and shoulders, whereas a slight bend keeps the tension in your muscles.
- Position Your Knees and Use a Mat: Keep your knees hip-width apart for a stable base. Always use a thick, padded exercise mat under your knees. In warm, humid climates where tiled or vinyl floors can become slippery from sweat, a high-grip mat is crucial to prevent your knees from sliding during the exercise.
Step-by-Step Guide to the Perfect Ab Rollout
Executing the ab rollout with control requires a slow, deliberate tempo. Rushing through the phases of the movement increases the likelihood of form breakdown.
Phase 1: The Descent
Start with the ab roller directly beneath your shoulders while kneeling on your mat. Slowly roll the wheel forward, moving your hips and torso together as a single unit. Your hips should open up, but your lower back must remain flat or slightly rounded. Keep your gaze focused on the floor a few inches in front of the wheel to maintain a neutral neck position. Do not let your head hang down or look up at the wall.
Phase 2: Finding the Stopping Point
Your ideal stopping point is the furthest distance you can roll while maintaining a perfect hollow-body position. For beginners, this may only be 30 to 50 centimeters forward. You do not need to roll out until your chest touches the floor. Stop immediately if you feel your hips sag, your lower back arch, or if you experience any tension in your lumbar region. Hold this extended position for a split second to build isometric strength.
Phase 3: The Return
To pull yourself back to the starting position, focus on contracting your abdominal muscles rather than pushing your hips backward first. Imagine pulling your ribs down toward your pelvis. Keep your arms straight and use your lats and core to pull the roller back toward your knees. Your hips and shoulders should move backward at the same rate. Stop the return phase when the roller is back under your chest; rolling all the way to your knees removes the tension from your core.
Adapting the Rollout for Beginners and Compact Living Spaces
If the standard kneeling rollout is too difficult, or if you are working out in a compact home like a typical Singapore HDB flat, several modifications can make the exercise safer and more manageable.
Wall-Assisted Rollouts
Using a wall is one of the most effective ways to build strength while preventing over-extension. Position your kneeling mat facing a wall or a sturdy door. Roll forward until the wheel gently bumps against the wall, then return to the start. The wall acts as a physical stop, ensuring you do not roll past your current strength limit. As your core strength improves, gradually move your mat further back from the wall to increase your range of motion.
Resistance Band Assistance
To reduce the load on your core, loop a resistance band around a secure anchor point behind you (such as a heavy piece of furniture or a door anchor) and wrap the other end around your hips. The band will stretch as you roll forward, providing a supportive pull that assists you during the challenging return phase. This modification allows you to practice the full range of motion with a reduced load on your lower back.
Managing Space and Flooring
In compact living areas, floor space can be limited. Ensure you have a clear path free of furniture corners or trip hazards. Smooth flooring surfaces like polished tiles or laminate can cause standard plastic wheels to slip. Opt for an ab roller with a wide, rubberized wheel tread to ensure consistent traction. Using a dedicated non-slip training mat not only protects your knees but also prevents the wheel from scratching delicate flooring.
When to Stop: Warning Signs and Safety Boundaries
Understanding the difference between productive muscle fatigue and potential injury is critical when performing high-tension core exercises.
Normal abdominal fatigue feels like a deep, warm burn localized entirely within the stomach muscles. This sensation is safe and indicates that your muscles are working effectively. Conversely, any sharp, pinching, or radiating pain in your lower back is a clear warning sign. If you feel discomfort in your lumbar spine, stop the exercise immediately. This pain indicates that your core has fatigued and your lower back is absorbing the physical load.
Loss of pelvic control is another hard stop signal. If you notice your hips sagging toward the floor during the descent, or if you must “hike” your hips backward to start the return phase, your set is finished. Continuing to perform repetitions with compromised form will eventually lead to injury.
If you have a history of lower back issues, such as herniated discs, sciatica, or chronic lumbar instability, consult a healthcare professional before incorporating an ab roller into your routine. These pre-existing conditions can be aggravated by the intense extension forces of the rollout, and alternative core exercises may be recommended.
Frequently Asked Questions (FAQ)
How many ab roller reps should a beginner do?
Beginners should prioritize movement quality over high repetition counts. Start with 2 to 3 sets of 3 to 5 slow, highly controlled repetitions. Focus entirely on maintaining a flat lower back and a tight core. Once you can perform 5 repetitions with perfect form, gradually increase the volume to 8 to 10 repetitions per set. If your form begins to slip on the final reps, stop the set immediately to protect your spine.
Can I use an ab roller every day?
It is not advisable to use an ab roller every day. The abdominal muscles require rest and recovery to rebuild and grow stronger, just like any other muscle group. Training them daily can lead to overuse injuries, chronic tightness in the hip flexors, and persistent lower back fatigue. For optimal results, integrate ab roller training into your routine 2 to 3 times per week, allowing at least 48 hours of recovery between sessions.
Is an ab roller with a return mechanism better for my back?
An ab roller equipped with an internal carbon spring or return mechanism can be highly beneficial for beginners or those recovering from mild back strain. The internal spring winds up during the descent and provides a supportive assist during the return phase, reducing the peak load on your lower back. However, this assistance can sometimes mask poor form. If you use an assisted roller, verify that you are still actively engaging your core rather than relying entirely on the spring to pull you back.
Community discussion
Share your experience or ask a question. Comments are reviewed before publication.