
Quick Answer: Core Principles for Safe Rollouts
To use an ab roller wheel safely as a beginner, you must prioritize spinal alignment over rolling distance. The core rule of the rollout is to maintain a constant posterior pelvic tilt—tucking your tailbone slightly under to flatten your lower back—and to brace your abdomen as if preparing for an impact. Never let your lower back arch or sag toward the floor.
For your first few weeks, limit your forward rolling distance to a short, easily controllable range of motion, stopping well before your hips begin to drop. By focusing on muscle tension rather than maximum extension, you build the foundational deep-core strength required to progress safely without risking lower back strain.
Pre-Roll Setup: Preparing Your Space and Equipment
Before you begin rolling, preparing your physical environment and inspecting your equipment is essential for preventing slips and joint pain. This is especially true when exercising at home on hard surfaces like ceramic tiles or vinyl flooring, which offer zero shock absorption for your knees.
Products mentioned in this guide
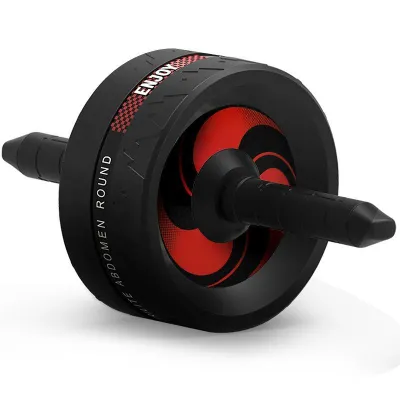
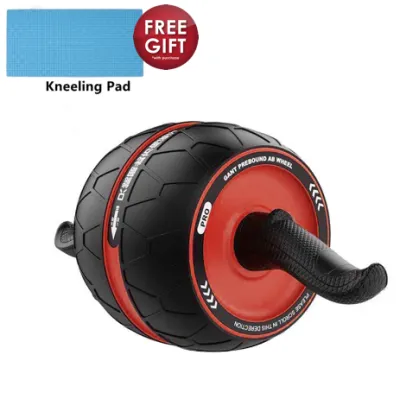
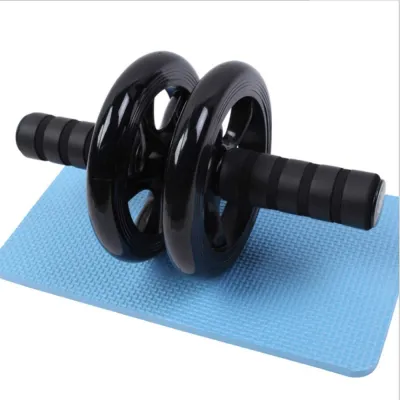
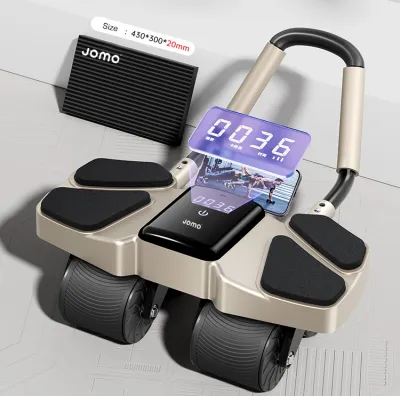
![[✅SG Ready Stock] New Smart Four Wheel Abdominal Wheel Roller Widened Wheel Base Adjustable Armrest Strong Bearing](https://img.lazcdn.com/g/p/a8748ff86d67829a7bfce6425ed614d5.png_400x400q80.png_.webp)
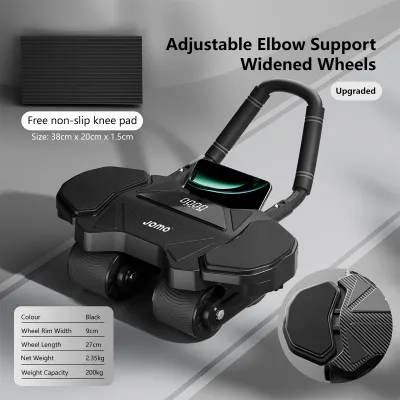
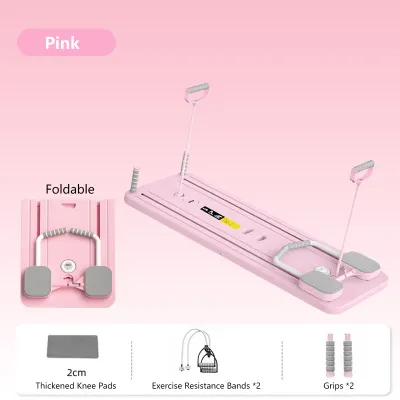
Prices are valid at publication and may change. Please refer to the product page for the latest price.

- Select a Non-Slip Surface: Always perform your rollouts on a flat, stable surface. If you are working out on polished tiles or smooth laminate, place a high-grip exercise mat down to prevent the wheel from slipping sideways during extension.
- Protect Your Knees: A standard yoga mat is often too thin to protect your kneecaps during kneeling exercises. Use a dedicated thick foam knee pad, a folded garden kneeling pad, or fold your exercise mat over multiple times to create a cushioned barrier.
- Inspect the Ab Roller: Check your equipment before every session. Ensure the central axle is secure, the handles do not slide off the bar, and the wheel rotates smoothly without catching or wobbling. If you are using a dual-wheel or wide-wheel model, verify that both wheels are clean and free of debris that could cause sudden steering deviations.
- Clear a Safe Path: Ensure you have at least two meters of unobstructed space directly in front of you. Clear away coffee tables, chairs, and toys. A sudden collision with furniture mid-roll can cause you to lose core tension instantly, placing a sudden, dangerous load on your lumbar spine.
Step-by-Step Guide: Mastering the Kneeling Rollout
The kneeling rollout is the gold standard starting point for beginners. Mastering this movement requires treating your entire torso as a rigid, moving plank rather than a flexible hinge. Follow these steps to execute the movement with precision.
- The Starting Position: Kneel on your padded surface with your knees hip-width apart. Place the ab roller wheel directly beneath your shoulders. Grip the handles firmly with an overhand grip, keeping your wrists straight and strong. Fully extend your arms, but do not lock out your elbows; keep a micro-bend to protect the joints. Before you move the wheel, tuck your chin slightly, round your upper back slightly, and pull your belly button toward your spine to engage your deep core.
- The Descent: Slowly roll the wheel forward. Crucially, your hips and shoulders must move forward at the exact same rate. Do not leave your hips behind while reaching out with your arms, as this removes the load from your core. Instead, let your hips open up, maintaining a straight line from your knees to your shoulders. Keep your gaze focused on the floor about thirty centimeters in front of the wheel to maintain a neutral neck. Only descend as far as you can comfortably maintain a flat, non-sagging lower back.
- The Return: Once you reach your maximum controlled extension, initiate the return phase. Do not pull back by bending your elbows or pushing your hips backward first. Instead, drive your hips backward while simultaneously pulling the wheel back using your abdominal muscles and your latissimus dorsi. Imagine pulling the floor toward your knees using only your core.
- Breathing Mechanics: Proper breathing stabilizes your intra-abdominal pressure, which acts as an internal weight belt for your spine. Take a deep breath into your belly during the starting position. Hold that breath and brace your core as you descend to maintain maximum stability. As you reach the end of the extension and begin the strenuous return phase, exhale forcefully through pursed lips, emptying your lungs completely as you return to the starting position.
Protecting Your Lower Back: Form Checks and Stop Conditions
The most common mistake beginners make is prioritizing distance over form, which frequently leads to lower back strain. Understanding how to monitor your body’s alignment is key to training safely without a coach.
- Recognizing Sagging Hips: When your abdominal muscles fatigue, they lose the ability to hold your pelvis in a posterior tilt. This causes your pelvis to tilt forward, resulting in your hips sagging toward the floor and your lower back arching excessively. If you feel a pinching sensation in your lower spine or notice your belly dipping lower than your chest, your core has disengaged. To monitor this at home, set up your phone to record your form from a side profile, or perform the exercise parallel to a mirror.
- The Power of Partial Range: There is no requirement to roll out until your chest touches the floor. For beginners, rolling out just thirty to fifty centimeters is highly effective. A short, controlled rollout with perfect core engagement builds far more functional strength than a full rollout executed with a sagging spine.
- Immediate Stop Conditions: Stop your set immediately if you experience a sharp, sudden pinch or dull ache in your lower back, a feeling of pressure or pulling in your lumbar spine, an inability to pull yourself back up without jerking your hips or bending your arms, or a loss of shoulder stability where your shoulders shrug up toward your ears.
Progression Strategy: Advancing Your Range and Difficulty
Building core strength with an ab roller is a gradual process. Rushing your progression can lead to injury, while structured, incremental challenges will safely build a resilient midsection.
- Gradual Range Extension: To safely increase your rolling distance, use a physical barrier. Position yourself facing a wall or a heavy piece of furniture. Set the distance so that the wheel hits the wall at your maximum safe extension point. This acts as a physical stop, preventing you from rolling too far. Over several weeks, gradually back your knees away from the wall by five centimeters at a time as your strength improves.
- Incorporate Isometric Pauses: Instead of rolling further forward, increase your time-under-tension. When you reach your maximum safe extension, hold that position for one to two seconds before pulling back. This builds exceptional isometric strength in the deep transverse abdominis.
- Transitioning to Standing Rollouts: Standing rollouts require an immense amount of core, shoulder, and hip flexor strength. Do not attempt them until you can easily perform three sets of fifteen slow, controlled kneeling rollouts with a full range of motion and zero lower back discomfort. Even then, begin standing rollouts using a steep incline or a wall block to limit the initial range of motion.
Post-Workout Recovery: Stretching and Rest Guidelines
Because the ab roller places a high eccentric load on your core and upper body, proper recovery is essential to prevent chronic tightness and joint strain.
- Targeted Stretching: After your workout, perform gentle stretches to release tension. A cobra stretch can help stretch the rectus abdominis, but keep it gentle to avoid hyperextending your lower back. Perform a child's pose to stretch your latissimus dorsi and lower back, and a kneeling hip flexor stretch to release the front of your hips.
- Fatigue vs. Discomfort: It is normal to feel delayed onset muscle soreness in your abdominal wall and lats twenty-four to forty-eight hours after training. However, you should not feel deep, aching pain in your lower back joints or shoulders. If joint discomfort persists, increase your rest time and reduce your range of motion in the next session.
- Rest Intervals: Avoid training with the ab roller on consecutive days. The core muscles need time to repair. For beginners, scheduling two sessions per week with at least seventy-two hours of rest in between is ideal for safe muscle adaptation.
Frequently Asked Questions (FAQ)
How often should a beginner use an ab roller wheel?
Beginners should start by using the ab roller wheel two times per week, allowing at least forty-eight to seventy-two hours of rest between sessions. Core muscles require recovery time just like any other muscle group. Signs of overtraining or inadequate recovery include persistent lower back stiffness, a noticeable decrease in core stability during daily activities, or abdominal soreness that prevents you from maintaining a neutral spine during your setups. If you experience these signs, extend your rest period.
Can I use an ab roller wheel if I have existing lower back issues?
If you have a history of lower back pain, herniated discs, or spinal instability, you should avoid using an ab roller wheel until you consult a physiotherapist or medical professional. The rollout exercise subjects the lumbar spine to high shear forces and extension loads. If your core cannot perfectly counteract these forces, the load transfers directly to your spinal discs and facets. Prioritize gentler core stabilization exercises, such as bird-dogs or deadbugs, to build a baseline before attempting the high-demand mechanics of the ab roller.
Community discussion
Share your experience or ask a question. Comments are reviewed before publication.