
Using an ankle balance board for post-run recovery and injury prevention involves performing low-impact, controlled stability exercises immediately after runs to restore neuromuscular control, improve proprioception, and strengthen the stabilizing muscles of the lower leg. By dedicating just 5 to 10 minutes to targeted balance work, runners can actively offset the fatiguing effects of high-impact training, protect their joints from common overuse injuries, and build a more resilient stride.
Singapore’s running environments—ranging from the flat asphalt of East Coast Park to the undulating, root-strewn trails of MacRitchie Reservoir—demand highly responsive ankles. When fatigue sets in during a long run, the body’s natural stabilizing mechanisms degrade. Integrating a balance board into your post-run routine bridges the gap between cardiovascular fitness and joint-level stability, ensuring your lower limbs remain robust and adaptable to any terrain.
Why Runners Need Ankle Balance Training
During the single-leg stance phase of the running gait—which constitutes the entirety of your ground contact time—your brain relies on rapid sensory feedback from receptors in your ankle ligaments and tendons. This feedback loop is known as proprioception, the body’s ability to perceive its position, movement, and spatial orientation without visual cues. It tells the nervous system how to adjust muscle tension to keep you upright and aligned.
Products mentioned in this guide
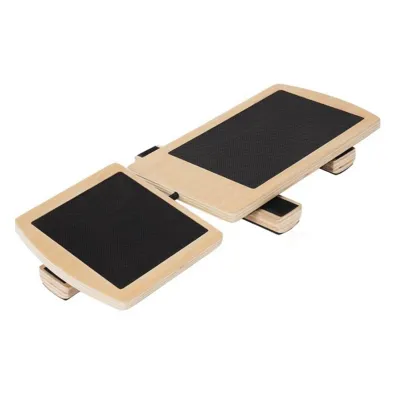
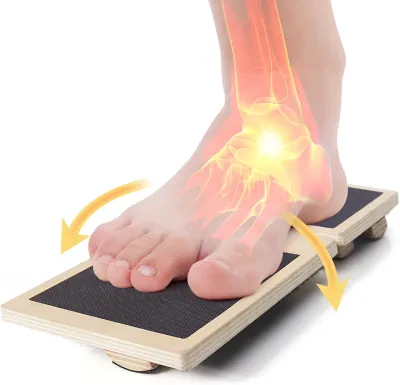
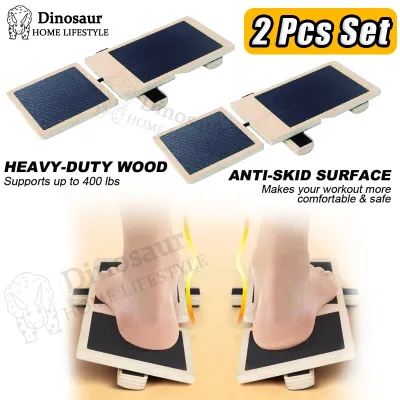
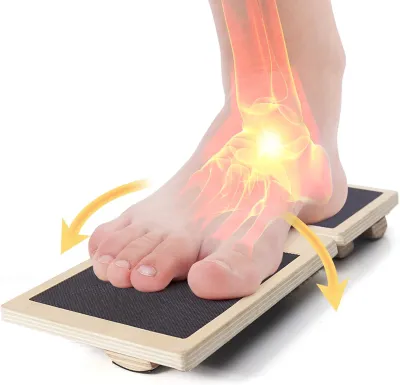
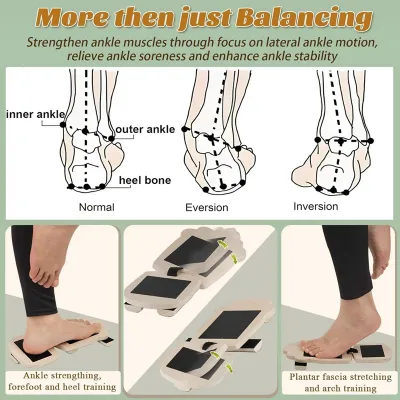
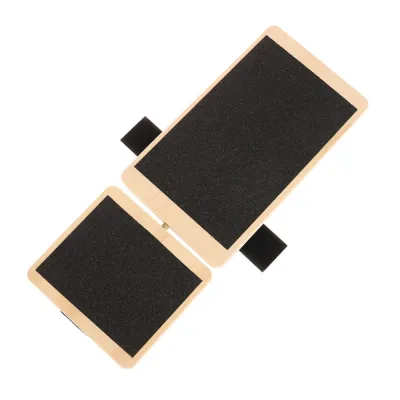
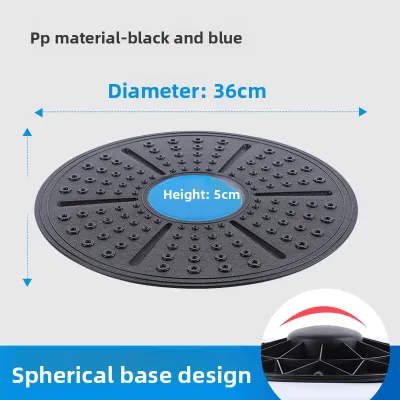
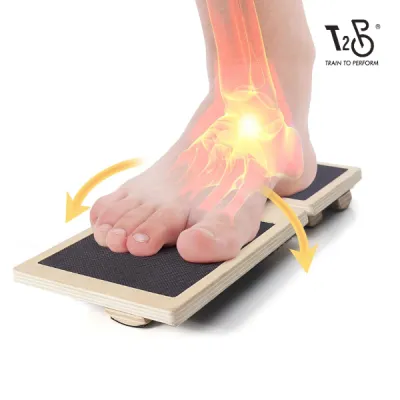
Prices are valid at publication and may change. Please refer to the product page for the latest price.
As mileage increases, the muscles surrounding the ankle joint, such as the tibialis anterior, peroneals, and gastrocnemius, experience deep fatigue. When these muscles tire, their reaction time slows down. A delayed neuromuscular response means that if your foot lands on an uneven pavement crack or a loose pebble, the ankle cannot correct itself in time. This delay is a primary driver of acute lateral ankle sprains, chronic instability, and overuse conditions like shin splints or Achilles tendinopathy.
Targeted balance board training acts as a concentrated stimulus for these stabilizer muscles. By forcing the ankle to operate on an unstable surface, you create a controlled environment where the nervous system must constantly send corrective signals. Over time, this retrains your reflexes to fire faster and more efficiently. When you transition back to solid ground, your ankles are better equipped to handle sudden shifts in momentum, protecting your joints even when running on tired legs.
Getting Started: Setup and Safety Checks
Safety is paramount when introducing instability to a fatigued body. Always place your balance board on a completely flat, non-slip surface. Hardwood floors, smooth tiles, or outdoor concrete can cause the board to slide out from under you. A firm, low-pile carpet, a rubber gym mat, or a dedicated yoga mat provides the ideal amount of traction. Ensure there is at least a one-meter clear radius around the board, free of sharp corners, furniture, or stray gear that could cause injury if you step off unexpectedly.

Before stepping onto the board, perform a quick visual and physical inspection. Check wooden boards for splintering, structural cracks, or delamination of the plywood layers. For plastic wobble boards, inspect the underside dome for stress fractures or warping. Ensure that any non-slip grip tape on the top surface is clean and intact; worn-out or smooth grip tape reduces friction, increasing the risk of your foot slipping during dynamic movements.
Choosing between barefoot training and wearing running shoes depends on your training goals and physical condition. Going barefoot maximizes sensory feedback, allowing the small intrinsic muscles of the foot to engage fully and communicate directly with the nervous system. However, if the board’s surface is highly abrasive, or if you suffer from severe plantar fasciitis or flat feet that require structured arch support, wearing your standard running shoes is a safer initial choice.
Never attempt balance board exercises in the middle of an open room when starting out or when highly fatigued. Position the board within arm’s reach of a sturdy, unyielding structure. A solid wall, a heavy dining chair, or a secure metal railing works perfectly. This setup allows you to lightly touch the support with your fingertips to regain balance, preventing a fall while still challenging your ankle stabilizers to do the majority of the work.
Step-by-Step Beginner Exercises for Post-Run Recovery
Basic Double-Leg Stance and Weight Shifts
Begin by placing your feet shoulder-width apart, centered evenly over the pivot point of the board. If using a circular wobble board, your feet should be equidistant from the center dome.
Stand tall with your spine in a neutral position. Engage your core muscles gently to stabilize your pelvis. Crucially, keep a slight bend in your knees—never lock them out, as locked joints transfer the balancing stress directly to the skeletal structure rather than the stabilizing muscles.
Slowly shift your weight to tilt the board side-to-side, letting the edges gently touch the floor in a controlled manner. Transition to front-to-back tilts, moving your weight from your heels to the balls of your feet. Focus on smooth, deliberate transitions rather than rapid, jerky movements.
To assist your vestibular system, fix your gaze on a stationary object at eye level about two to three meters in front of you. Looking down at your feet disrupts your natural spatial awareness and shifts your center of gravity forward, making balance significantly harder to maintain.
Single-Leg Static Balance
Start in a stable double-leg stance on the board. Slowly shift your weight entirely onto your target leg while keeping your hips level. Gently lift the opposite foot off the board, holding it slightly behind or beside you. Keep your hands hovering near your safety support so you can catch yourself instantly if needed.
Focus intensely on the foot contact. Keep your weight distributed evenly across three points: the base of your big toe, the base of your pinky toe, and your heel. Do not allow your arch to collapse inward or your ankle to roll outward. The ankle should remain aligned directly under your knee.
Use your arms to help manage your center of gravity. Extending them out to the sides like a tightrope walker provides the greatest stability. As you gain confidence, bring your arms into a functional running posture—bent at 90 degrees and moving in a gentle, simulated running motion to mimic real-world stride mechanics.
Aim to hold a quiet, stable single-leg stance for 15 to 30 seconds. If your foot touches the floor or you have to grab the support, reset and try again. Prioritize a clean, quiet hold over a longer, shaky attempt where your ankle is thrashing wildly to stay upright.
Progressing to Advanced Dynamic Movements
Single-Leg Squats and Reaches
Once you can comfortably hold a static single-leg balance for 30 seconds, you can introduce dynamic vertical movement. Initiate a shallow squat by pushing your hips back and bending your knee, descending only a few inches. Keep the movement slow and controlled, ensuring your knee tracks directly over your second toe rather than drifting inward.
To further challenge your center of gravity, incorporate multi-directional reaches. While balancing on one leg, slowly extend your free leg forward, to the side, or backward, tapping the air or a soft marker on the floor before returning to the center. Alternatively, reach forward with both hands to shift your weight distribution.
Pay close attention to your knee alignment. Avoid valgus collapse, where the supporting knee caves inward toward the midline of your body. This inward collapse puts immense strain on the knee joint, defeating the injury-prevention purpose of the exercise. Keep your gluteus medius engaged to hold the knee in line.
Dynamic Board Tilts and Clock Taps
Imagine the circular edge of your wobble board as a clock face. While balancing on a single leg, use deliberate ankle control to tilt the board and tap the edge to the floor at the 12 o’clock, 3 o’clock, 6 o’clock, and 9 o’clock positions. Return to a level, floating position between each tap.
When the edge of the board makes contact with the floor, do not let it crash down or bounce back aggressively. The tap should be whisper-light. Controlling the deceleration and the subsequent lift-off forces your eccentric muscle control to work at its peak, which is highly protective against trail running injuries.
For the ultimate test of proprioception, attempt the static single-leg balance with your eyes closed. Removing visual input forces your brain to rely 100% on the sensory receptors in your ankle joint. Only attempt this variation if you can easily perform all other exercises, and ensure you are standing directly next to a sturdy wall where you can instantly touch a surface for safety.
Integrating the Balance Board into Your Recovery Routine
Post-run balance training is not an endurance workout. Because you are targeting deep stabilizing muscles and the nervous system, short, highly focused sessions are far more effective than long, exhausting sets. Limit your balance board work to 3 to 5 minutes per leg, totaling no more than 10 minutes per session. Once your form begins to deteriorate or your ankle starts shaking uncontrollably, the neuromuscular benefits cease, and the risk of injury rises.
The timing of your balance work within your post-run routine is critical. Perform these exercises immediately after your run while your muscles are still warm and active, but before you engage in deep static stretching. Static stretching temporarily relaxes the muscle spindles and can reduce proprioceptive acuity, making balance work less effective and potentially less stable if done afterward.
A comprehensive recovery routine utilizes multiple tools in a logical sequence. Start with your balance board exercises to activate and challenge the nervous system. Once completed, transition to myofascial release using a foam roller or massage ball. This sequence allows you to first retrain joint stability and then address muscular tightness, optimizing both neuromuscular coordination and tissue recovery.
For general maintenance and injury prevention, integrating balance board training 2 to 3 times per week after your key running sessions is highly effective. If you are recovering from a past injury and are in an active rehabilitation phase, shorter daily sessions of 2 to 3 minutes per leg can help accelerate the recovery of lost proprioception, provided you have cleared this routine with a physical therapist.
Common Mistakes and When to Stop
The most frequent mistake runners make is locking the knee of the supporting leg. This bypasses the muscles and places the stress directly on the joint capsule. Another error is staring straight down at the board, which compromises your vestibular system and ruins your posture. Keep your head up and eyes forward. Lastly, avoid rushing through the movements; speed is the enemy of stability, and fast, uncontrolled wobbling does not build the precise motor patterns required for running.
Unlike strength training where lifting to failure can stimulate muscle growth, balance training should never be performed to absolute failure. When your stabilizing muscles are completely exhausted, your form collapses, and your nervous system begins reinforcing poor movement patterns. Stop your session while you still have enough control to execute the exercises with proper alignment.
Stop using the balance board immediately if you experience any sharp, localized joint pain, clicking accompanied by pain, or a sudden sensation of joint instability or “giving way.” These symptoms can indicate structural damage or acute inflammation that requires medical evaluation.
It is normal to feel a deep, dull muscular burn in your calves, shins, and the arches of your feet as these small muscles work to keep you stable. However, this muscular fatigue should never cross over into joint pain. Balance training is designed to challenge your nervous system and muscles, not to aggravate existing joint inflammation or strain healing ligaments.
Frequently Asked Questions (FAQ)
How long should I use the balance board after a run?
Keep your post-run balance board sessions short and focused, typically lasting between 5 to 10 minutes in total (about 3 to 5 minutes per leg). The goal is neuromuscular activation and recovery, not muscular exhaustion. Prioritize high-quality, controlled movements over long durations; once your ankle begins to shake excessively or your form slips, stop the session.
Can I use the balance board if I currently have an acute ankle sprain?
No, you should not use a balance board during the acute phase of an ankle sprain when pain, swelling, or active inflammation is present. Using an unstable surface prematurely can worsen ligament tears and delay healing. Always wait until the acute pain and swelling have fully subsided, and obtain professional medical clearance or consult a physical therapist before beginning any rehabilitation exercises on a balance board.
Community discussion
Share your experience or ask a question. Comments are reviewed before publication.