
An ankle board, often referred to as a slant board or squat wedge, is a highly effective tool designed to modify the angle of your feet during lower-body exercises. By elevating your heels, the board artificially increases your ankle range of motion. This elevation reduces the demand on ankle dorsiflexion—the movement of bringing your toes closer to your shins. When your ankles do not have to bend as deeply, you can achieve a much deeper squat while maintaining a more upright torso. This shift in positioning reduces shear stress on the lower back and places a greater, more direct load on the quadriceps. For calf training, the angled surface allows you to work the muscles through an extended range of motion, leading to better muscle fiber recruitment and more effective isolation.
Setting up your ankle board correctly is the first step toward a safe and productive workout. Always place the board on a completely flat, non-slip surface, such as a heavy-duty rubber gym mat. In Singapore’s warm and humid climate, moisture and sweat can quickly compromise traction, making open-air fitness corners or non-air-conditioned home gyms particularly prone to slipping. Before placing any weight on the board, verify that its surface is dry and clean. If you are using an adjustable metal or wooden ankle board, double-check that the angle-adjustment pegs or locking mechanisms are fully engaged and secure. A sudden collapse of the board under load can lead to severe joint or muscle injuries.
Your choice of footwear plays a critical role in maintaining stability on the angled surface. Flat-soled shoes with minimal cushioning, such as classic lifting shoes or minimalist trainers, are ideal because they provide a solid, predictable base of support. Running shoes with thick, squishy foam midsoles should be avoided, as they can compress unevenly under load and cause your ankles to roll. Training barefoot or in grip socks is also an excellent option, provided the board has a high-traction surface like grip tape or textured rubber. If you choose to train barefoot, ensure your feet are completely dry to prevent slipping during high-effort sets.
Products mentioned in this guide
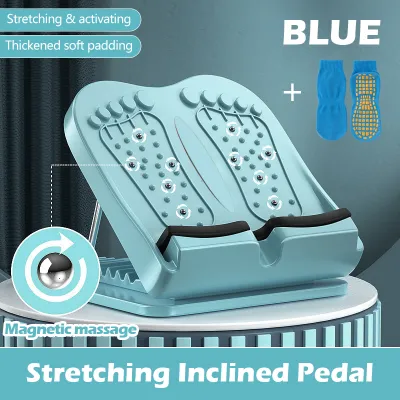
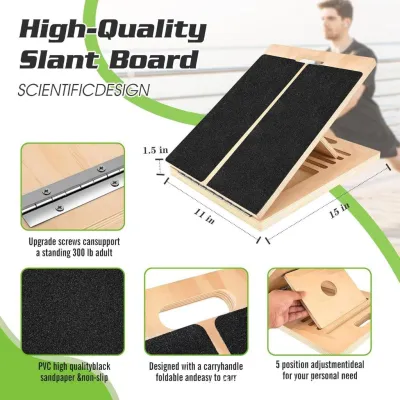
![[Metaverse] Portable Professional Wooden Slant Board Adjustable Foot Incline Board Calf Ankle Stretcher Home Gym](https://img.lazcdn.com/g/p/15635aceeefb6abcdbcf4c041f5f1a56.jpg_400x400q80.jpg_.webp)
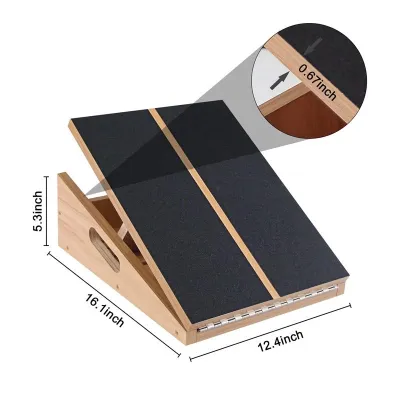
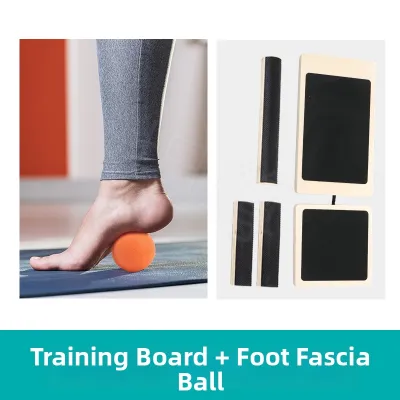
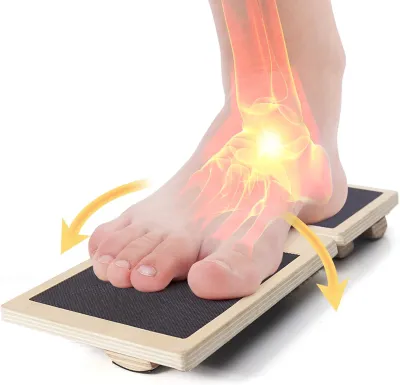
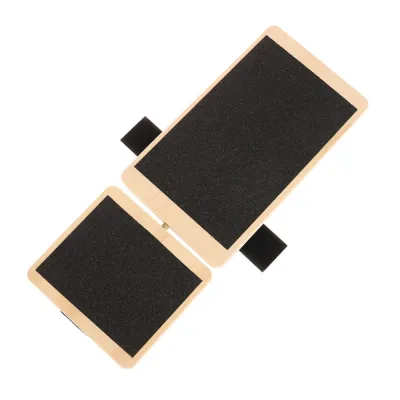
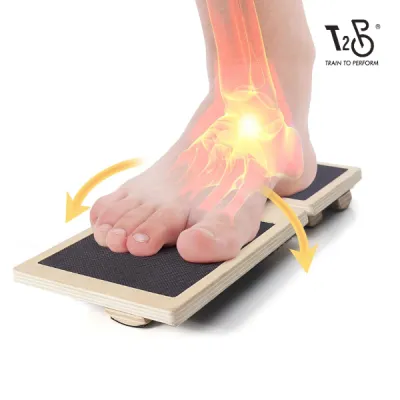
Prices are valid at publication and may change. Please refer to the product page for the latest price.
Step-by-Step Guide to Ankle Board Squats
Performing squats on an ankle board requires deliberate control and precise alignment to maximise quadriceps engagement while protecting your joints. Begin by placing the board at a moderate incline, typically between 15 and 20 degrees. Step onto the board and position your feet shoulder-width apart, ensuring your heels are fully supported by the elevated portion of the wedge. Your toes should point forward or slightly outward, depending on your natural hip anatomy. Before you begin the descent, brace your core deeply as if preparing to take a blow to the stomach, and keep your chest proud and your hands positioned in front of you for balance.
Initiate the movement by bending your knees and pushing your hips slightly back, descending with a slow, controlled tempo. Aim for a three-second descent to keep constant tension on the target muscles. Because the heel elevation reduces the mobility barrier at the ankle, you will find it much easier to drop into a deep squat where your thighs go past parallel to the floor. Throughout the entire descent, focus on keeping your knees tracking directly in line with your second and third toes. Avoid letting your knees cave inward, a common error that places immense stress on the anterior cruciate ligament (ACL) and meniscus.
Once you reach the bottom of the squat, pause for a split second to eliminate momentum. Drive upward by pushing forcefully through the mid-foot and heels, keeping your torso as upright as possible. Avoid shifting your weight onto your toes, which can cause your heels to lift off the board and destabilise your stance. As you return to the starting position, squeeze your quadriceps and glutes at the top, but avoid locking out your knees aggressively. Maintain a smooth, rhythmic tempo for each repetition, ensuring your spine remains neutral from your tailbone to your neck.
For those looking to vary their training, the upright torso position facilitated by the ankle board pairs exceptionally well with front-loaded squat variations. The goblet squat, performed by holding a single dumbbell or kettlebell close to your chest, is an outstanding option for beginners and intermediate lifters alike. It naturally encourages a vertical spine and helps cue proper core engagement. For more advanced lifters, front squats with a barbell resting on the front of the shoulders offer a highly demanding quadriceps-dominant challenge. Whichever variation you choose, remember that the board is meant to assist your movement; if you experience sharp or pinching pain in your knees or lower back, stop immediately and assess your form.
Maximising Calf Growth with Ankle Board Raises
To stimulate meaningful growth in the calf muscles—specifically the gastrocnemius and the deeper soleus—you must train them through their full anatomical range of motion. An ankle board is uniquely suited for this task because the incline allows for a deeper stretch at the bottom of the movement than flat ground can provide. To set up for calf raises, place the board at a steeper angle, around 20 to 30 degrees, depending on your current flexibility. Position the balls of your feet securely on the upper edge of the board, allowing your heels to hang slightly off or rest lower down the slope, depending on the specific design of your wedge.

Begin the exercise by lowering your heels slowly toward the floor, entering a deep, controlled stretch. This eccentric, or lowering, phase should take at least three seconds. When you reach the absolute bottom of the movement, pause for two full seconds. This pause is critical because it dissipates the elastic recoil energy stored in your Achilles tendon, forcing the actual muscle fibers of the calf to do the heavy lifting when you push back up. After the pause, contract your calves powerfully, driving through the balls of your feet to elevate your body as high as possible. Hold this peak contraction at the top for a full second, squeezing the muscles hard before beginning the next descent.
You can perform calf raises using both legs simultaneously to build a solid foundation of strength, or transition to single-leg raises to address strength imbalances between your left and right sides. Single-leg variations are highly effective for athletic development and ankle stability, but they require significantly more balance. To safely incorporate external loads, hold a dumbbell in the hand on the same side as the working leg while using your free hand to lightly touch a wall or squat rack for balance. Alternatively, you can hold a kettlebell or dumbbell in a goblet position. Never sacrifice your range of motion or tempo control just to lift heavier weights.
A common mistake during calf raises is bouncing at the bottom of the movement. When you drop quickly and bounce back up, the Achilles tendon acts like a rubber band, absorbing and releasing the force. While this might allow you to move more weight, it drastically reduces muscle activation in the calves and subjects the Achilles tendon to high, sudden impact forces. Over time, this repetitive stress can lead to micro-tears and painful Achilles tendinopathy. Always prioritize a slow, deliberate tempo over rapid, bouncy repetitions.
Stretching Routines to Improve Ankle Mobility
Beyond active strength training, an ankle board is an exceptional tool for passive and active stretching routines aimed at improving long-term ankle dorsiflexion. To target the gastrocnemius—the large, double-headed muscle that forms the visible bulk of the upper calf—perform a straight-leg calf stretch. Place the ankle board at a moderate angle and step onto it with one foot, keeping your knee completely locked out. Step forward with your other foot to increase the stretch on the trailing leg. You should feel a deep, clean stretch running from the back of your knee down to your lower calf. Hold this position statically for 30 to 45 seconds, breathing deeply to allow the nervous system to relax into the stretch.
To target the soleus, the flatter muscle that lies beneath the gastrocnemius and plays a massive role in ankle mobility, you must perform the stretch with a bent knee. Keep your foot flat on the angled board, but bend your knee forward over your toes while keeping your heel firmly planted. This bend takes the gastrocnemius off tension, shifting the stretch deeper into the lower calf and the Achilles region. Hold this bent-knee stretch for another 30 to 45 seconds. Incorporating both straight-leg and bent-knee variations into your post-workout cool-down ensures you are addressing all components of the calf complex.
For an active warm-up, dynamic mobility drills on the ankle board can help prepare your joints for heavy lifting. One highly effective drill is the controlled ankle rock. Stand on the board with one foot, and slowly push your knee forward past your toes as far as your mobility allows without letting your heel lift. Hold the end-range position for two seconds, then return to the start. Repeat this for 10 to 12 controlled repetitions per side. Another excellent drill is the deep squat hold on the board. Drop into a deep squat and hold the bottom position for 60 seconds, gently shifting your weight from side to side to encourage the ankle joints to open up.
When performing any stretching or mobility work on the ankle board, always respect your body’s physical boundaries. You should only stretch to the point of mild, tolerable tension or a gentle pull. Never push through sharp, stabbing, or pinching pain, especially at the front of the ankle joint, which can indicate joint impingement. If you feel a pinch at the front of your ankle during these stretches, back off the angle immediately and focus on gentler, flat-ground mobility work before returning to the board.
Common Mistakes and Safety Stop Conditions
While the ankle board is a highly beneficial accessory, improper technique can quickly negate its advantages and increase your risk of injury. One of the most frequent mistakes is allowing your heels to lift off the surface of the board during squats. This lifting typically happens when the board’s angle is set too steep for your current level of flexibility, or when the weight you are lifting is too heavy, forcing your body to compensate by shifting forward. If your heels lose contact with the board, you lose the stable base of support, transferring excessive stress onto your patellar tendons. To fix this, lower the angle of the board or reduce the weight until your heels remain firmly planted throughout the entire movement.
Another critical error is allowing your knees to cave inward during either squats or calf raises. This inward collapse, known as knee valgus, is often caused by weak gluteus medius muscles or a lack of conscious movement control. When your knees cave, it alters the tracking of your kneecap and places uneven forces on your knee joints. Always cue yourself to “push the floor away” and keep your knees tracking directly over your toes. If you cannot maintain this alignment, reduce the resistance or perform bodyweight repetitions until your form is flawless.
Lastly, rushing through your exercises and relying on momentum is a recipe for joint strain. Whether you are squatting or performing calf raises, every phase of the movement must be deliberate. Rushing the eccentric phase removes the muscle-building stimulus and places sudden shock loads on your tendons and ligaments.
To ensure your long-term safety, establish clear stop conditions for your training. Cease using the ankle board immediately and consult a qualified healthcare professional, such as a physiotherapist, if you experience any of the following:
- Sharp, sudden, or localized pain in your knees, hips, or lower back.
- A burning sensation or sharp pain in your Achilles tendon during or after calf raises.
- A feeling of instability, clicking, or catching within the ankle or knee joints.
- Swelling or persistent soreness that does not resolve after a few days of rest.
Frequently Asked Questions (FAQ)
Can I use weight plates instead of an ankle board?
While stepping on the edges of standard weight plates can elevate your heels in a pinch, it is a far less stable and consistent option than a dedicated ankle board. Weight plates are round and can easily slide or roll on the gym floor, especially under heavy loads. Furthermore, plates offer a very limited, flat surface area that does not support the entire width and length of your foot, which can lead to foot cramping and instability. An ankle board provides a wide, continuous, and high-traction surface designed specifically to support your entire foot safely at a precise, uniform angle.
Will using an ankle board fix my poor ankle mobility permanently?
An ankle board is an excellent tool to accommodate your current mobility limitations, allowing you to train through a full range of motion safely, but it is not a permanent cure on its own. The board acts as a temporary modification that bypasses your ankle restrictions during squats. To permanently improve your ankle dorsiflexion, you must combine the use of the board with consistent, unassisted mobility drills, soft tissue work on tight calf muscles, and targeted strengthening of the tibialis anterior (the muscle on the front of your shin). Use the board to maintain training intensity while actively working on your mobility limitations outside of your heavy lifting sets.
Community discussion
Share your experience or ask a question. Comments are reviewed before publication.