
Muscle recovery is an essential but frequently overlooked component of a balanced exercise regimen. After completing an intense run or cardio session, your muscles are often left contracted, tight, and fatigued. Incorporating resistance bands fitness techniques into your cool-down routine offers an active, controlled method to restore muscle length, alleviate tension, and accelerate physical recovery. Rather than relying solely on gravity or static floor stretches, using elastic tension allows you to customize the depth of each stretch safely.
The Benefits of Banded Stretching for Muscle Recovery
Static stretching certainly has its place, but it often lacks the progressive support needed when muscles are highly fatigued. Resistance bands provide adjustable, continuous tension that acts as an accommodating force. This means the band supports the weight of your limbs, allowing you to relax into a stretch without straining other muscle groups to hold the position. By reducing the effort required to maintain a stretch, your nervous system can more easily transition into a parasympathetic state, which is crucial for tissue repair.
Furthermore, this targeted tension helps facilitate localized blood flow. When you gently stretch a muscle using a band, you create a mild traction effect in the surrounding joints and connective tissues. As you release the stretch, fresh, oxygenated blood rushes back into the muscle belly. This process aids in flushing out metabolic byproducts accumulated during high-intensity cardio, significantly reducing post-workout stiffness and laying the foundation for long-term flexibility improvements.
Products mentioned in this guide
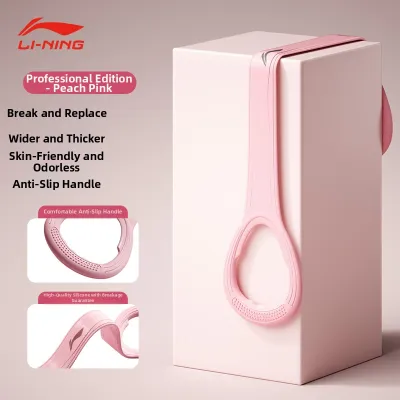
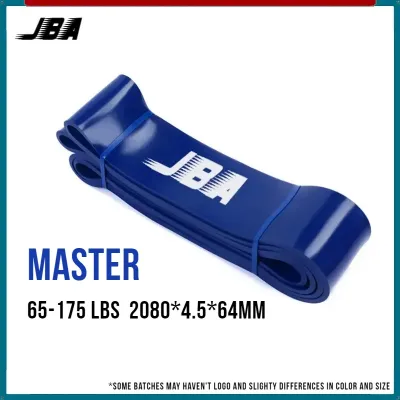
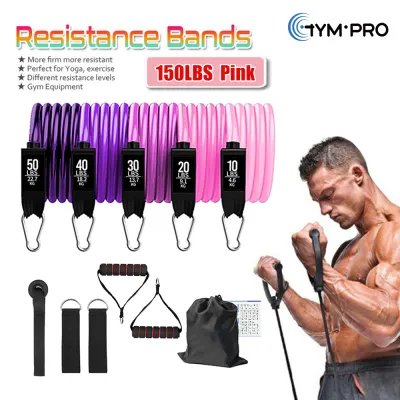
Prices are valid at publication and may change. Please refer to the product page for the latest price.
How to Choose the Right Resistance Bands Fitness Gear for Recovery
Selecting the appropriate equipment is vital because recovery stretching requires a completely different approach than strength training. For stretching and mobility work, your primary goal is to encourage muscle relaxation rather than resistance.

There are three main types of bands you will encounter:
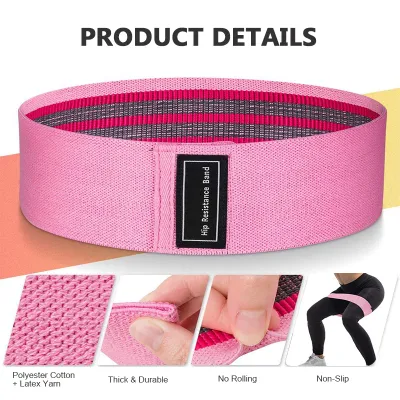
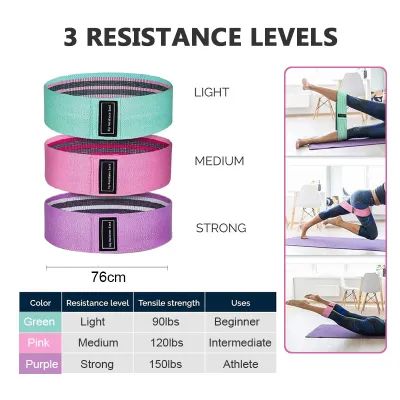
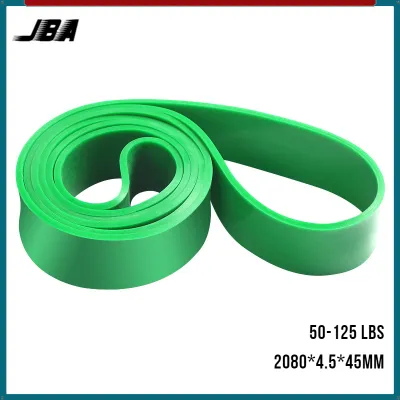
- Flat Loop Bands: These are continuous, wide loops of latex or synthetic rubber. They are highly versatile for lower body recovery because they can easily hook around the arch of your foot or anchor to a sturdy vertical post.
- Therapy Bands: These are thin, open-ended sheets of elastic material without loops or handles. They offer very light, highly customizable tension, making them ideal for delicate shoulder mobility work or gentle hamstring traction.
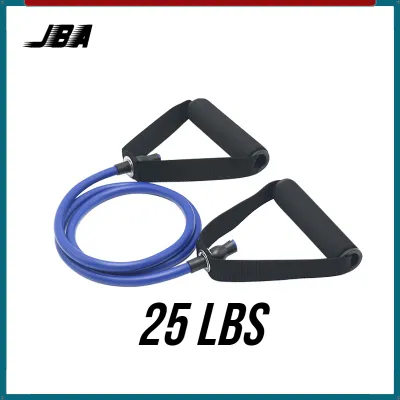
- Tube Bands with Handles: While excellent for resistance training, the plastic handles can make these bands awkward to wrap around your feet or grip closely during passive stretches.
When choosing a band for recovery, always opt for light or extra-light resistance levels. A band that is too heavy will force your muscles to contract to fight the tension, which completely defeats the purpose of a stretching routine.
Before starting any session, perform a quick safety inspection of your gear. Check the band thoroughly for micro-tears, discoloration, or dry spots where the material has lost its elasticity. In warm, humid environments, elastic materials can degrade more rapidly if stored in non-air-conditioned spaces. If you spot any structural compromises, replace the band immediately to prevent it from snapping during a deep stretch.
Step-by-Step Resistance Band Stretches for Post-Workout Recovery
To get the most out of your post-workout recovery, perform these stretches when your muscles are still warm from your workout. Ensure you have a clean, non-slip surface or yoga mat.
Lower Body and Hip Flexibility
Supine Banded Hamstring Stretch This stretch targets the entire back of the leg, helping to relieve tightness in the hamstrings and calves after running.
- Setup: Lie flat on your back on a comfortable mat. Bend your left knee and place your left foot flat on the floor to support your lower back.
- Alignment: Loop the center of a flat loop band or therapy band around the arch of your right foot. Hold one end of the band in each hand.
- Execution: Slowly extend your right leg straight up toward the ceiling. Keep your foot flexed so your toes point toward your shin. Gently pull on the band to guide your leg closer to your chest until you feel a mild, comfortable stretch in the back of your thigh. Keep your hips and tailbone anchored firmly to the floor.
- Timing and Breathing: Hold this position for 20 to 30 seconds while taking slow, deep diaphragmatic breaths. Exhale as you gently deepen the stretch. Slowly lower the leg and repeat on the opposite side.
Banded Hip Flexor Stretch Running and prolonged sitting can leave the hip flexors tight. This stretch uses a band to create joint distraction, allowing for a deeper release.
- Setup: Anchor a strong flat loop band to a sturdy, low post or heavy piece of furniture that will not move. Kneel on your right knee, facing away from the anchor point.
- Alignment: Step your right leg through the loop so the band rests high up on your thigh, just below your glute. Step your left foot forward into a half-kneeling lunge position, with your left knee bent at a 90-degree angle directly over your ankle.
- Execution: Keep your torso upright and your spine neutral. Gently squeeze your right glute and shift your weight slightly forward. The band will pull forward on your rear hip, creating a gentle traction that opens up the anterior hip joint.
- Timing and Breathing: Hold for 20 to 30 seconds, focusing on keeping your chest high and breathing steadily. Slowly back out of the stretch before switching sides.
Banded Calf Stretch Tight calves can lead to ankle stiffness and alter your running gait. This simple seated stretch allows for precise control over the tension.
- Setup: Sit tall on the floor with both legs extended straight out in front of you.
- Alignment: Loop the band around the ball of your right foot, holding the ends of the band firmly with both hands.
- Execution: Keep your leg straight and your spine tall. Gently pull the band toward your torso, flexing your ankle so your toes are drawn back toward your shin. You should feel a deep stretch along the back of your lower leg.
- Timing and Breathing: Hold for 20 to 30 seconds, relaxing your shoulders down away from your ears. Release slowly and repeat on the left leg.
Upper Body and Posture Correction
Banded Shoulder Pass-Throughs This movement helps open up the chest and restore mobility to the shoulder girdle, counteracting the rounded-shoulder posture common in runners and desk workers.
- Setup: Stand with your feet shoulder-width apart, holding a light therapy band or flat loop band in front of your thighs with a wide, overhand grip.
- Alignment: Your hands should be placed significantly wider than shoulder-width apart to start. Keep your spine neutral and your core gently engaged.
- Execution: Keeping your arms straight but not locked, slowly raise the band overhead. Continue the movement, bringing the band all the way down behind your back until it touches your lower back or glutes. If your elbows bend or your shoulders pinch, widen your grip on the band. Slowly reverse the movement to return to the starting position.
- Timing and Breathing: Perform 10 to 12 slow, controlled repetitions. Inhale as you raise the band overhead, and exhale as you bring it down behind you.
Seated Banded Row Stretch This stretch targets the rhomboids, trapezius, and posterior shoulders, helping to relieve upper back tightness.
- Setup: Sit on the floor with your legs extended straight in front of you.
- Alignment: Loop a light band around the soles of your feet. Cross the ends of the band to form an "X" and hold one end in each hand.
- Execution: Extend your arms fully. Instead of pulling the band toward you as you would in a strengthening row, allow the elastic tension of the band to gently pull your arms and shoulders forward. Let your shoulder blades spread wide across your back and tuck your chin slightly toward your chest. Keep your lower spine straight and do not collapse completely forward.
- Timing and Breathing: Hold this passive stretch for 20 to 30 seconds, breathing deeply into the space between your shoulder blades.
Safety Rules and When to Stop Stretching
While using bands for recovery is generally safe, proper technique is essential to prevent injury. First, always avoid ballistic stretching. Bouncing or making sudden, jerky movements while holding a band can trigger the stretch reflex—a protective mechanism that causes the muscle to contract rapidly to prevent tearing. This contraction counteracts the stretch and can lead to acute muscle strains.
It is also crucial to distinguish between a healthy stretching sensation and physical pain. A proper recovery stretch should feel like a dull, warm pull within the muscle belly. If you experience sharp, stabbing pain, joint pinching, numbness, or a tingling sensation, stop the movement immediately. These symptoms often indicate nerve compression or joint impingement rather than muscle tightness.
Additionally, establish clear environmental safety checks. Always inspect the manufacturer’s care instructions for your specific brand of band. Never anchor a band to sharp-edged objects, unstable furniture, or doors that are not securely latched and locked. Ensure your hands and feet are dry before looping the band to prevent it from slipping and snapping back, which can cause painful welts or injuries.
How to Track Your Flexibility and Recovery Progress
Tracking your progress helps verify that your post-workout recovery routine is working. Rather than expecting immediate, dramatic changes, focus on gradual, observable milestones over several weeks.
One effective method is to track simple range-of-motion indicators. For example, note how far down your shins you can reach during a seated forward fold, or observe whether you can maintain a deeper, upright squat position without your heels lifting off the floor. You can also monitor subjective recovery metrics. Pay attention to your level of Delayed Onset Muscle Soreness (DOMS) 24 to 48 hours after an intense workout; consistent banded stretching should help reduce the severity and duration of this soreness.
Remember that structural changes in muscle-tendon length require consistency. Committing to a short, 10-minute banded stretching routine three to four times a week will yield far better results than an hour-long session performed only once a month.
Frequently Asked Questions (FAQ)
Can I use resistance bands for stretching every day?
Yes, you can use resistance bands for light, gentle stretching on a daily basis. Gentle mobility work helps maintain healthy blood circulation and joint range of motion, which is especially beneficial if you spend long hours sitting. However, if you are performing deep, intense stretching sessions aimed at significantly increasing your flexibility, it is best to space them out to every other day to allow your muscle tissues and nervous system time to recover.
Should I use resistance bands before or after a workout?
Resistance bands can be used both before and after a workout, but the execution must match your immediate physical goals. Pre-workout band exercises should be dynamic and low-resistance, focusing on active movements like shoulder circles or lateral band walks to warm up the muscles and prime the nervous system. Post-workout sessions, such as the routine outlined in this guide, should focus on static, long-hold stretches with light tension to help relax fatigued muscles, promote recovery, and restore resting muscle length.
Community discussion
Share your experience or ask a question. Comments are reviewed before publication.