
Wrapping a pull-up bar with high-quality grip tape transforms your home workouts by preventing slippage, reducing hand fatigue, and protecting your palms from painful calluses. In Singapore’s humid climate, sweat can quickly turn a smooth steel or powder-coated bar into a safety hazard, especially during high-intensity movements like chin-ups or hanging leg raises. Properly applying this tape ensures that your grip remains secure even during the most humid afternoon sessions in an HDB flat.
Before beginning the wrapping process, always verify that your pull-up bar is securely mounted to your wall or doorframe. Applying tape to an unstable bar poses a severe fall risk, as the added grip might encourage you to perform more dynamic movements that could dislodge a poorly installed bar. Once you have confirmed the structural integrity of your setup, you can proceed with preparing the surface for the tape.
Preparation and Tools Needed for Wrapping
To achieve a professional-grade wrap that stays firmly in place, you must gather the correct tools before starting. You will need specialized fitness grip tape, a clean microfiber or lint-free cloth, a suitable surface cleaner, and a pair of sharp scissors. Having these items ready prevents interruptions that can lead to uneven tension or adhesive contamination during the application process.
Products mentioned in this guide
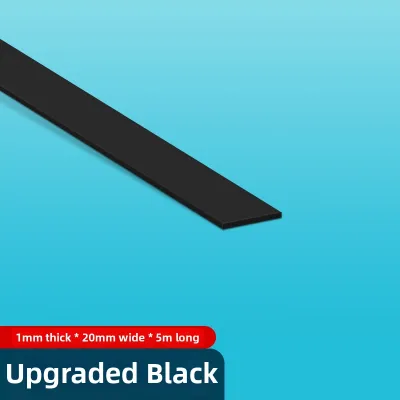
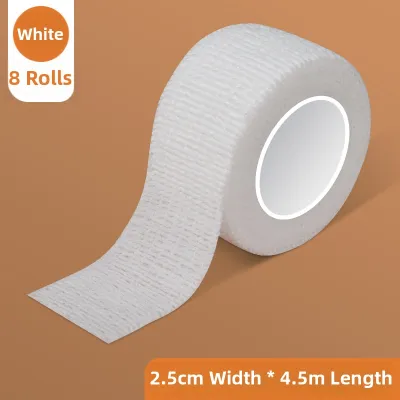
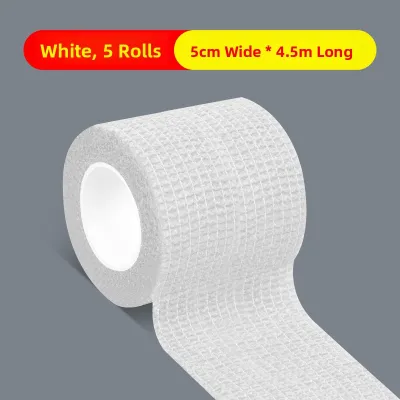
Prices are valid at publication and may change. Please refer to the product page for the latest price.
The cleanliness of the bar’s surface directly determines how well the tape’s adhesive will bond. Sweat, natural skin oils, and leftover chalk residue create a microscopic barrier that prevents proper adhesion, leading to premature peeling. Wipe down the entire bar thoroughly with your cleaning cloth, paying extra attention to the areas where your hands naturally rest.
When choosing a cleaning agent, always consult the manufacturer’s instructions for both your pull-up bar and the grip tape. For standard steel or chrome bars, isopropyl alcohol is highly effective at stripping away oils without leaving a residue. However, if your bar has a specialized powder coating, painted finish, or existing foam grips, certain harsh solvents can degrade the material or ruin the finish.
After cleaning, allow the bar to air dry completely before applying any tape. Trapped moisture beneath the wrap can ruin the adhesive backing and, more importantly, trap humidity against metal surfaces, potentially causing rust over time. A dry, pristine surface is the absolute foundation of a long-lasting grip wrap.
Step-by-Step Guide to Wrapping the Pull-Up Bar
Applying grip tape is a straightforward process, but it requires patience, steady hands, and consistent physical feedback. The goal is to create a uniform, seamless surface that feels like an extension of the bar itself, rather than a bulky afterthought.

While the general approach remains the same, the exact starting point and wrapping direction can vary depending on the specific tape type and your personal grip preferences. By understanding the mechanics of how your hands twist against the bar during exercises, you can customize the wrap to resist peeling under heavy use.
Anchoring the Tape and Starting the Wrap
To begin, identify the outer boundary of your grip area and position the starting edge of the tape. For most standard pull-up bars, starting from the outside and wrapping inward toward the center of the bar is highly effective. This direction aligns the overlaps with the natural outward rotation of your hands when performing standard overhand pull-ups.
Anchor the tape by making one complete, flat revolution around the bar without any diagonal progression. This initial loop must be wrapped tightly against the bare metal or existing coating to establish a secure foundation. If the anchor loop is loose, the entire wrap will eventually slide and bunch up under the twisting force of your hands.
Depending on the product design, you may rely entirely on the tape’s self-adhesive backing or use a small piece of underlying double-sided tape to secure the start. Self-amalgamating silicone tapes do not use traditional adhesives but fuse to themselves, requiring a very tight initial overlap to lock the end in place. Always check the manufacturer’s guidelines to see if an additional adhesive anchor is recommended for your specific tape material.
Applying Tension and Overlapping the Tape
Once the anchor is secure, begin wrapping diagonally across the bar while maintaining consistent, moderate tension. Pulling the tape too hard will overstretch the material, causing it to thin out, lose its cushioning properties, and eventually shrink or tear. Conversely, wrapping too loosely will result in immediate slipping, bunching, and air pockets during your first workout.
As you progress along the bar, overlap each turn by a consistent ratio, typically between one-third and one-half of the tape’s width. This overlap creates a double-layered cushion that enhances comfort while ensuring no bare metal is exposed. Refer to the tape manufacturer’s recommendations, as some thicker padded tapes require a smaller overlap to avoid creating uncomfortable, bulky ridges.
Keep the tape perfectly aligned as you move across the bar, smoothing out any wrinkles or twists with your thumb. If you notice a mistake or a gap, gently unwind the tape back to that point and re-wrap it with corrected tension. Taking your time during this phase prevents the formation of weak spots that wear through quickly under high friction.
Finishing the Wrap and Securing the Edges
When you reach the end of your desired grip area, use sharp scissors to cut the tape cleanly. Cutting the tape at a diagonal angle (tapered cut) allows the final edge to wrap flat and square against the bar, preventing a bulky ridge at the finish line. A straight cut is also acceptable if you plan to cover the entire end with a wide band of finishing tape.
Secure the final edge immediately to prevent it from unraveling. Most specialized grip tapes come with dedicated finishing strips, but high-quality electrical tape works exceptionally well as a substitute. Wrap the finishing tape tightly around the cut end at least twice, ensuring it overlaps both the grip tape and the bare bar to lock the edge down firmly.
To complete the application, run your hands firmly over the entire wrapped section in the direction of the wrap. This action presses out any trapped air bubbles and activates pressure-sensitive adhesives, ensuring maximum contact with the bar. Allow the adhesive to cure according to the manufacturer’s instructions—often a few hours—before subjecting the bar to a full workout.
Common Mistakes to Avoid During Application
The most frequent error when wrapping a pull-up bar is applying the tape over a dirty, dusty, or damp surface. Even a thin layer of chalk dust or sweat will compromise the adhesive, causing the tape to slide off the bar during dynamic movements. Skipping the cleaning step almost guarantees you will have to re-wrap the bar within a few weeks.
Another common pitfall is stretching the tape to its absolute limit in an attempt to cover more surface area with a single roll. Overstretched tape loses its elasticity, meaning it cannot absorb the friction of your hands and will quickly snap back, creating gaps or curling at the edges. If your bar is wide, it is far better to use two rolls of tape rather than compromising the quality of a single wrap.
Finally, avoid inconsistent overlapping, which results in an uneven surface with alternating thick ridges and thin valleys. These uneven spots concentrate friction on specific parts of your palms, leading to faster blister formation and premature wear on the thin sections of the tape. Consistent spacing is key to both comfort and durability.
Maintenance, Inspection, and When to Replace
To maximize the lifespan of your grip tape in Singapore’s humid environment, wipe down the wrapped bar with a slightly damp, clean cloth after every workout. This simple step removes corrosive sweat salts and chalk buildup without soaking the adhesive. Avoid using harsh chemical sprays or soaking the tape, as excess moisture can seep under the edges and degrade the bond.
Regularly inspect the wrapped areas for observable signs of wear and tear. Look for fraying edges, a loss of surface tackiness, thinning in high-friction zones, or peeling at the seams. If you feel the tape shifting or sliding under your hands during a workout, stop using the bar immediately to prevent a sudden loss of grip and potential injury.
When it is time for a replacement, peel off the old tape slowly to avoid leaving excessive residue on the bar. If stubborn adhesive remains, apply a mild adhesive remover or warm, soapy water to clean the surface completely. Ensure the bar is entirely clean, dry, and free of residue before applying your next fresh layer of grip tape.
Frequently Asked Questions (FAQ)
Can I use regular athletic tape instead of specific grip tape?
While regular athletic tape can be used in an emergency, it is not ideal for long-term use on a pull-up bar. Athletic tape is designed primarily for skin application, meaning its adhesive is highly prone to leaving a sticky, messy residue on metal bars when subjected to friction and sweat. Furthermore, athletic tape is much thinner and lacks the specialized texture, durability, and cushioning of purpose-made fitness grip tape, leading to faster wear and less comfort during high-volume workouts.
How long does grip tape typically last on a pull-up bar?
The lifespan of grip tape depends heavily on your training frequency, grip style, sweat levels, and environmental conditions. In a humid indoor environment, a high-quality wrap subjected to moderate use typically lasts between three to six months before showing significant wear. Rather than relying on a strict calendar timeline, use visual and tactile inspections as your guide; if the tape feels slick, looks visibly worn, or begins to peel, it should be replaced immediately to maintain safety.
Community discussion
Share your experience or ask a question. Comments are reviewed before publication.