
Wrapping your hands is the most critical preparation step before slipping on your boxing gloves. This practice compresses the delicate bones, tendons, and ligaments of the hand into a single, cohesive unit, distributing impact forces and preventing joint hyperextension. Proper wrapping ensures that your wrists, knuckles, and thumbs remain securely aligned during heavy bag work, pad drills, or sparring.
While boxing gloves provide external cushioning, they cannot prevent the internal shifting of the hand’s skeletal structure. Learning the correct wrapping technique is a fundamental skill that every beginner must master to train safely, maintain hand health, and punch with confidence.
Why Proper Hand Wrapping Matters for Beginners
The human hand consists of 27 small bones that are highly susceptible to stress fractures and joint misalignment under impact. Boxing hand wraps act as a supportive protective sleeve, binding these fragile structures together to prevent them from colliding or bending awkwardly. By securing the metacarpal bones, wraps dramatically reduce the risk of common injuries such as a “boxer’s fracture.”
Products mentioned in this guide
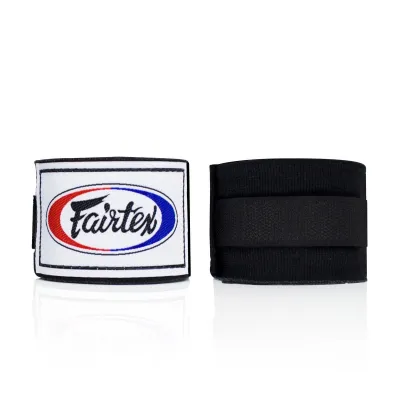
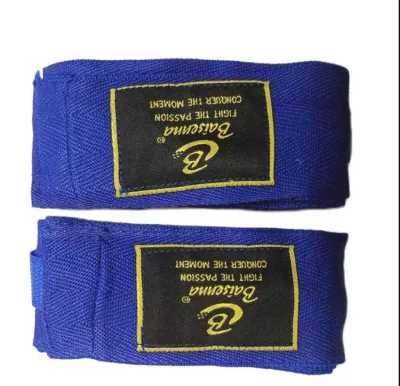
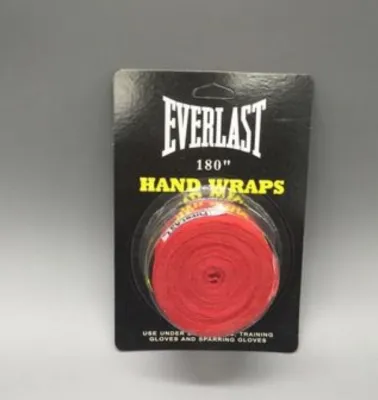
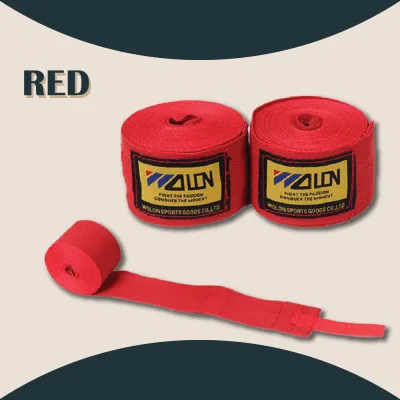
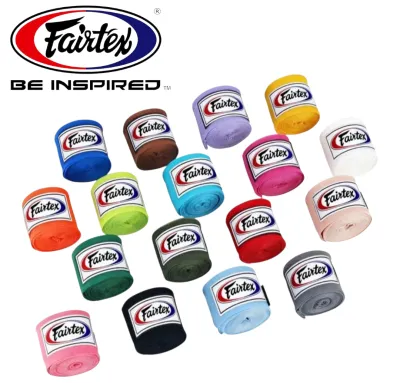
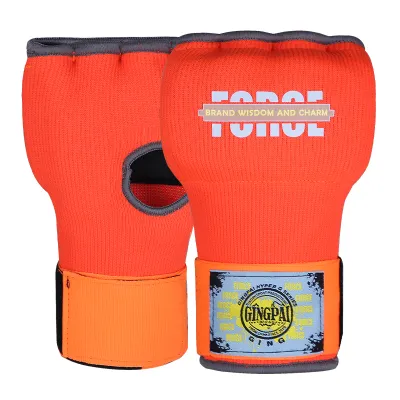
Prices are valid at publication and may change. Please refer to the product page for the latest price.
It is vital to understand that hand wraps and boxing gloves serve entirely different purposes. Gloves are designed to cushion the external impact for both you and your training partner, whereas wraps stabilize the internal structures of your hand and wrist. Wearing gloves without wraps leaves your wrist joints vulnerable to sudden bending and fails to provide adequate knuckle alignment inside the glove cavity.
Safety is the primary boundary when applying hand wraps. A correct wrap should feel snug, supportive, and comfortable, allowing you to form a natural fist without straining. If you experience sharp pain, localized pressure, numbness, or a tingling sensation in your fingers, the wrap is too tight or misaligned. You must remove the wrap immediately and start over to avoid restricting blood circulation or compressing nerves.
What You Need Before You Start
Before beginning the wrapping process, you must select the right gear. Traditional non-elastic cotton wraps offer maximum structure but require precise tensioning. Semi-elastic wraps, often referred to as Mexican-style wraps, blend cotton with spandex fibers; this elasticity allows the material to contour naturally to the unique curves of your hand, making them much easier for beginners to wrap securely.

For adult hands, a length of 180 inches (approximately 4.5 meters) is highly recommended. This length provides sufficient fabric to build a thick protective barrier over your knuckles, secure your thumb, and wrap your wrist multiple times for maximum stability. Shorter wraps, such as 120-inch options, often leave beginners with insufficient material to cover all critical joint zones adequately.
When choosing your wraps, look for three essential physical features that simplify the application process:
- A secure thumb loop: This anchor point keeps the start of the wrap firmly in place.
- Durable hook-and-loop (Velcro) closures: High-quality closures prevent the wrap from unraveling mid-workout.
- A "This Side Down" label: This indicator, printed near the thumb loop, ensures you start wrapping with the correct fabric orientation so the Velcro ends up facing the right way at the finish.
Step-by-Step Guide to Wrapping Your Hands
The wrapping sequence follows a logical progression designed to anchor the wrist, cushion the knuckles, lock the thumb, and secure the entire structure. By following a systematic path, you ensure that every joint receives targeted support without adding unnecessary bulk to the palm, which can prevent you from making a tight fist.
Throughout this process, keep your hand relaxed and your fingers slightly spread. Spreading your fingers prevents you from wrapping the hand too tightly; if you wrap with a clenched or tightly closed hand, the fabric will constrict painfully once you open your hand or impact the bag.
Step 1: Securing the Thumb and Wrist Anchor
Begin by slipping your thumb through the starter loop, ensuring the “This Side Down” or branded label faces directly against your skin. Pull the fabric across the back of your hand toward your wrist. Never pull the wrap across your palm first, as doing so can pull the thumb loop uncomfortably tight against the web of your thumb once you start moving.
Wrap the fabric around your wrist two to three times, depending on your wrist size and the level of support you prefer. Ensure each layer overlaps the previous one by about half its width. The anchor should feel firm and supportive, acting as a rigid splint for your wrist joint, but it must not pinch your skin or restrict blood flow.
Step 2: Building the Knuckle Padding
From the wrist, bring the wrap diagonally across the back of your hand to the outside of your pinky finger. Run the fabric across your knuckles to the index finger, then wrap around the knuckle line three to four times. This builds a thick, cushioned pad directly over your primary striking surface.
Next, guide the wrap diagonally back down the palm to the opposite side of your wrist, creating an “X” pattern across the back of your hand. This cross-hand wrapping technique secures the knuckle pad in place and provides structural support to the metacarpal bones, preventing them from spreading or collapsing upon impact.
Step 3: Locking the Wrist and Thumb Joint
To secure the fingers individually and prevent the knuckle padding from sliding up, you will now weave the wrap between your fingers. Bring the wrap up from the wrist and pass it between your pinky and ring finger, routing it out through the palm and back down to the wrist. Repeat this process for the middle-to-ring finger gap, and finally the index-to-middle finger gap, returning to the wrist after each pass.
Once the fingers are secured, lock the thumb joint to prevent hyperextension. Bring the wrap from the wrist, loop it fully around your thumb once, and then pull it back down across the back of your hand to the wrist. This figure-eight motion anchors the thumb tightly to the rest of the hand structure.
Step 4: Fastening and Final Adjustments
With the remaining length of the wrap, perform a few final rotations around your wrist to reinforce the joint. If you have extra fabric, you can add an additional layer over the knuckles or higher up the wrist. Finish the wrap directly over your wrist joint, aligning the Velcro strip.
Press the hook-and-loop closure down firmly to secure the wrap. Take a moment to smooth out any loose edges, folds, or minor wrinkles along the back of your hand or palm. Ensuring a flat, smooth finish prevents localized friction points that can lead to painful blisters inside your boxing gloves.
Common Mistakes and Safety Boundaries
One of the most common errors beginners make is wrapping their hands too tightly. While a tight wrap feels highly secure initially, the physical exertion of training increases blood flow to your hands, causing them to swell slightly. If the wrap has no give, it will restrict circulation, compress nerves, and cause your hands to cramp or go numb mid-round.
Conversely, wrapping too loosely is equally problematic. A loose wrap will quickly unravel, shift, or bunch up inside your glove as you punch. When the wrap slips, your knuckles lose their padding, and your wrist loses its structural support, greatly increasing the risk of joint sprains or abrasions from the fabric rubbing against your skin.
Wrinkles and folds in the fabric are another frequent hazard. Any folded material acts as a hard ridge under the pressure of a boxing glove, focusing impact energy onto a tiny area of skin. This concentration of friction quickly causes severe blisters and skin tears, which can sideline your training for days.
Always monitor your hands for warning signs during your session. If your fingers begin to feel cold, turn pale, or experience a “pins and needles” sensation, stop training immediately. Unwrap your hands completely, massage your fingers to restore full circulation, and re-wrap with slightly less tension.
How to Check If Your Wraps Are Correct
Before putting on your boxing gloves, perform three quick physical checks to verify that your wraps are safe, functional, and ready for impact:
- The Fist Test: Open your hand fully, then clench it into a tight fist. When your hand is open, the wrap should feel relatively relaxed and comfortable. When you close your fist, the wrap should tighten up instantly, feeling solid, firm, and supportive over your knuckles and wrist.
- The Wrist Mobility Check: Attempt to bend your wrist forward and backward. You should feel a high degree of resistance. If your wrist bends easily or flops in either direction, the anchor wraps are too loose or positioned too low on the forearm to provide effective stabilization.
- The Finger Wiggle Test: Wiggle all five fingers vigorously. You should have full movement, and your fingertips should retain their natural color and temperature. If your fingers feel stiff, cold, or restricted, the finger weaves or wrist wraps are constricting your circulation.
Caring for Your Boxing Hand Wraps
Proper maintenance of your hand wraps is essential for personal hygiene and extending the lifespan of your gear. Because wraps absorb a significant amount of sweat during training, leaving them damp inside a dark gym bag creates an ideal breeding ground for bacteria and mold. In warm, humid environments like Singapore, this can lead to severe odors and skin irritation.
Wash your wraps regularly—ideally after every training session. To prevent the long fabric strips from tangling, twisting, or damaging other clothing in the washing machine, place them inside a mesh laundry bag before running a gentle cycle with mild detergent. Avoid using harsh bleach or fabric softeners, which can degrade the elastic fibers over time.
Always air-dry your wraps by hanging them up in a well-ventilated area away from direct, intense sunlight. Do not put semi-elastic wraps in a clothes dryer, as high heat can break down the spandex components, causing the wraps to lose their stretch and supportive qualities. Once completely dry, roll the wraps tightly starting from the Velcro end; this keeps them organized, wrinkle-free, and ready for quick application at your next workout.
Frequently Asked Questions (FAQ)
Selecting and maintaining the right combat sports gear can raise several practical questions for beginners. Below are answers to common queries regarding wrap sizes and usage across different disciplines.
Should I choose 120-inch or 180-inch boxing hand wraps?
For the vast majority of adults, 180-inch hand wraps are the standard and safest choice. This length provides enough material to thoroughly protect the wrist, thumb, and knuckles while allowing for supportive finger weaves. You should only opt for 120-inch wraps if you have exceptionally small hands, or if you are wrapping under highly compact MMA gloves where excess bulk would prevent your hand from fitting inside the glove.
Do I need to wear hand wraps under MMA or sparring gloves?
Yes, you should always wear hand wraps under sparring and boxing gloves when performing any high-impact striking drills or bag work. The wraps provide critical joint stabilization that gloves alone cannot offer. While you might use thinner hand wraps or specialized quick-wraps under MMA gloves to accommodate grappling and grip transitions, maintaining wrist and knuckle support remains essential whenever punching forces are involved.
Community discussion
Share your experience or ask a question. Comments are reviewed before publication.