
Wrapping your hands is the most critical preparatory step before you slip on your boxing gloves. It is not just a ritual; it is a structural necessity designed to protect the delicate bones in your hand, secure your wrist joint, and cushion your knuckles from repetitive impact. Whether you are training on a heavy bag, working focus mitts, or stepping into the ring for light sparring, a proper wrap transforms your hand into a solid, cohesive unit capable of absorbing and distributing force safely.
Before you begin, it is vital to understand that even the best boxing wrap cannot compensate for poor punching technique, lack of physical conditioning, or improper training. If you are new to the sport, always seek guidance from a qualified coach to learn how to align your wrist and knuckles correctly upon impact. If you experience sharp pain, numbness, or swelling during or after training, stop immediately and consult a medical professional. Equipment is designed to support your body, but it cannot replace proper form and sound athletic judgment.
Why Proper Hand Wrapping Matters in Boxing
Many beginners assume that boxing gloves provide all the protection their hands need. In reality, gloves and hand wraps serve two entirely different, complementary purposes. While boxing gloves are designed to cushion the external impact for both you and your training partner, hand wraps secure the internal structure of your hand. They bind your fingers, knuckles, and wrists together, preventing the individual bones from shifting or collapsing under pressure.
Products mentioned in this guide
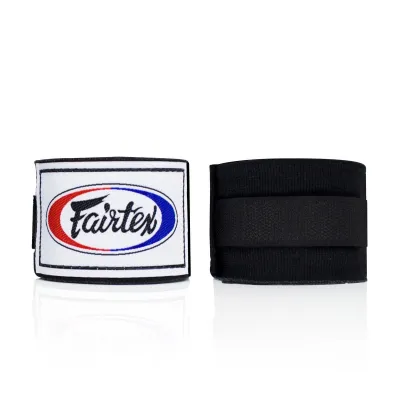
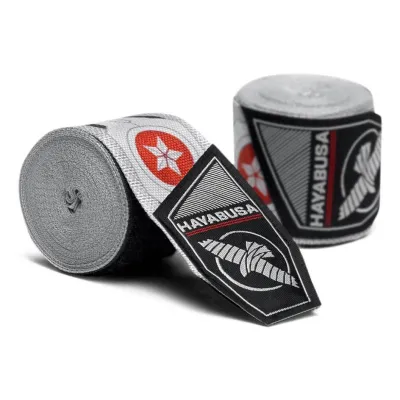
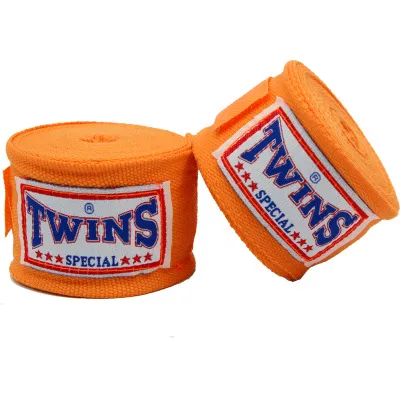
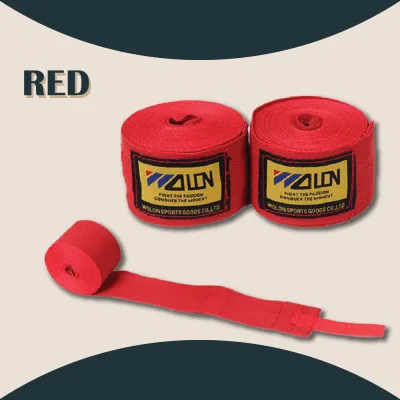
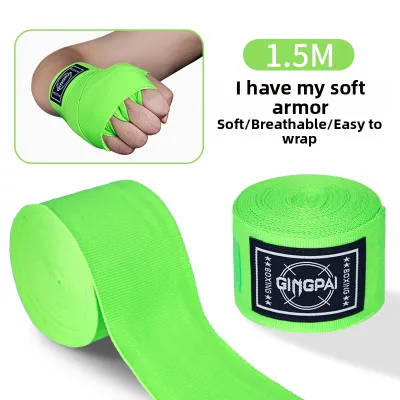
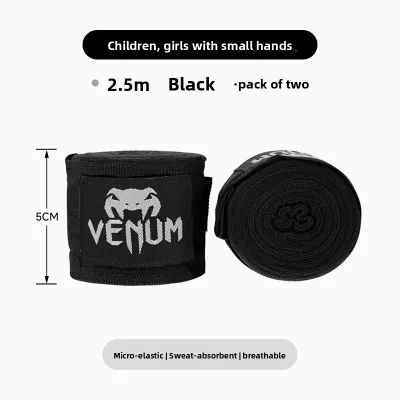
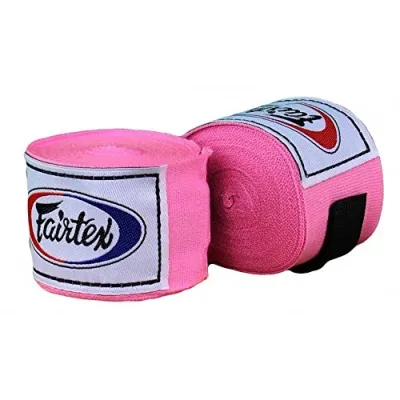

Prices are valid at publication and may change. Please refer to the product page for the latest price.
Your hand contains 27 small bones, many of which are highly vulnerable to injury when subjected to sudden, heavy forces. When you land a punch, the impact travels back through your knuckles and into your wrist. Without a wrap, these bones can easily compress or rub against each other, leading to painful sprains, joint damage, or fractures. Wrapping your hands stabilizes the wrist joint and aligns the metacarpals, ensuring that the force of each blow is distributed evenly across the entire hand structure.
Furthermore, wraps provide a crucial protective layer for your knuckles, preventing painful skin scrapes, bruising, and friction burns. By filling the empty spaces inside your boxing gloves, wraps also ensure a snug, custom fit. This tight fit prevents your hand from sliding around inside the glove, which is a common cause of wrist sprains and knuckle blisters during intense training sessions.
Choosing the Right Boxing Wraps for Your Training
Selecting the right hand wraps depends on your hand size, training intensity, and personal comfort preferences. Hand wraps generally come in two standard lengths: 120 inches (approximately 3 meters) and 180 inches (approximately 4.5 meters). For most adults, the 180-inch wrap is highly recommended because it provides enough material to thoroughly protect the wrist, knuckles, and individual fingers. The shorter 120-inch wraps are typically best suited for juniors, individuals with exceptionally small hands, or quick, light speed-bag sessions where heavy impact protection is not the primary focus.

In terms of material, you will generally choose between traditional rigid cotton wraps and semi-elastic blends, often referred to as Mexican-style wraps. Traditional cotton wraps are thick, durable, and offer maximum rigidity, but they require precise wrapping to avoid bunching. Semi-elastic wraps, made from a blend of nylon and cotton, stretch slightly to conform to the unique contours of your hand. This elasticity makes them highly forgiving for beginners, as they maintain consistent tension without restricting blood flow.
In warm and humid climates, such as Singapore, breathable semi-elastic wraps are particularly popular because they dry quickly and feel less heavy during intense, sweaty gym sessions. When it comes to closures, hook-and-loop (Velcro) fasteners are the standard for daily training because they allow you to secure and adjust the wraps easily without assistance. Tie closures are generally reserved for professional competition and require a trainer to tape and tie them for you.
Preparation Before You Start Wrapping
Proper preparation ensures your wraps stay secure and comfortable throughout your entire workout. Start by making sure your hands are clean and completely dry. Trapping moisture beneath tight wraps in a warm gym environment can quickly lead to skin chafing, blisters, or unpleasant bacterial growth. If you have any minor cuts or abrasions, clean and cover them with a small adhesive bandage before you begin wrapping.
Next, unroll your hand wrap completely. Locate the thumb loop at one end and the Velcro fastener at the other. Lay the wrap flat to ensure there are no twists or folds in the fabric. Most modern wraps feature a small print or label near the thumb loop that reads “this side down” or “this side up.” Paying attention to this label ensures that when you reach the end of the wrap, the Velcro closure will face the correct direction to fasten securely.
To begin, hold your hand in a active, neutral position. Spread your fingers slightly apart and keep your wrist straight. Do not wrap your hands with your fingers pressed tightly together; doing so will cause the wrap to become painfully tight and restrictive when you make a fist during training. Keeping your fingers slightly spread allows the wrap to expand and contract naturally with your hand movements.
Step-by-Step Hand Wrapping Technique
This classic wrapping method focuses on creating a balanced, protective structure that supports the wrist, cushions the knuckles, and secures the thumb. The key to a successful wrap is maintaining consistent, moderate tension. The wrap should feel snug and supportive, like a firm second skin, but it should never pinch, pull, or restrict your circulation.
Anchoring the Thumb and Securing the Wrist
Begin by slipping the thumb loop over your thumb, ensuring that the “this side down” label is facing your skin. Pull the wrap across the back of your hand, rather than across your palm. Wrapping across the back of the hand is a crucial safety detail; it anchors the wrap against the thumb’s natural joint, preventing the fabric from pulling your thumb down into an awkward, injury-prone position when you punch.
Bring the wrap down to your wrist and make three complete, snug passes around the joint. Keep your wrist in a straight, neutral position as you do this. These initial passes establish a strong, stable foundation, preventing your wrist from bending backward or sideways upon impact. Ensure the wrap sits flat against your skin without any folds or wrinkles.
Protecting the Knuckles and Crossing the Palm
From the inside of your wrist, bring the wrap diagonally up across the back of your hand to the outer edge of your pinky knuckle. Wrap across the front of your knuckles three to four times, creating a thick, cushioned pad over your primary striking area. Keep your fingers slightly spread during this step to ensure the wrap does not bind your knuckles too tightly.
After securing the knuckles, bring the wrap diagonally down across the back of your hand toward the opposite side of your wrist, forming an “X” pattern. This diagonal cross provides structural support to the metacarpal bones. Next, bring the wrap up between your pinky and ring finger, routing it back down through your palm and around your wrist. Repeat this process between your ring and middle fingers, and finally between your middle and index fingers.
Weaving the wrap between your fingers keeps the knuckles separated and prevents them from collapsing together when you make a fist. After the final finger pass, bring the wrap around your knuckles once more to secure the finger weaves in place, then run the wrap diagonally back down to your wrist.
Locking the Wrist and Finishing the Wrap
With the remaining length of the wrap, make final supportive passes around your wrist. If you have extra material, you can make an additional diagonal pass around your thumb to secure the thumb joint further, but ensure it does not restrict your ability to form a natural fist.
Bring the wrap back to your wrist to finish. Fasten the hook-and-loop closure securely around the wrist joint. The closure should sit flat on your wrist, not on your hand or forearm. Double-check that the end is smooth and that there are no bulky pressure points that could rub uncomfortably against the stiff interior of your boxing gloves.
Checking the Fit: Is Your Wrap Too Tight or Too Loose?
Before you put on your boxing gloves, you must verify that your wraps are fitted correctly. The easiest way to do this is by performing the “fist test.” Open your hand completely; the wrap should feel snug but comfortable, allowing you to extend your fingers fully without resistance. Now, close your hand into a tight fist. The wrap should instantly tighten up, forming a rigid, solid structure that supports your knuckles and locks your wrist in place.
If your fingers begin to tingle, feel cold, or turn pale, your wrap is too tight. This restricts blood flow and can cause severe hand cramping or nerve irritation during training. If you notice any of these signs, unwrap your hand immediately, massage your fingers to restore circulation, and re-wrap with lighter, more moderate tension.
Conversely, if the wrap feels loose, shifts when you move your hand, or bunches up inside your glove, it will not provide adequate protection. A loose wrap allows the bones in your hand to rub together and fail to support your wrist, increasing the risk of sprains. If the fabric feels slack, take the time to unwrap and start over; proper protection is always worth the extra few minutes.
Common Hand Wrapping Mistakes and How to Fix Them
Learning to wrap your hands perfectly takes practice, and beginners often make a few common mistakes. One of the most frequent errors is wrapping too tightly, which quickly leads to hand fatigue and cramping. Remember that the wrap should only become truly tight when you actively clench your fist. Focus on keeping a relaxed hand and applying gentle, even tension as you wrap.
Another common mistake is failing to support the wrist joint adequately. Beginners often focus all their attention on padding the knuckles, leaving the wrist thin and unstable. Your wrist is highly vulnerable to hyperextension when punching a heavy bag. Ensure you make at least three solid passes around the wrist at the start and finish of your wrapping routine to lock the joint in place.
Creating wrinkles or folds in the fabric is another issue that can disrupt your training. Wrinkles act as localized pressure points inside your glove, leading to painful blisters, friction burns, or skin tears. To fix this, always pull the wrap flat and smooth out any twists as you go. If your wraps are badly creased from a previous wash, iron them on a low heat setting or roll them tightly before use to smooth out the fabric.
Finally, avoid placing the Velcro closure over your knuckles or the back of your hand. The hard plastic and stiff fabric of the fastener can cause bruising and discomfort when compressed inside a tight boxing glove. Always ensure your wrap is long enough so that the final fastening step lands squarely on your wrist.
Cleaning and Maintaining Your Boxing Wraps
Proper maintenance of your hand wraps is essential for hygiene, comfort, and longevity. After a hard training session, your wraps will be damp with sweat. Never leave crumpled, wet wraps inside your gym bag. In humid environments, this creates a perfect breeding ground for bacteria and mold, resulting in a sour, persistent odor that is incredibly difficult to wash out.
As soon as you finish training, unwrap your hands and hang the wraps up to air-dry in a well-ventilated area. Once they are dry, roll them up starting from the Velcro end. Rolling your wraps keeps them organized, prevents them from creasing, and ensures they are ready for quick application at your next training session.
When it is time to wash your wraps, always use a mesh laundry bag. If you throw loose wraps directly into the washing machine, they will inevitably tangle around other clothing or the machine’s agitator, stretching the fabric and creating a massive knot. Wash them in cold water with a mild detergent. Avoid using high heat in the dryer, as this can degrade the elastic fibers and cause significant shrinkage; instead, hang them to air-dry completely.
Frequently Asked Questions (FAQ)
How long should standard boxing wraps be for an adult?
For most adults, 180-inch (approximately 4.5 meters) wraps are the standard recommendation. This length provides sufficient material to cover the wrist, knuckles, palm, and individual fingers thoroughly, ensuring optimal structural support. Shorter 120-inch wraps are generally reserved for youth, individuals with very small hands, or quick, low-impact workouts where extensive finger weaving is not required.
Should I wear hand wraps under MMA or grappling gloves?
Traditional 180-inch boxing wraps are usually too bulky to fit comfortably under tight, open-finger MMA or grappling gloves. For MMA training, it is best to use shorter wraps (around 120 inches) or specialized inner glove wraps. These alternatives provide essential wrist support and light knuckle protection without adding excessive bulk, allowing your hand to close naturally around grappling opponents or training gear.
Community discussion
Share your experience or ask a question. Comments are reviewed before publication.