
Safeguarding your hands is the most critical preparatory step before throwing a single punch. The human hand is a complex structure of 27 small bones, delicate tendons, and sensitive joints. When you strike a heavy bag, pads, or an opponent, the impact force travels directly up your hand and wrist. Without proper structural support, these bones can easily compress, splay, or fracture, and your wrist can hyperflex or hyperextend under the load.
Many beginners mistakenly believe that boxing wraps are meant to cushion the impact of a punch. In reality, that is the job of your boxing gloves. The primary purpose of a boxing wrap is to bind your hand into a rigid, cohesive unit, securing the loose joints and moveable bones so they do not shift upon impact. Wrapping your hands correctly is an essential skill that protects your career, your hobbies, and your physical health.
While high-quality equipment is vital, no wrap or glove can compensate for poor punching technique or lack of training. If you are new to the sport, always combine proper protective gear with technical guidance from a certified coach to ensure you are striking safely.
Products mentioned in this guide
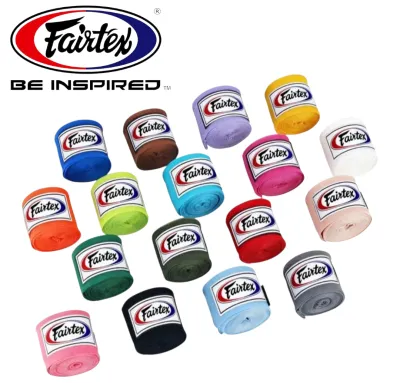
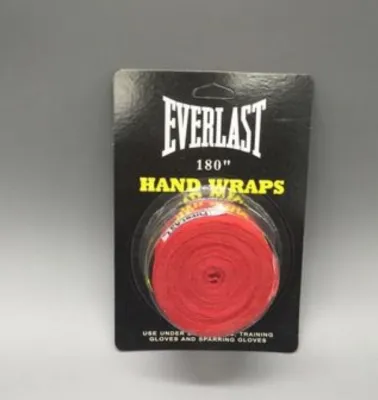
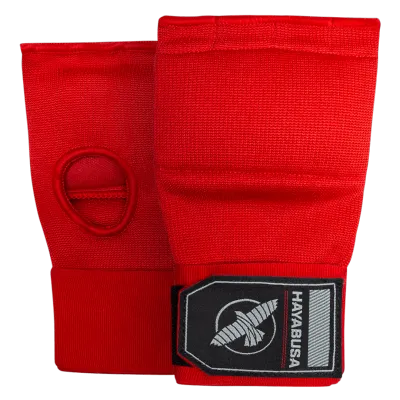
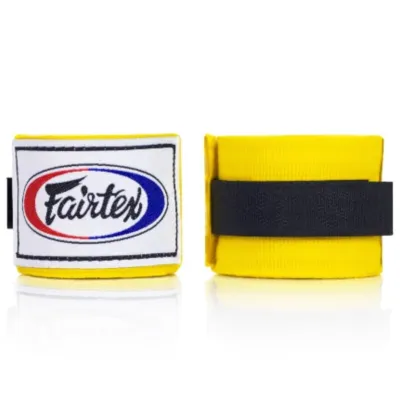
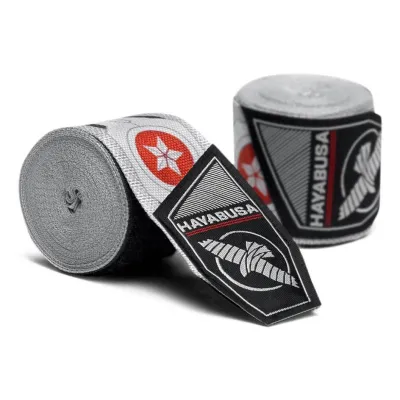
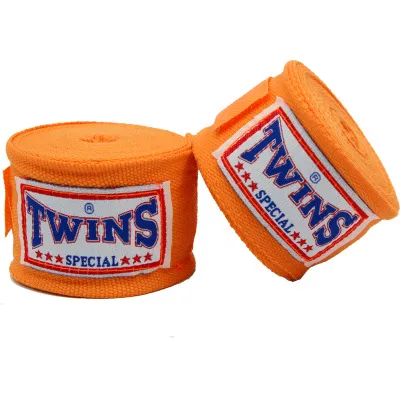
![[SG FREE ] 1Pair 1.5M/3M/5M Boxing Bandages Sports Sanda Muay Thai Training Self-Adhesive Micro Elastic Binding Hand Sp](https://img.lazcdn.com/g/p/2afe27758a20a73d23525f0abd1ee35e.jpg_400x400q80.jpg_.webp)
Prices are valid at publication and may change. Please refer to the product page for the latest price.
Why Hand Wrapping Matters for Boxing
During a punch, the force of impact concentrated on your knuckles can easily exceed your body weight. Proper hand wrapping stabilizes the wrist joint, secures the thumb, and provides a protective, binding layer over the metacarpals. By wrapping the hand, you compress the bones together, preventing them from rubbing against each other or collapsing inward when you land a blow.
This structural binding helps mitigate several common sports injuries. The most notable of these is the ‘boxer’s fracture’—a break in the neck of the fifth metacarpal bone, near the pinky knuckle—which typically occurs when the hand strikes a hard surface without adequate support. Wrapping also prevents painful wrist sprains by restricting excessive lateral or vertical bending of the wrist joint during off-center impacts.
It is important to understand the safety boundaries of your protective gear. Hand wraps offer structural reinforcement, but they do not absorb impact. That task belongs exclusively to the dense foam padding of a well-fitted boxing glove. Using wraps alone without gloves on a hard surface is highly dangerous and can lead to severe joint damage, skin tears, and bone fractures.
Knowing when to wrap is simple: wraps are mandatory for any activity involving impact, including heavy bag work, focus mitt training, and sparring. While you can opt to skip wraps during light shadow boxing to focus on hand speed and relaxation, wearing them even then can help build shoulder endurance and familiarize your hands with the weight and feel of your full gear setup.
Choosing the Right Boxing Wraps and Preparing
Selecting the right boxing wrap depends on your hand size, your training intensity, and your local climate. In warm, humid environments like Singapore, choosing a breathable material and caring for it properly is essential to maintain hygiene and prevent fabric degradation.

- Traditional Cotton Wraps: These are thick, durable, and offer a highly rigid, cast-like feel. Because they do not stretch, they provide excellent bone stabilization. However, they require precise wrapping technique; if you pull them too tight, they will not give, which can easily cut off your circulation.
- Elastic or Mexican-Style Wraps: Made from a blend of cotton and spandex, these wraps are highly popular among both beginners and professionals. They conform closely to the contours of your hand and stretch slightly as you move, making them much more forgiving and easier to apply with consistent tension.
- Quick Gel Wraps or Inner Gloves: These are slip-on gloves featuring integrated gel padding over the knuckles and a short wrist strap. While highly convenient for quick transitions in fitness classes, they do not provide customizable joint support for individual fingers or the thumb, making them less suitable for heavy, high-impact boxing sessions.
For most adults, a standard wrap length of 180 inches (approximately 4.5 meters) is highly recommended. This length provides enough material to cover the wrist, thumb, knuckles, and the spaces between your fingers. If you have exceptionally small hands, or if you are wrapping a child’s hands, a 120-inch wrap may be more appropriate to prevent excess bulk that could make fitting your hand into a glove difficult.
Before you begin wrapping, prepare your wrap to ensure a smooth application. Unroll the fabric completely and check for any twists or folds. Locate the thumb loop at one end and identify which side must face down against your skin. Most wraps feature a ‘This Side Down’ stamp near the loop; if yours does not, look at the Velcro closure at the opposite end to ensure it will face the correct way to fasten when you finish.
Step-by-Step Guide to Wrapping Your Hands
Wrapping your hands is a systematic process that requires patience and practice. The goal is to create a secure, comfortable fit that supports your joints without restricting your hand’s natural movement inside the glove.
Before starting, keep your hand in a relaxed posture with your fingers spread slightly apart. Keeping your fingers spread during the wrapping process is crucial; if you wrap your hands with your fingers pressed tightly together, the wrap will become painfully tight and restrict your blood flow the moment you try to make a fist or open your hand inside your glove.
Securing the Wrist and Thumb
The wrist and thumb form the foundation of your hand’s structure. Properly securing these areas prevents the wrist from buckling and anchors the thumb to keep it from catching on the glove lining.
- Loop the Thumb: Place your thumb through the starter loop, ensuring the designated underside of the wrap is resting flat against the back of your hand.
- Anchor the Wrist: Pull the wrap straight down across the back of your wrist. Do not wrap across your palm first, as this can cause the wrap to pull loose later. Wrap around your wrist joint 3 times, ensuring the fabric covers the lower part of your hand and the upper forearm to create a rigid, supportive base.
- Secure the Thumb: Run the wrap diagonally across the back of your hand up to the base of your thumb. Wrap around the thumb joint once, wrapping in a direction that pulls the thumb down and slightly inward toward your palm. Run the wrap back across the back of your hand to the wrist to anchor the thumb in place.
Protecting the Knuckles and Palm
Once the wrist and thumb are stabilized, you must build a protective shield over your knuckles and secure the palm to maintain a solid grip.
- Wrap the Knuckles: From the wrist, bring the wrap diagonally up across the back of your hand to your pinky knuckle. Wrap around your knuckles 3 to 4 times, keeping your fingers spread. Ensure the wrap covers the main striking joints fully, extending slightly past the first joint of your fingers.
- Create the Finger Anchors: Bring the wrap down across your palm to the wrist. From the wrist, route the wrap up between your pinky and ring finger, pull it through, and run it back down to the wrist. Repeat this process between your ring and middle finger, and finally between your middle and index finger. These anchors keep the knuckle wraps from sliding up your hand during training.
- Secure the Palm: After completing the final finger loop, run the wrap across your knuckles once more to bind the finger loops flat. Ensure the palm remains relatively free of thick, bulky knots so you can still squeeze the grip bar inside your boxing glove comfortably.
Finishing and Securing the Wrap
The final steps involve using your remaining wrap length to reinforce your joints and fasten the wrap securely.
- Distribute Remaining Length: Run the wrap back down to your wrist. If you have extra length, use it to add 1 or 2 more supportive turns around your wrist or across the back of your hand, depending on where you feel you need the most stability.
- Fasten the Velcro: Secure the Velcro closure firmly around your wrist joint. Never fasten the Velcro over the back of your hand, as the hard material can dig into your skin, restrict your hand's flexibility, and easily peel open inside your glove.
- Inspect the Wrap: Turn your hand over and look at your palm. The wrap should sit flat without any loose, hanging loops or thick, uneven lumps. Squeeze your hand into a fist to ensure your knuckles are fully covered and the wrist feels completely supported.
How to Check if Your Wraps Are Too Tight or Too Loose
Finding the perfect tension takes practice. A wrap that is too tight can cause nerve irritation and restrict blood flow, while a loose wrap offers no protection and can cause painful friction blisters inside your glove.
To verify your wrapping tension, use the Fist Test. Open your hand completely; the wrap should feel snug but comfortable, allowing you to straighten your fingers fully without resistance. Now, close your hand into a tight fist. The wrap should tighten up instantly, binding your knuckles and wrist into a solid, unyielding unit. If the wrap feels loose or shifts when you make a fist, it is too loose and must be reapplied.
Pay close attention to physical warning signs during your workout. If you experience numbness, tingling, a throbbing sensation, or if your fingertips begin to turn pale or cold, your wraps are too tight. If this happens, stop training immediately, unwrap your hands, and rewrap them with lighter tension. Ignoring these warning signs can lead to temporary nerve damage or severe cramping.
Avoid these common wrapping mistakes to ensure your safety:
- Leaving the Wrist Free: Wrapping too far up the forearm or too low on the hand leaves the actual wrist joint unsupported, defeating the purpose of the wrap.
- Wrapping Over the Thumb Tip: Covering the tip of your thumb makes it impossible to grip properly and can cause the wrap to unravel inside your glove.
- Creating Creases and Lumps: Wrinkles in the fabric concentrate the impact force on a single spot, which can lead to severe bruising and skin irritation.
Caring for Your Hand Wraps After Training
Proper maintenance extends the lifespan of your wraps and is essential for hygiene. Sweaty, unwashed wraps are a breeding ground for bacteria and fungi, which can cause skin infections and produce highly unpleasant odors.
In Singapore’s warm and humid climate, never leave damp wraps balled up inside your gym bag after a workout. Unroll them immediately when you return home to allow the sweat to evaporate. Hanging them up to air out briefly before washing prevents mold from developing in the fabric fibers.
When washing your wraps, follow these care steps to preserve their elasticity and shape:
- Use a Laundry Bag: Always place your wraps inside a mesh laundry bag before putting them in the washing machine. If you wash them loose, they will inevitably tangle around the machine's agitator or other clothing, creating tight knots that can stretch out the fabric and damage the Velcro.
- Wash Gently: Use a gentle cycle with cold water and a mild detergent. Avoid harsh bleaches or fabric softeners, which can break down the elastic fibers in Mexican-style wraps.
- Air Dry Only: Hang your wraps over a drying rack or clothesline to air dry. Do not put them in a high-heat tumble dryer, as extreme heat will shrink traditional cotton wraps and ruin the elasticity of spandex blends. Avoid leaving them in direct, harsh midday sunlight for extended periods, as UV rays can degrade the fabric over time.
- Store Properly: Once the wraps are completely dry, roll them up tightly starting from the Velcro end. This ensures that the thumb loop is on the outside, leaving them perfectly organized and ready for quick application at your next training session.
Frequently Asked Questions (FAQ)
Can I use hand wraps without boxing gloves?
No, you should never hit a heavy bag, pads, or spar using only hand wraps. Hand wraps are designed to compress and stabilize the bones and joints of your hand to prevent them from shifting. They do not contain the thick, shock-absorbing foam padding required to disperse the force of an impact. Punching hard surfaces with only wraps can lead to severe skin abrasions, joint bruising, and bone fractures. Always wear a pair of properly padded boxing gloves over your wraps for any impact training.
How often should I replace my boxing wraps?
You should replace your boxing wraps as soon as they show signs of structural wear. Key indicators include a loss of elasticity where the fabric no longer conforms snugly to your hand, fraying edges, torn thumb loops, or Velcro that no longer fastens securely. Additionally, if your wraps develop a persistent, sour odor that remains even after a thorough wash, it is a sign that bacteria have settled deep into the fibers, and it is time to replace them. For individuals training three to four times a week, a pair of wraps typically lasts between three to six months.
Community discussion
Share your experience or ask a question. Comments are reviewed before publication.