
Why Proper Hand Wrapping Matters Before Training
When you strike a heavy bag, focus mitts, or step into the ring for sparring, your hand is subjected to immense impact forces. The human hand consists of 27 small bones, numerous ligaments, and delicate joints that are not naturally designed to absorb repeated high-velocity impacts. Wrapping your hands before putting on boxing gloves is the most critical preventative step you can take to protect these structures from acute trauma and chronic wear.
The primary biomechanical purpose of a boxing wrap is to bind the loose bones and joints of the hand together, creating a single, cohesive unit. By securing the metacarpal bones and stabilizing the wrist joint, the wrap helps distribute the shock of a blow across the entire hand rather than concentrating it on a single vulnerable point. This structural alignment is essential for preventing common injuries such as wrist sprains, hyperextensions, and the painful fractures of the hand bones often referred to as “boxer’s fractures.”
It is a common misconception among beginners that boxing gloves alone provide sufficient protection. While gloves offer essential external padding to cushion the impact for both you and your training partner, they do not prevent the internal bones of your hand from shifting upon impact. Hand wraps fill the empty spaces inside the glove, offering structural support from the inside out. Skipping this step significantly increases your vulnerability to joint instability, even during light pad work.
Products mentioned in this guide
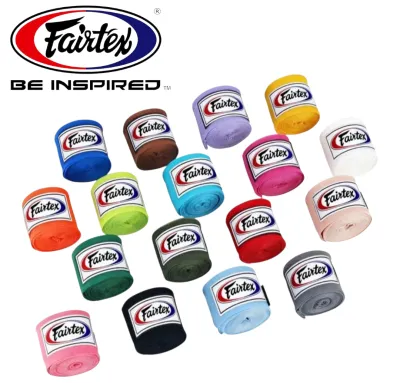
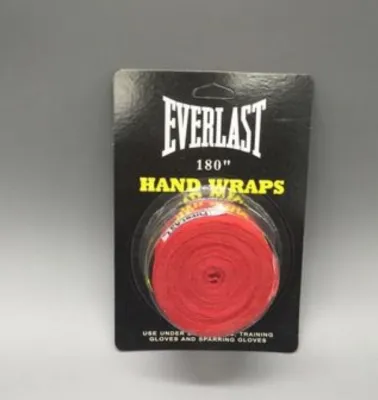
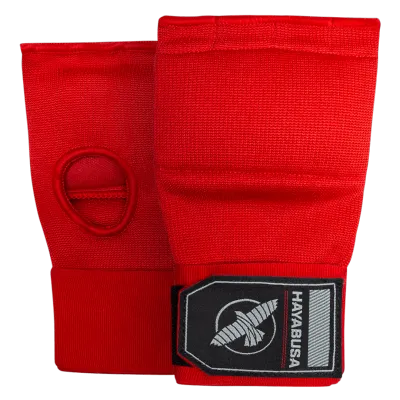
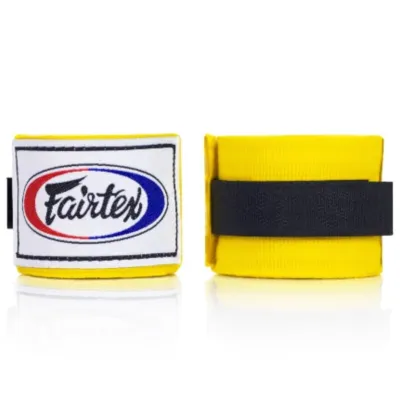
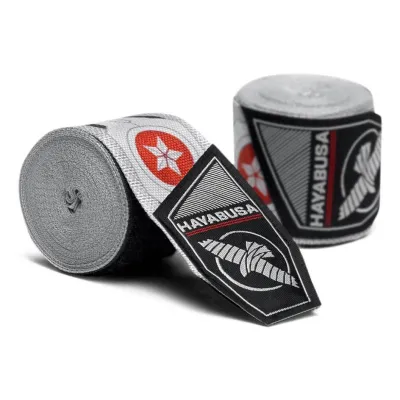
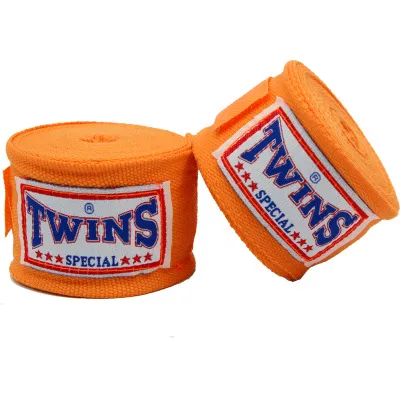
![[SG FREE ] 1Pair 1.5M/3M/5M Boxing Bandages Sports Sanda Muay Thai Training Self-Adhesive Micro Elastic Binding Hand Sp](https://img.lazcdn.com/g/p/2afe27758a20a73d23525f0abd1ee35e.jpg_400x400q80.jpg_.webp)
Prices are valid at publication and may change. Please refer to the product page for the latest price.
However, equipment is never a substitute for proper technique and formal training. If you have not learned how to align your knuckles and wrist during a punch, even the most meticulously applied wrap cannot guarantee safety. If you experience persistent or sharp joint pain during or after training, stop immediately and consult a medical professional or a qualified coach to evaluate your form and physical condition.
Choosing the Right Boxing Wraps for Your Session
Selecting the correct hand wraps requires balancing your physical hand size, your training goals, and the environmental conditions of your gym. In Singapore’s hot and humid tropical climate, choosing the right material and maintaining it properly is also vital for skin health and wrap longevity.

The two most common lengths available are 120 inches (approximately 3 meters) and 180 inches (approximately 4.5 meters). For most adults, a 180-inch wrap is highly recommended. The extra length provides sufficient material to thoroughly protect the wrist, thumb, and knuckles without leaving gaps. A shorter 120-inch wrap is typically reserved for children, individuals with exceptionally small hands, or specific speed-bag workouts where minimal bulk is preferred. If you are engaging in heavy bag training or sparring, the 180-inch option is standard because it allows for the necessary overlapping layers that absorb heavy impacts.
When evaluating materials, you will generally choose between traditional non-elastic cotton wraps and semi-elastic cotton-synthetic blends, frequently marketed as “Mexican-style” wraps. Traditional cotton wraps are durable and thick, but they lack flexibility, which can make them prone to loosening or bunching during a long session. Semi-elastic wraps, on the other hand, contain a small percentage of spandex or polyester. This elasticity allows the fabric to contour closely to the unique curves of your hand, maintaining consistent tension as your hand expands and contracts when making a fist.
Before starting any session, inspect the condition of your wraps. Check that the hook-and-loop (Velcro) fasteners are clean and free of lint, as failing fasteners can cause the wrap to unravel inside your glove mid-round. Ensure the fabric has not lost its elasticity or become excessively frayed. Given the high humidity in Singapore, wraps must be washed after every training session and dried completely. Damp wraps left in a closed gym bag become breeding grounds for bacteria and mold, which quickly degrade the fabric fibers and cause skin irritation.
Step-by-Step Guide to Wrapping Your Hands for Boxing
Applying your wraps correctly is a skill that requires practice, patience, and attention to detail. Before you begin, unroll your wrap completely and locate the thumb loop. Ensure the side of the wrap labeled “this side down” or “this side to hand” is facing your skin; this ensures that when you reach the end of the wrap, the Velcro fastener will face the correct way to secure it.
During the entire wrapping process, keep your hand relaxed but stretch your fingers slightly apart. Do not clench your fist or hold your fingers tightly together while wrapping. Spreading your fingers ensures that the wrap is applied with enough room to accommodate the natural expansion of your hand muscles and joints when you do make a tight fist to punch. Keep the tension of the wrap consistent: it should feel snug and supportive like a firm bandage, but never so tight that it pinches your skin, causes discomfort, or restricts blood flow.
Step 1: Anchor the Thumb and Secure the Wrist
Begin by placing your thumb through the starter loop, ensuring the fabric lies completely flat against the back of your hand. Do not let the loop twist around your thumb, as this can cause friction and blisters during training. Pull the wrap across the back of your hand toward your wrist. Starting on the back of the hand rather than the palm is a crucial structural step; it ensures that when you make a fist, the wrap pulls tighter against your wrist rather than loosening.
Wrap the fabric around your wrist three times, overlapping each pass by about half the width of the wrap. This creates a solid, supportive foundation that acts like a lightweight splint, preventing the wrist from bending excessively forward, backward, or sideways upon impact. Ensure these passes are flat and free of wrinkles. The wrist is the most common site of alignment failure during a punch, so building a rigid, stable base here is paramount before moving up the hand.
Step 2: Pad the Knuckles and Palm
From the wrist, bring the wrap diagonally across the back of your hand to the outside of your pinky finger. Pull the fabric across your knuckles to the index finger, then wrap around the knuckles three to four times. This creates a thick, protective pad directly over your primary striking surface. Keep your fingers spread during this step to prevent the knuckle wrap from becoming too tight when you close your hand.
After securing the knuckle pad, bring the wrap diagonally down across the back of your hand to the opposite side of your wrist, forming an “X” shape. Continue back up to the knuckles and down to the wrist again to lock the padding in place. This crossing pattern secures the metacarpal bones, preventing them from spreading or rubbing against each other when you deliver a blow. It also keeps the knuckle padding flat and prevents it from shifting upward or bunching inside the glove.
Step 3: Secure the Thumb and Cross the Hand
Once the knuckles are padded, bring the wrap up to your wrist and wrap around it once. Next, guide the wrap up and around your thumb from the inside to the outside, wrapping it completely once. This step is vital to anchor the thumb to the rest of the hand structure, reducing the risk of hyperextension or “jamming” if you catch your thumb on an opponent’s elbow or the side of the heavy bag.
After wrapping the thumb, pull the fabric across the back of your hand to the wrist to secure the tension. Wrap around the wrist once more to lock the thumb anchor in place. From here, you can run the wrap between your fingers (from the pinky-ring gap down to the wrist, then the ring-middle gap, and finally the middle-index gap) if you prefer the traditional finger-weave method for extra knuckle separation. If you prefer a simpler wrap, proceed directly to reinforcing the wrist and hand with diagonal passes.
Step 4: Finish the Wrap and Fasten Securely
Use any remaining length of the wrap to add extra support where you feel you need it most. If you have a history of wrist weakness, use the remaining fabric to make additional passes around the wrist joint. If you require more impact cushioning, add another layer over the knuckles.
Finish the wrap by circling your wrist so that the Velcro fastener ends up on the back or the side of your wrist. Never finish the wrap with the Velcro resting on your palm, as the hard plastic closure can press into your hand when you grip, causing discomfort and bruising. Press the Velcro down firmly, ensuring it lies flat and smooth. Your hand should now feel securely bound, with all fabric layers sitting flat without bunching.
How to Verify Your Wrap Tension and Fit
Before you put on your boxing gloves, you must perform a series of self-checks to verify that the wraps are applied safely and effectively. The most reliable test is the “fist test.” Open your hand completely; the wrap should feel relatively relaxed, and you should be able to extend your fingers fully without extreme resistance. Now, close your hand into a tight fist. As you squeeze, the wrap should tighten up instantly, feeling firm, solid, and highly supportive across your knuckles and wrist.
Next, check your circulation. Monitor your fingertips for any signs of restricted blood flow, such as a cold sensation, a pale or blue tint to the skin, or a tingling, numb feeling. If you experience any of these symptoms, your wrap is too tight. Do not attempt to train through numbness, as this can lead to nerve compression and muscle fatigue.
Finally, examine the physical fit. The wrist should feel stabilized, similar to a lightweight cast, allowing only minimal, controlled flexion. Check that the wrap does not bunch up in your palm, which can prevent you from making a proper, tight fist inside your glove. If the Velcro is positioned on your palm, if the layers are sliding around, or if you feel any sharp pressure points, take the time to unwrap and start over. A few minutes spent re-wrapping can prevent a serious injury that could sideline you for months.
Common Hand Wrapping Mistakes and How to Fix Them
Avoiding common errors during the wrapping process will save you from discomfort and protect you from injury. One of the most frequent mistakes is wrapping too tightly from the start. Beginners often assume that tighter wraps equal more protection, but this actually cuts off circulation and causes rapid hand fatigue. If your forearm muscles feel pumped or your hand cramps within minutes of hitting the bag, loosen the tension on your next attempt.
Conversely, wrapping too loosely is equally problematic. Loose wraps will inevitably unravel, slip, and bunch up inside your boxing gloves as you punch. This not only destroys your knuckle protection but also creates friction that leads to painful skin abrasions and blisters. If you notice the wrap shifting when you open and close your hand, unwrap it and re-apply with firmer, more consistent tension.
Another common error is neglecting the thumb or wrapping it incorrectly. The thumb is highly vulnerable to injury in combat sports. Ensure you always anchor the thumb to the wrist as detailed in Step 3, rather than just wrapping around it loosely.
Lastly, local maintenance habits play a significant role in wrap performance. In Singapore’s humid climate, many practitioners make the mistake of leaving damp, sweat-soaked wraps crumpled up in their gym bags. This causes the fabric to lose its elasticity rapidly, meaning the wraps will no longer conform to your hand shape or hold tension properly. To fix this, wash your wraps in a mesh laundry bag after every session and hang them to air-dry completely in a well-ventilated space before rolling them back up for your next training session.
Community discussion
Share your experience or ask a question. Comments are reviewed before publication.